Manual
MEDA
Follow the instructions below. The MEDA cabinet requires several steps that you can easily perform. Ask someone to help because assembly requires the cooperation of two people.
It's better together!
START
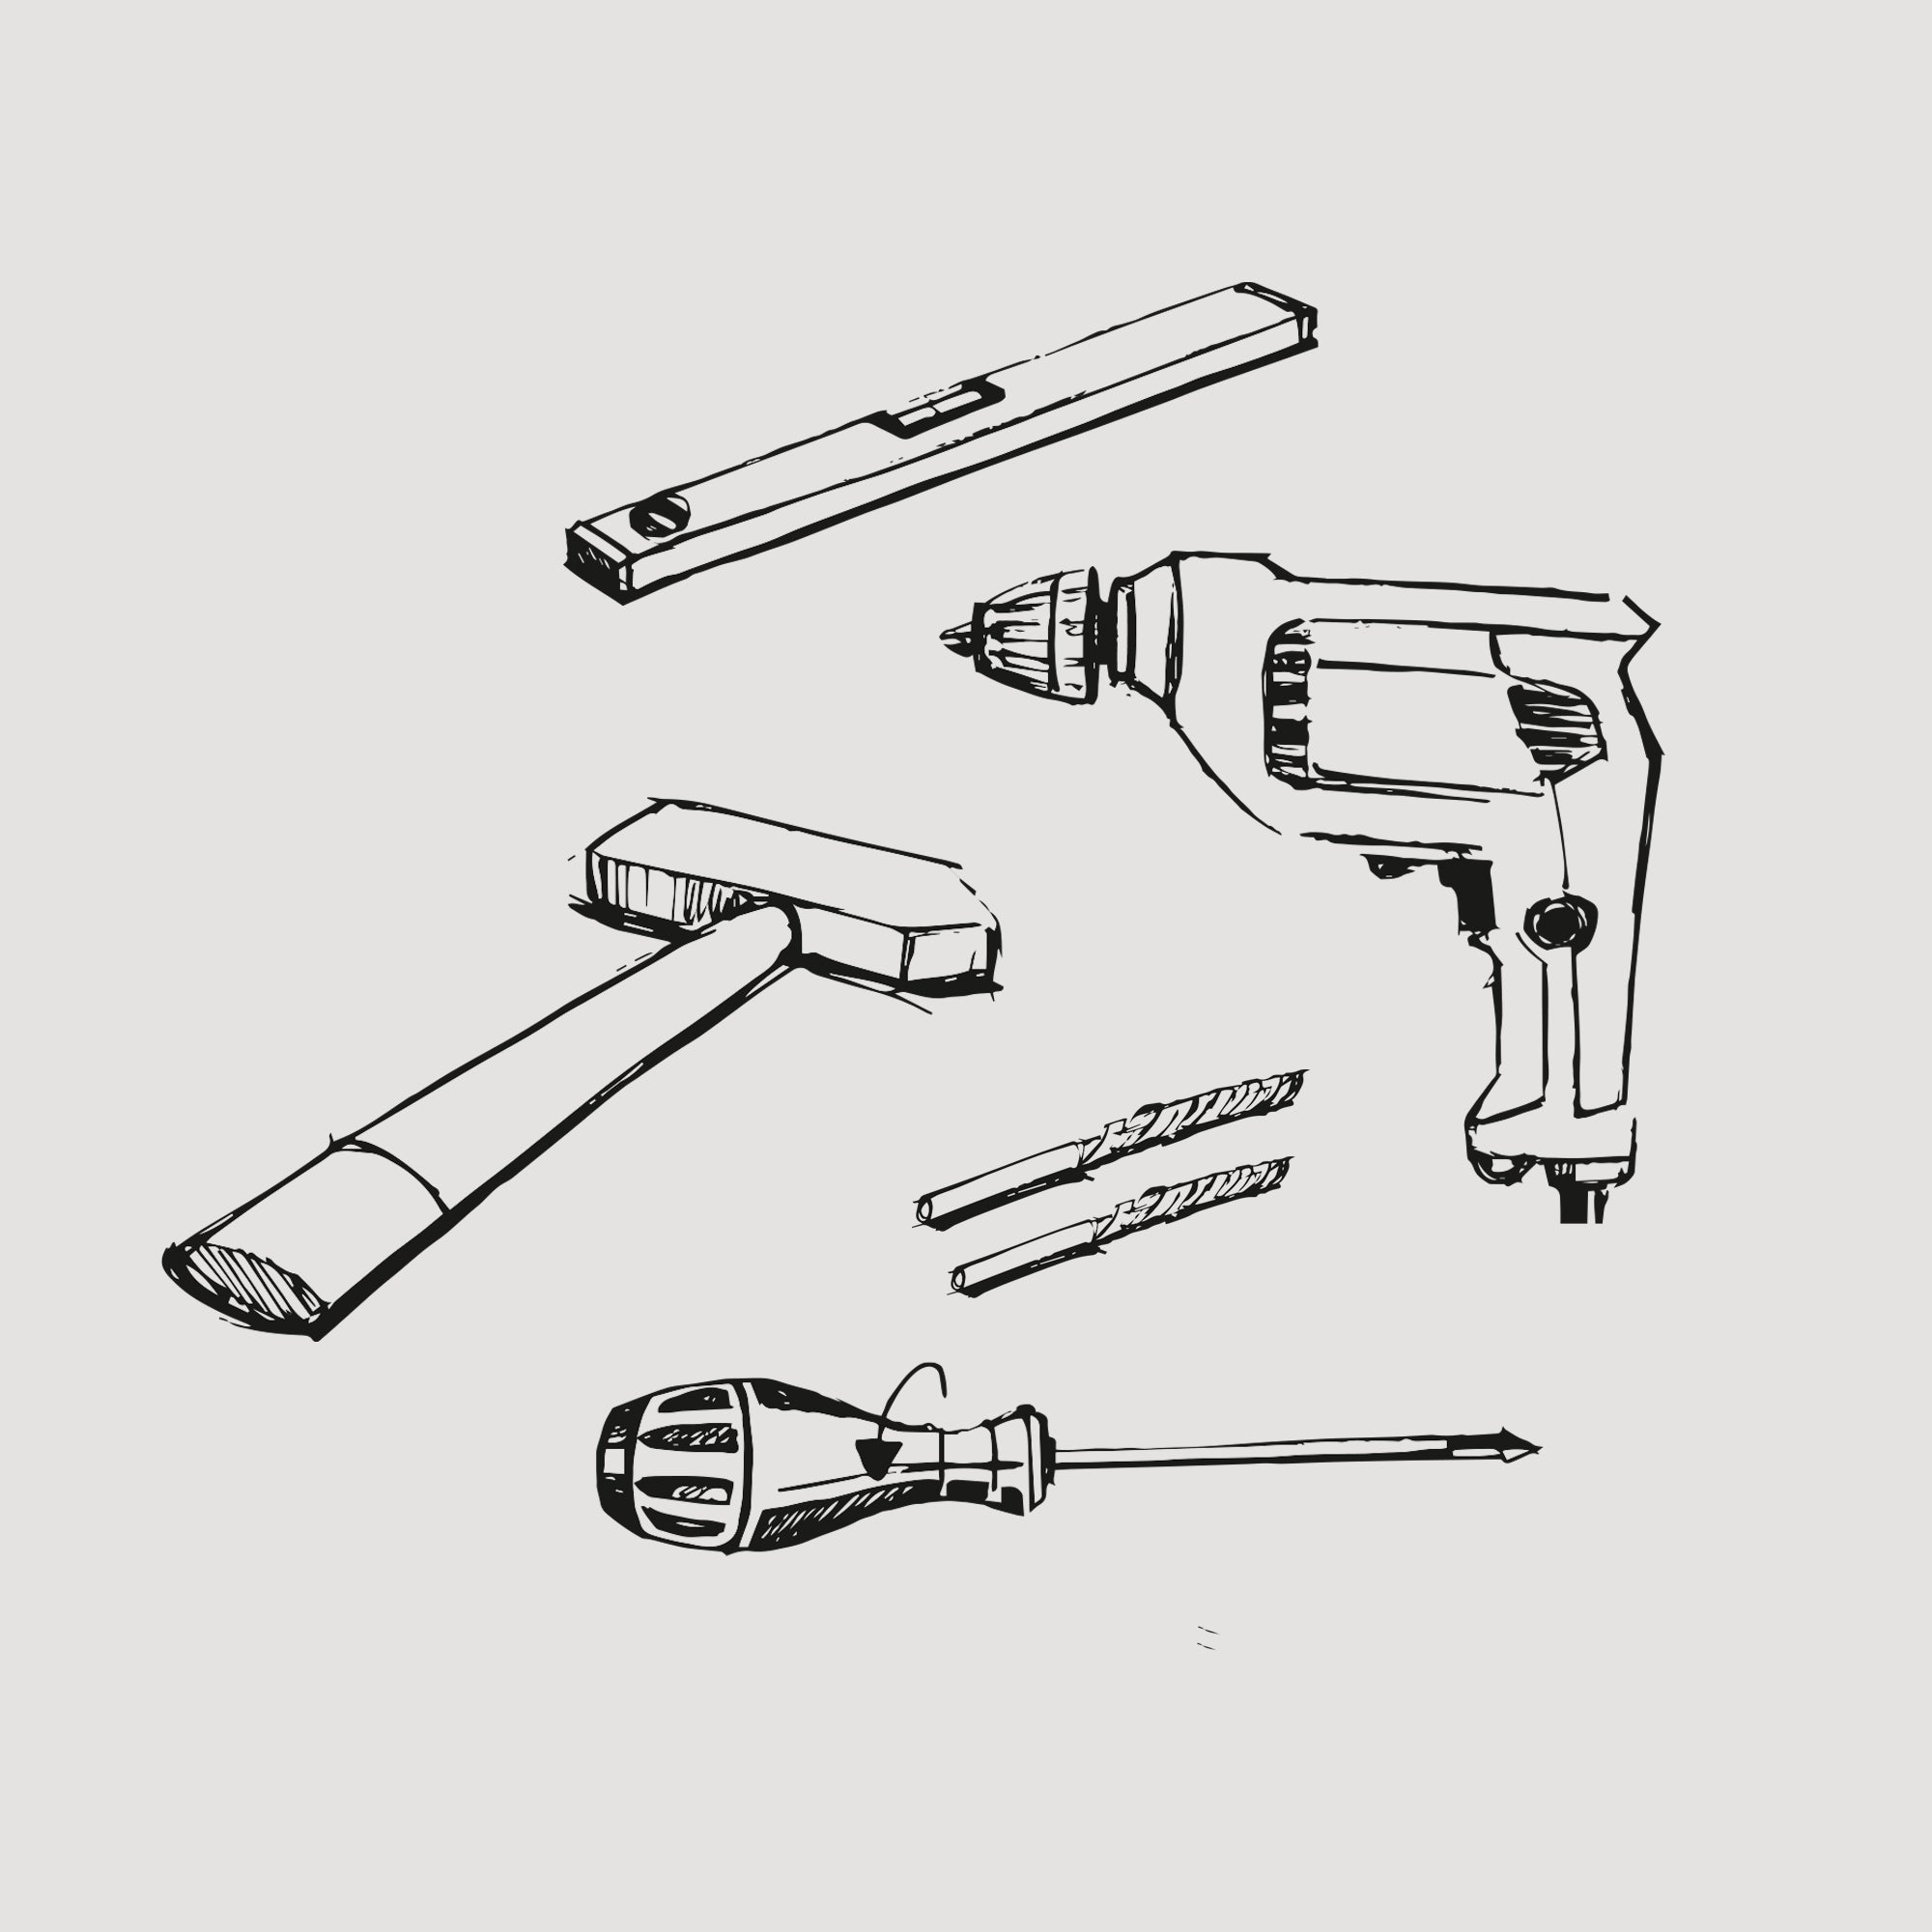
Prepare the tools for assembly. You will need: a drill with a No. 8 and No. 3 drill bit or a screwdriver with a drilling function, a hammer, a screwdriver, a level, and a second person to help....

STEP 1
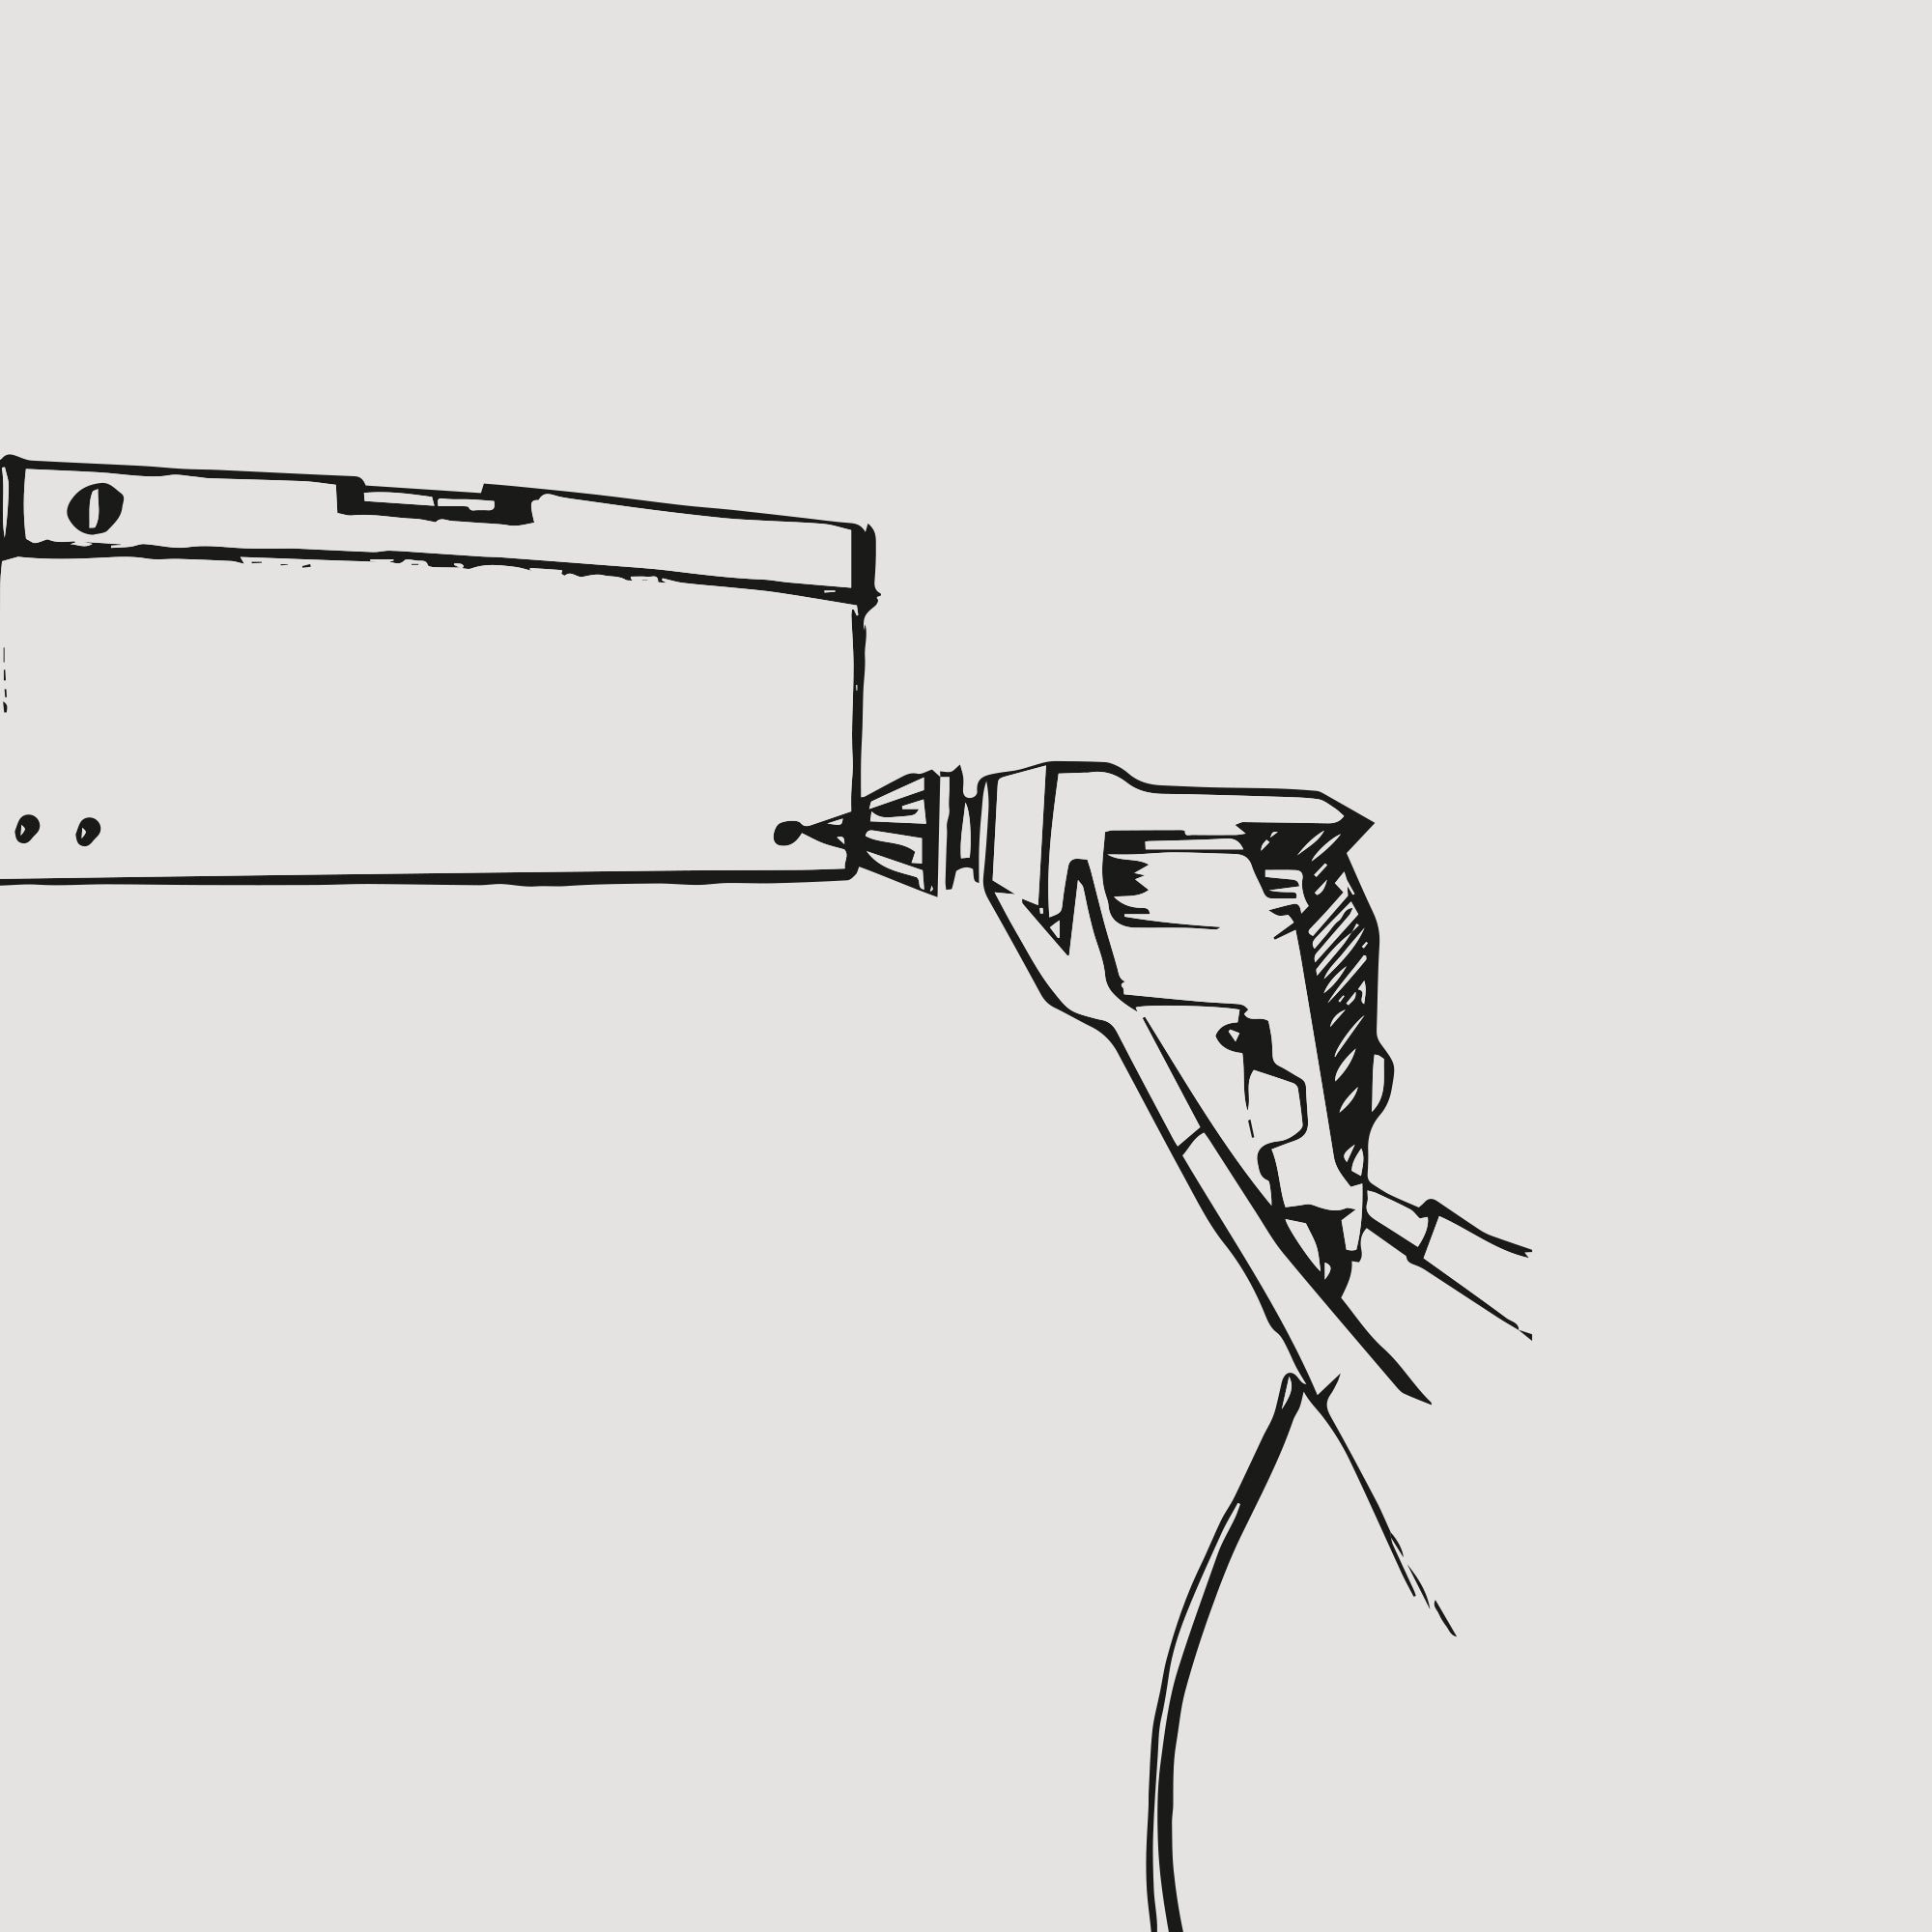
Determine at what height the MEDA should be mounted. Use the template included with the furniture and place it on the wall. Use a level to level the holes to mark them evenly...
STEP 2
Using a 3mm drill, mark 8 dowel mounting locations on the wall based on the template...
STEP 3
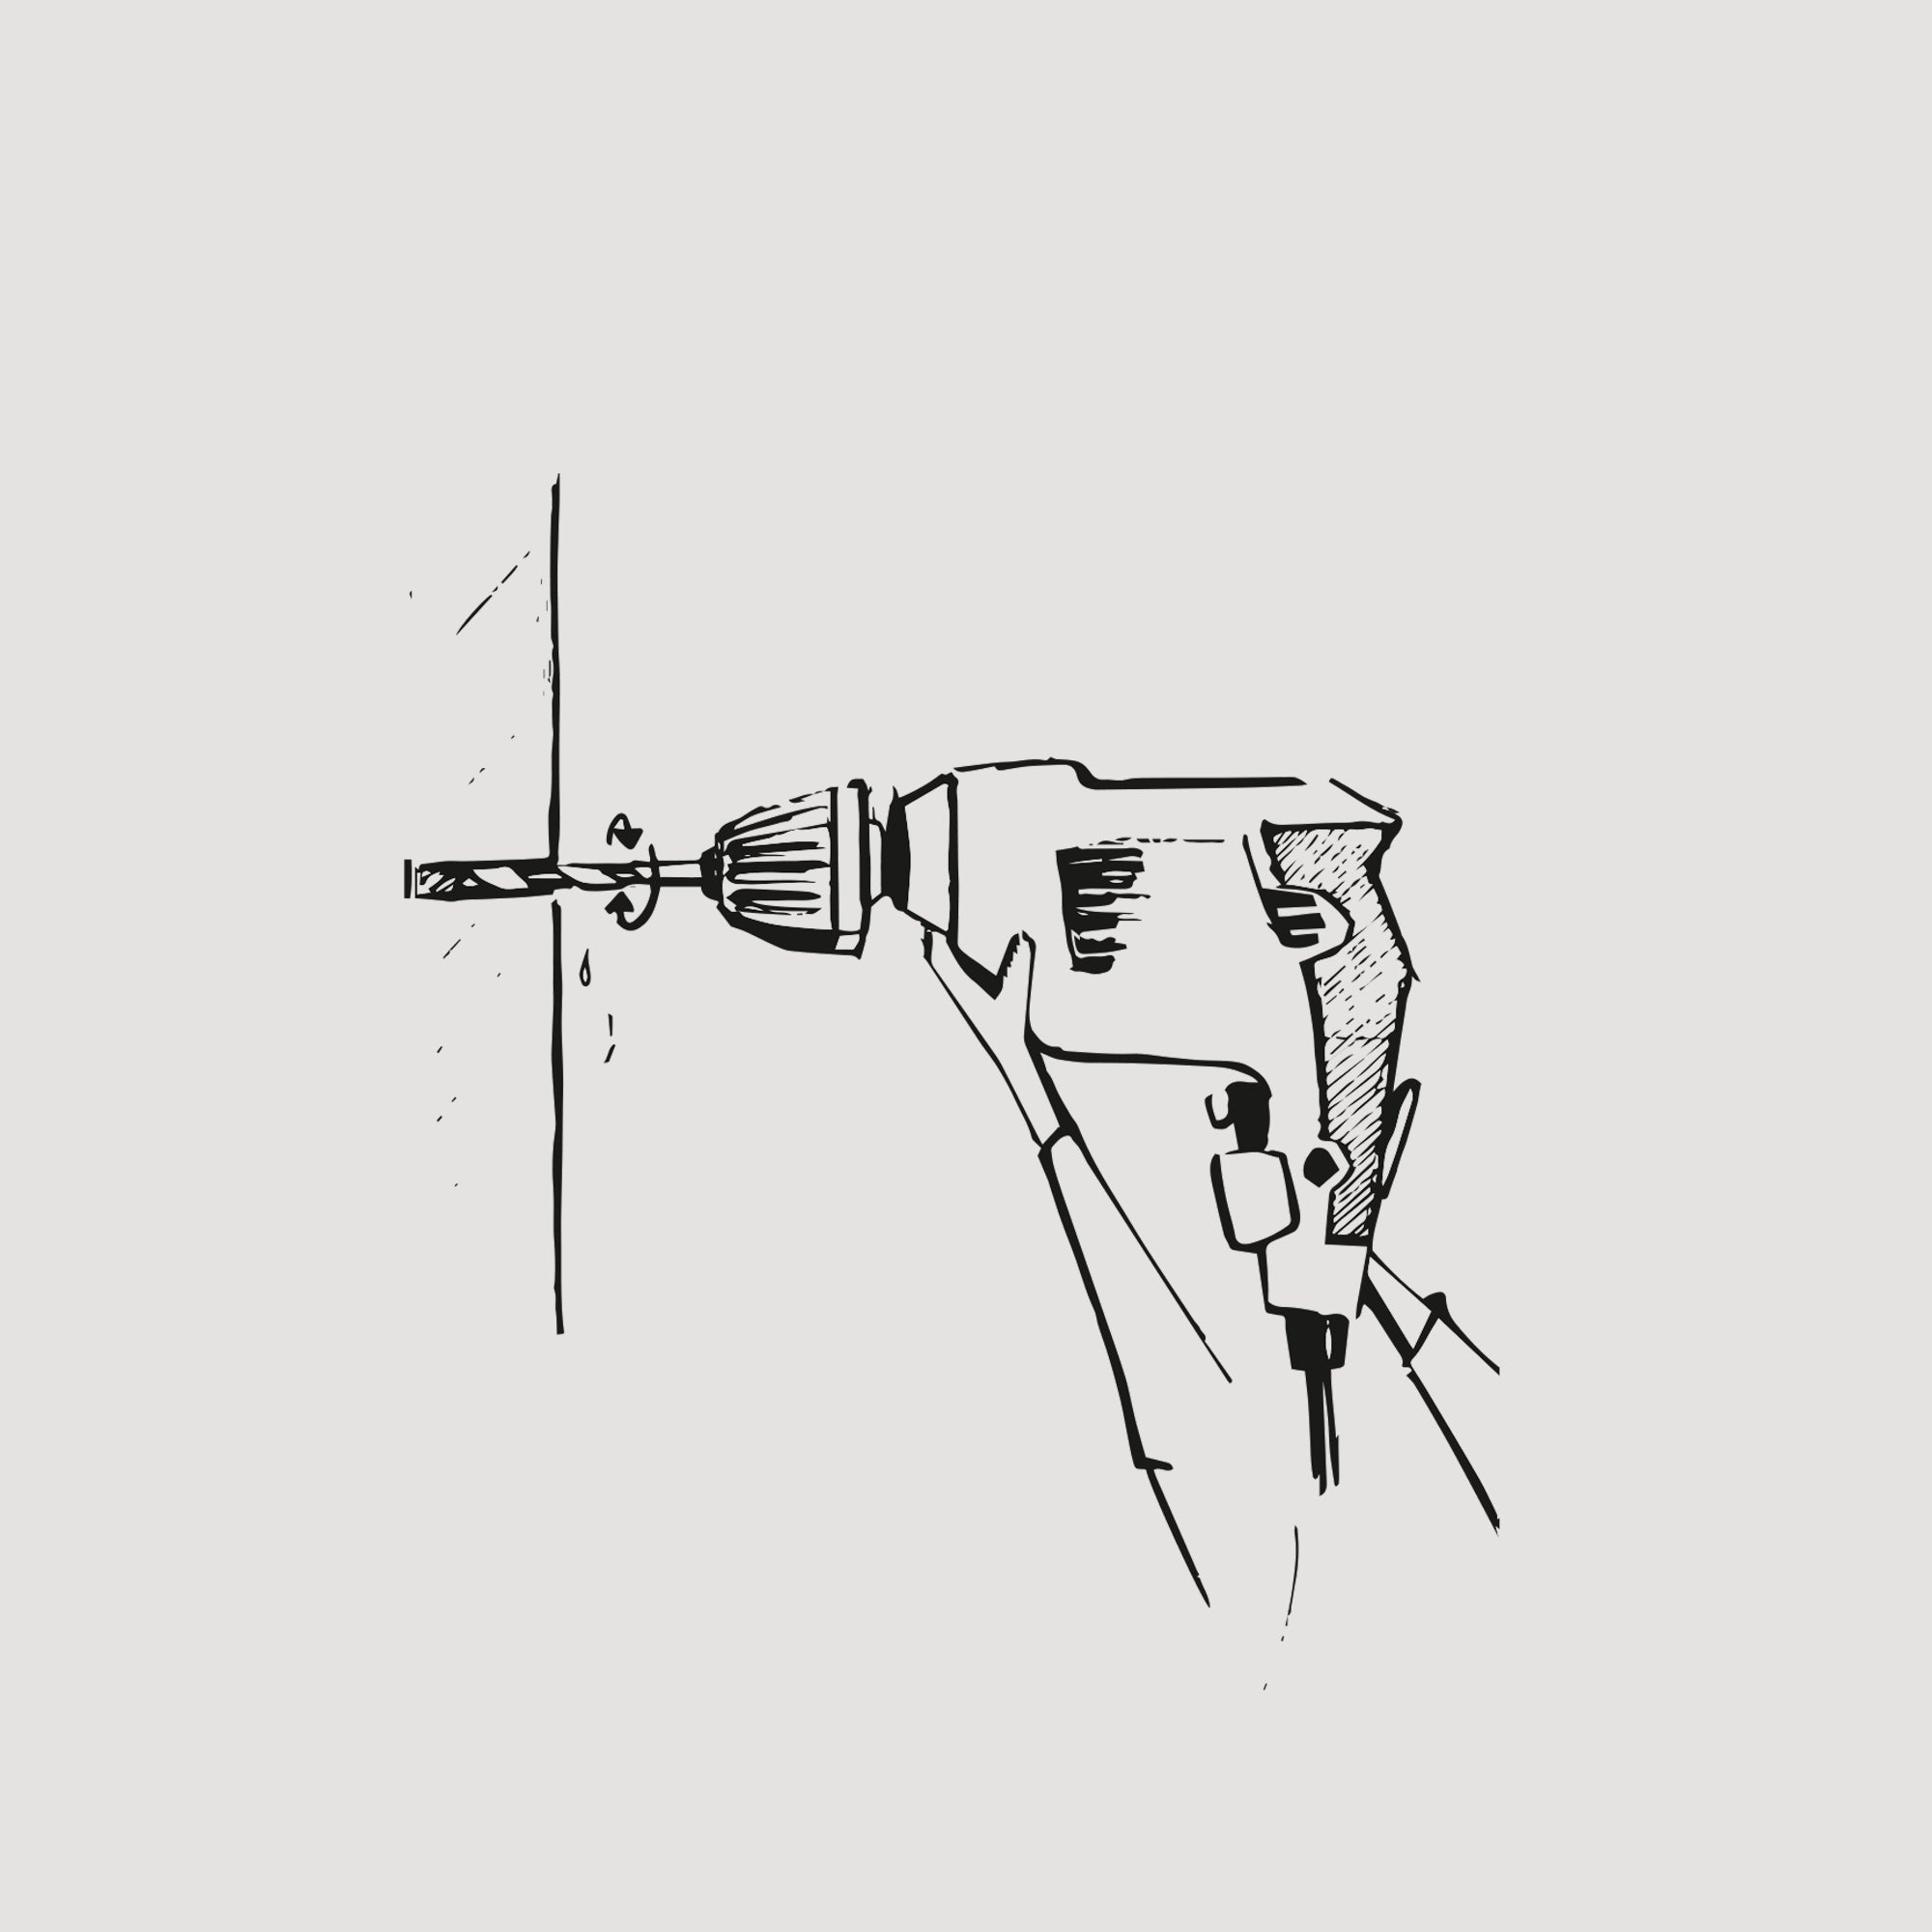
Remove the template and drill the holes using an 8mm drill bit to the depth of the dowels.
STEP 4
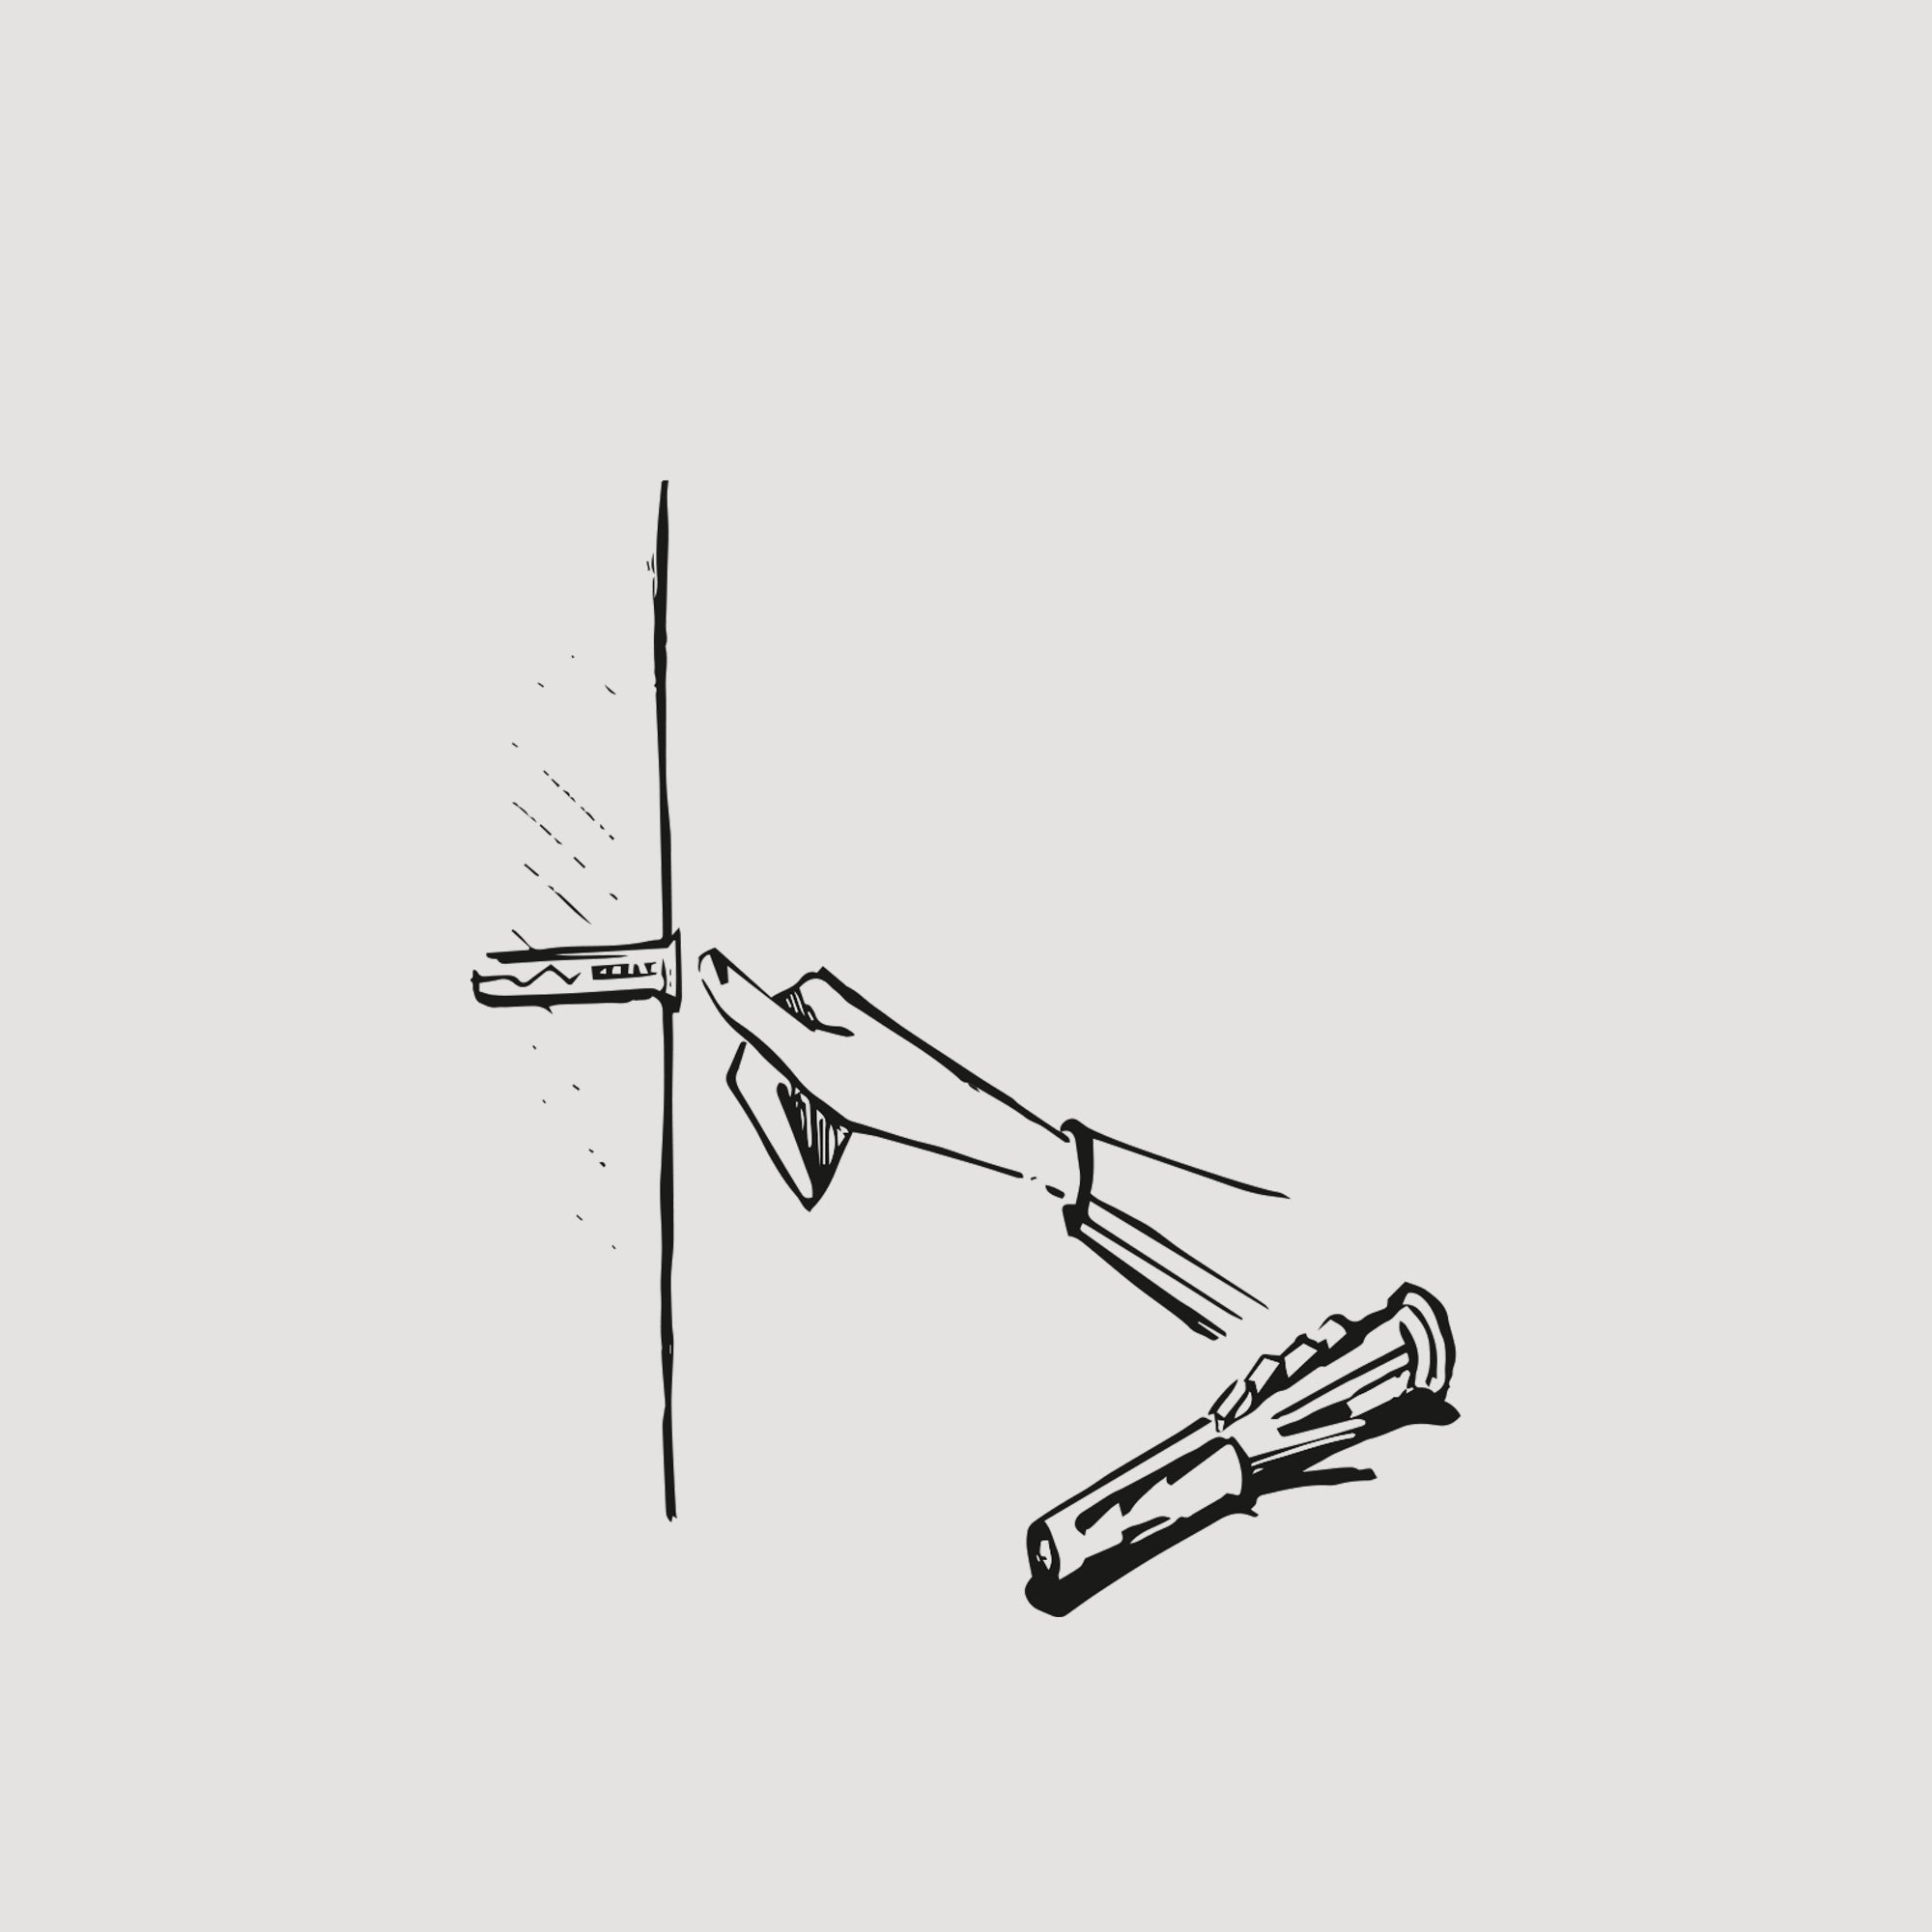
Insert 8 mounting pins into the wall...
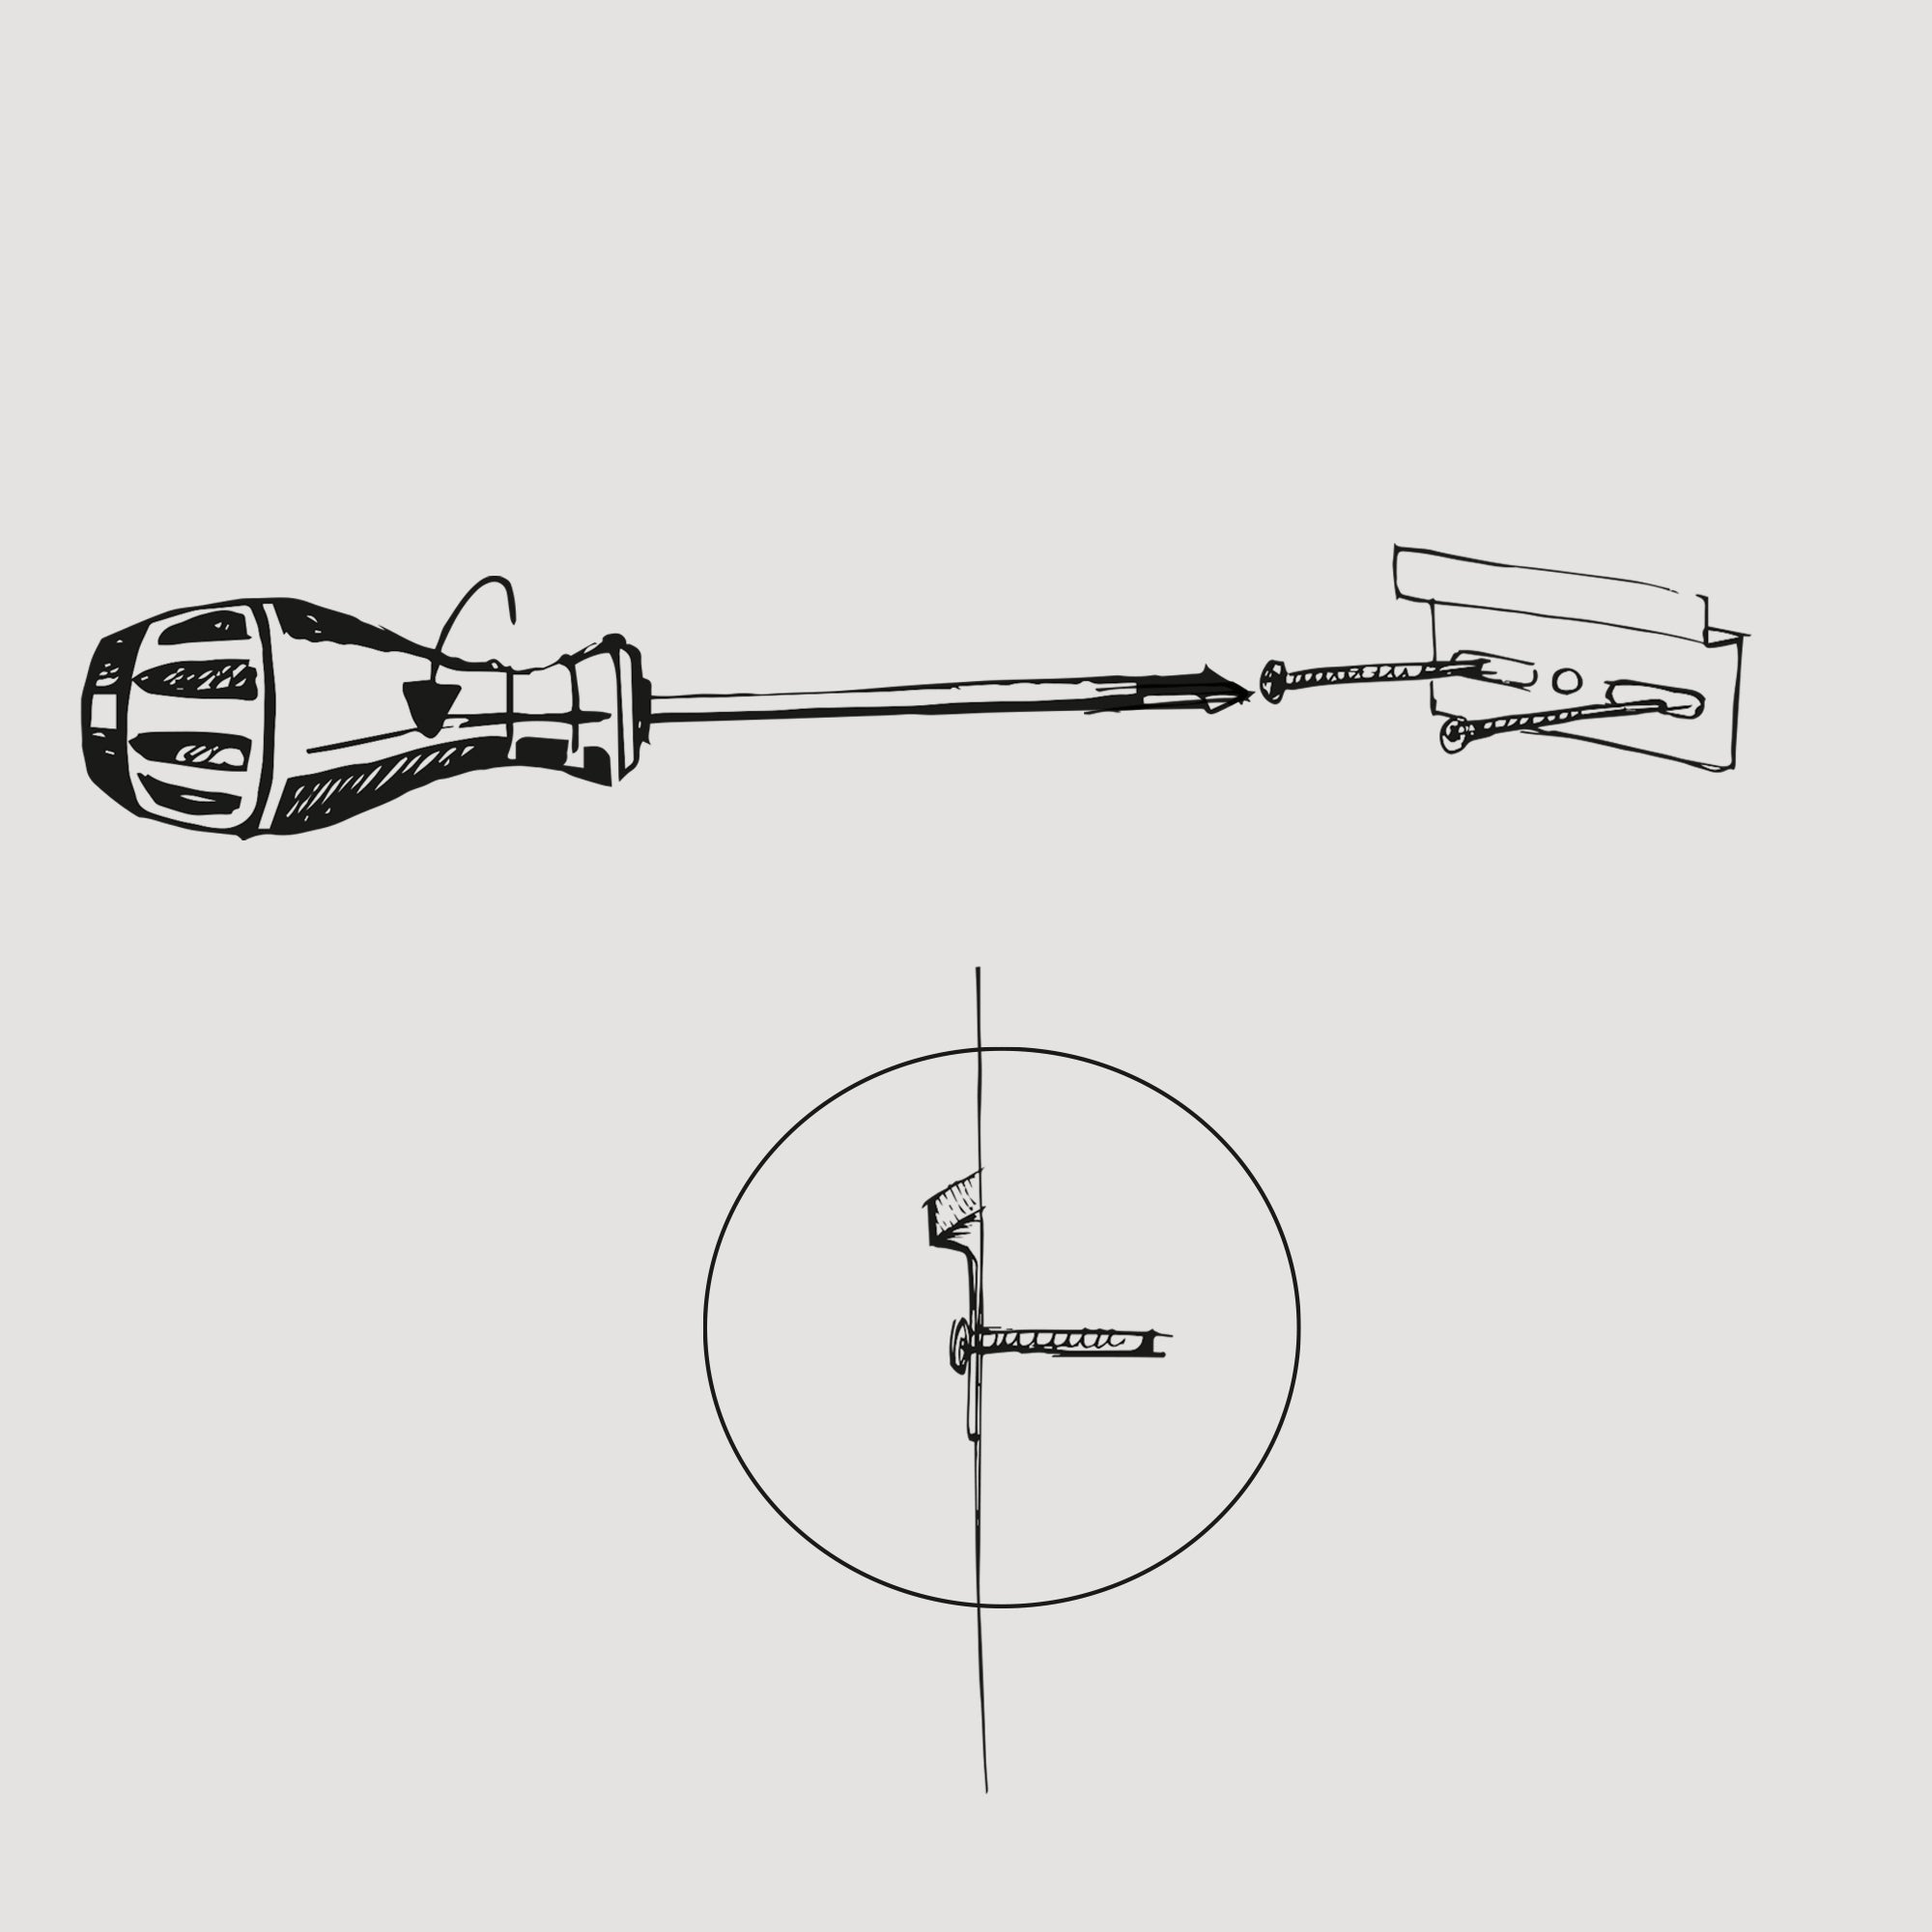
STEP 5
Screw all the mounting plates included in the package to the wall...
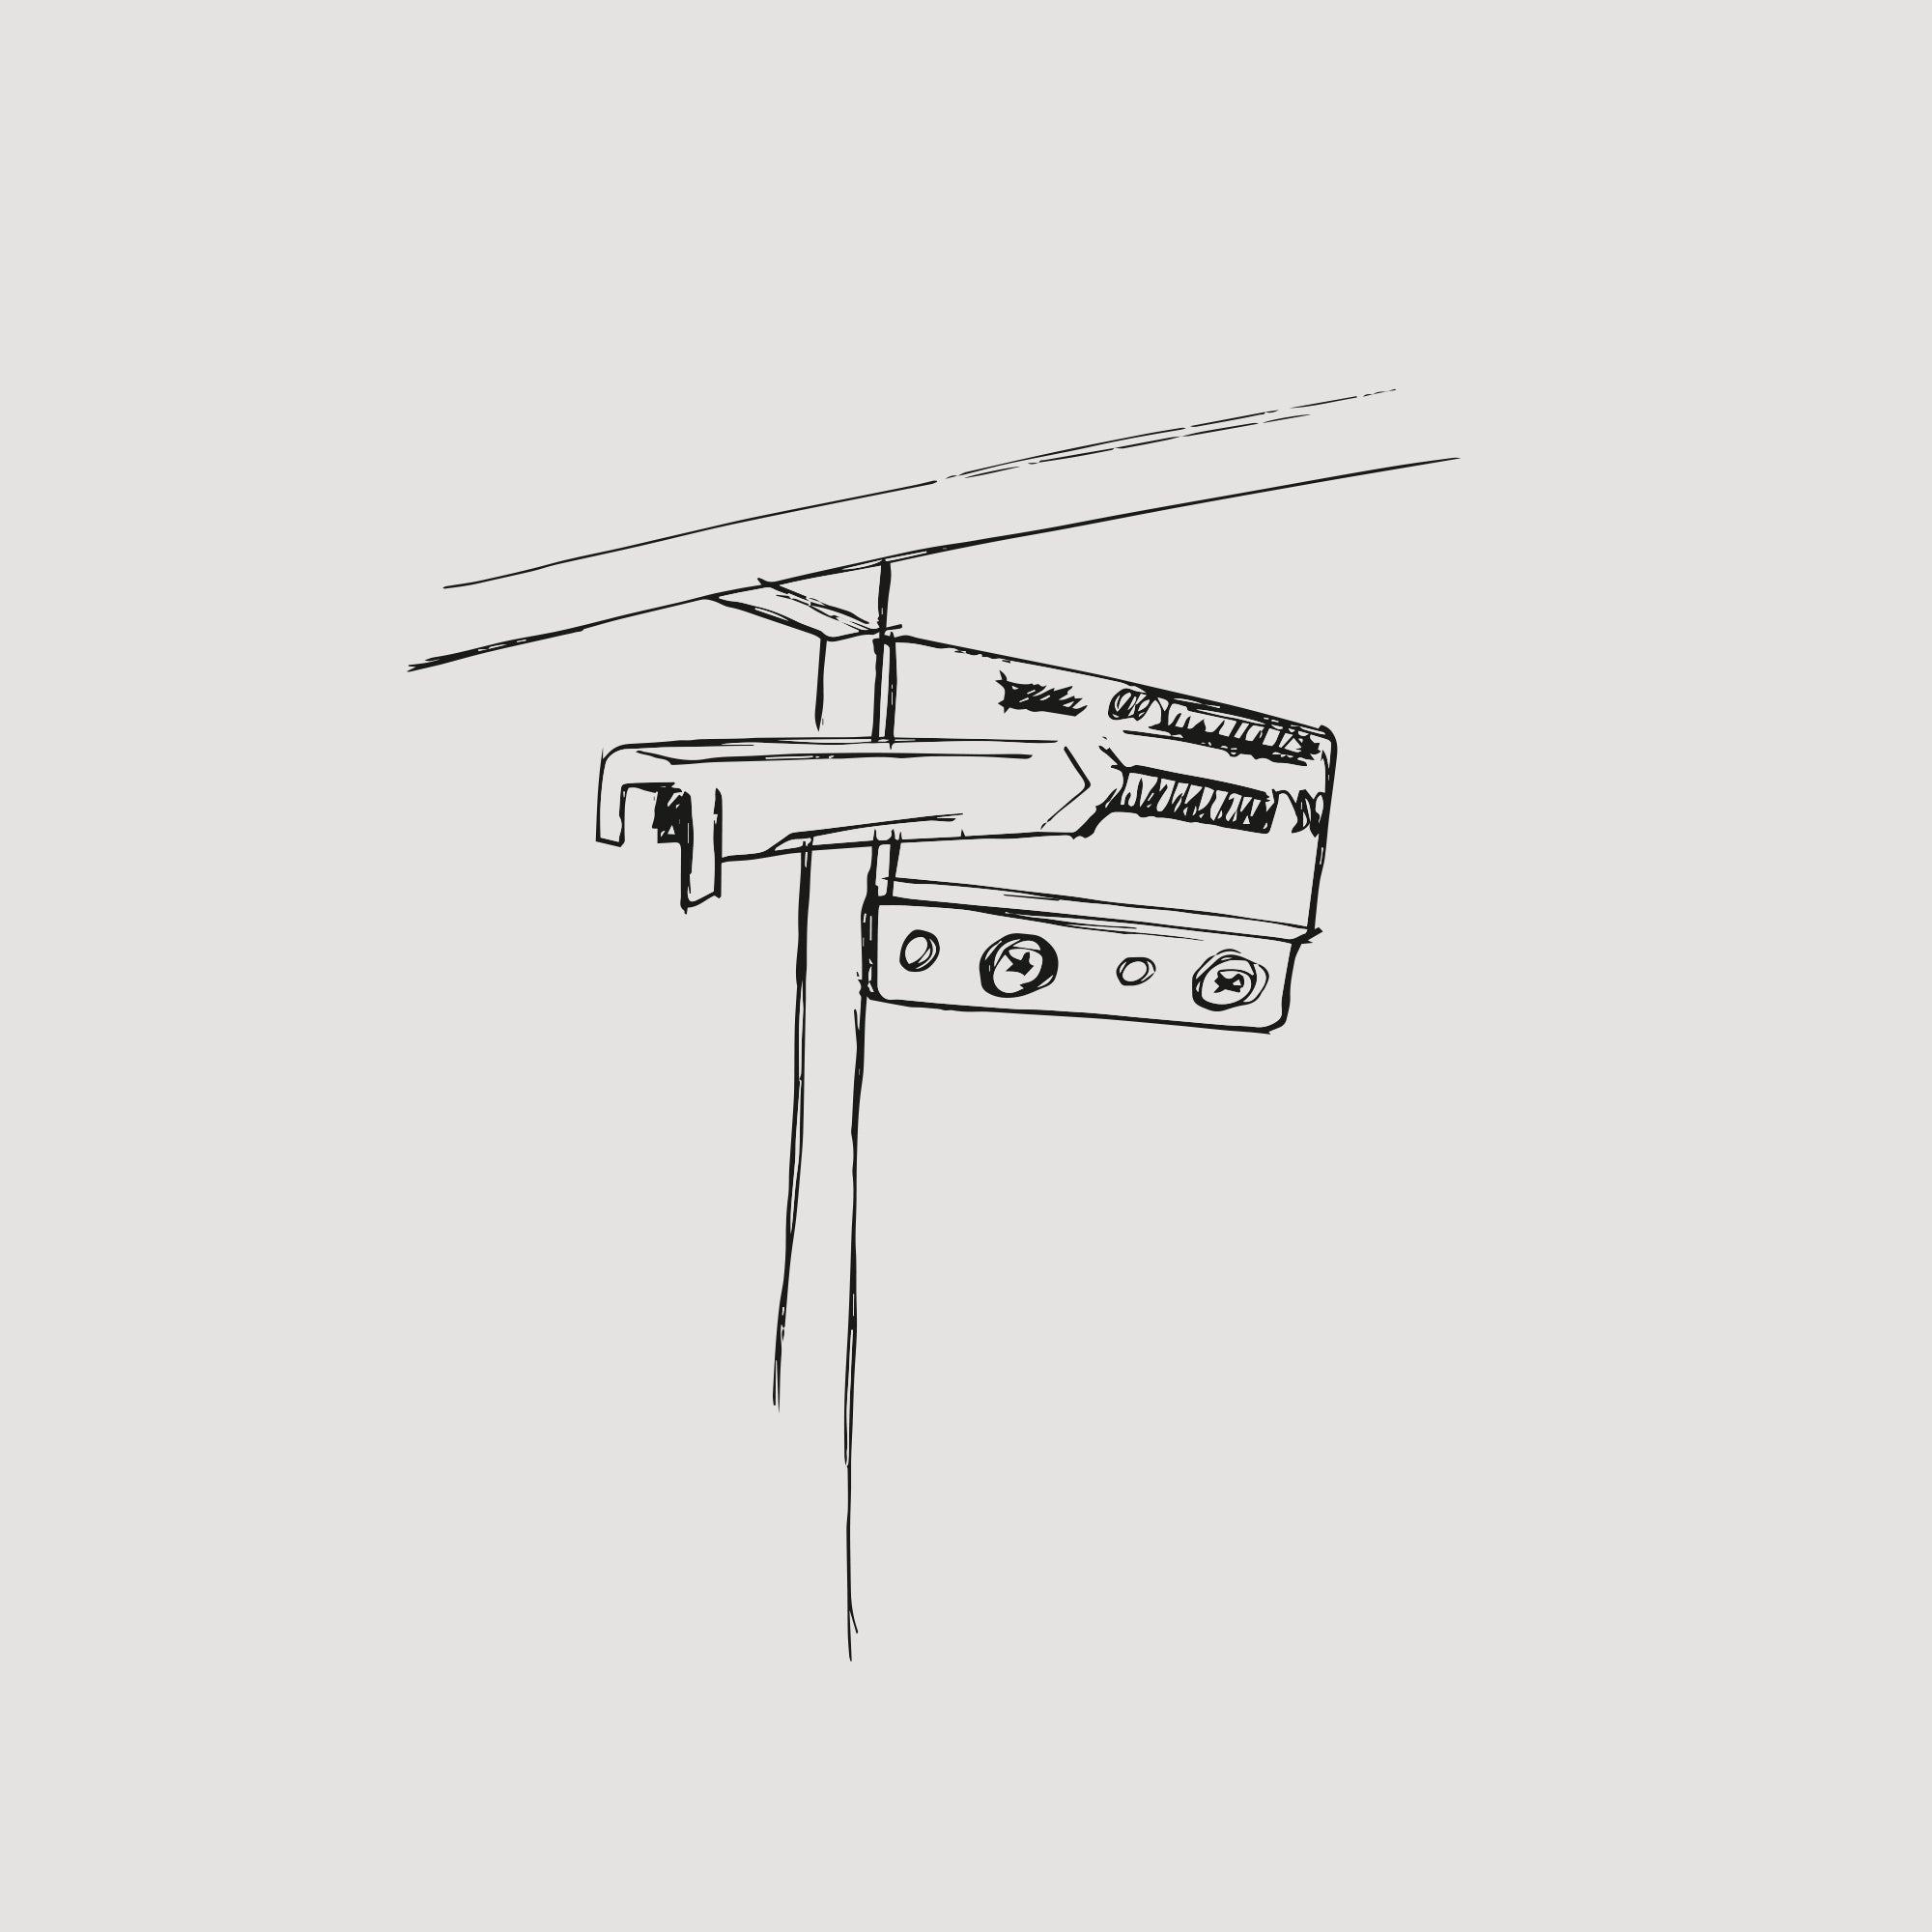
STEP 6
Check if all the hangers in the cabinet, extend from the back outside the outline of the cabinet, if not adjust them with an adjustment....
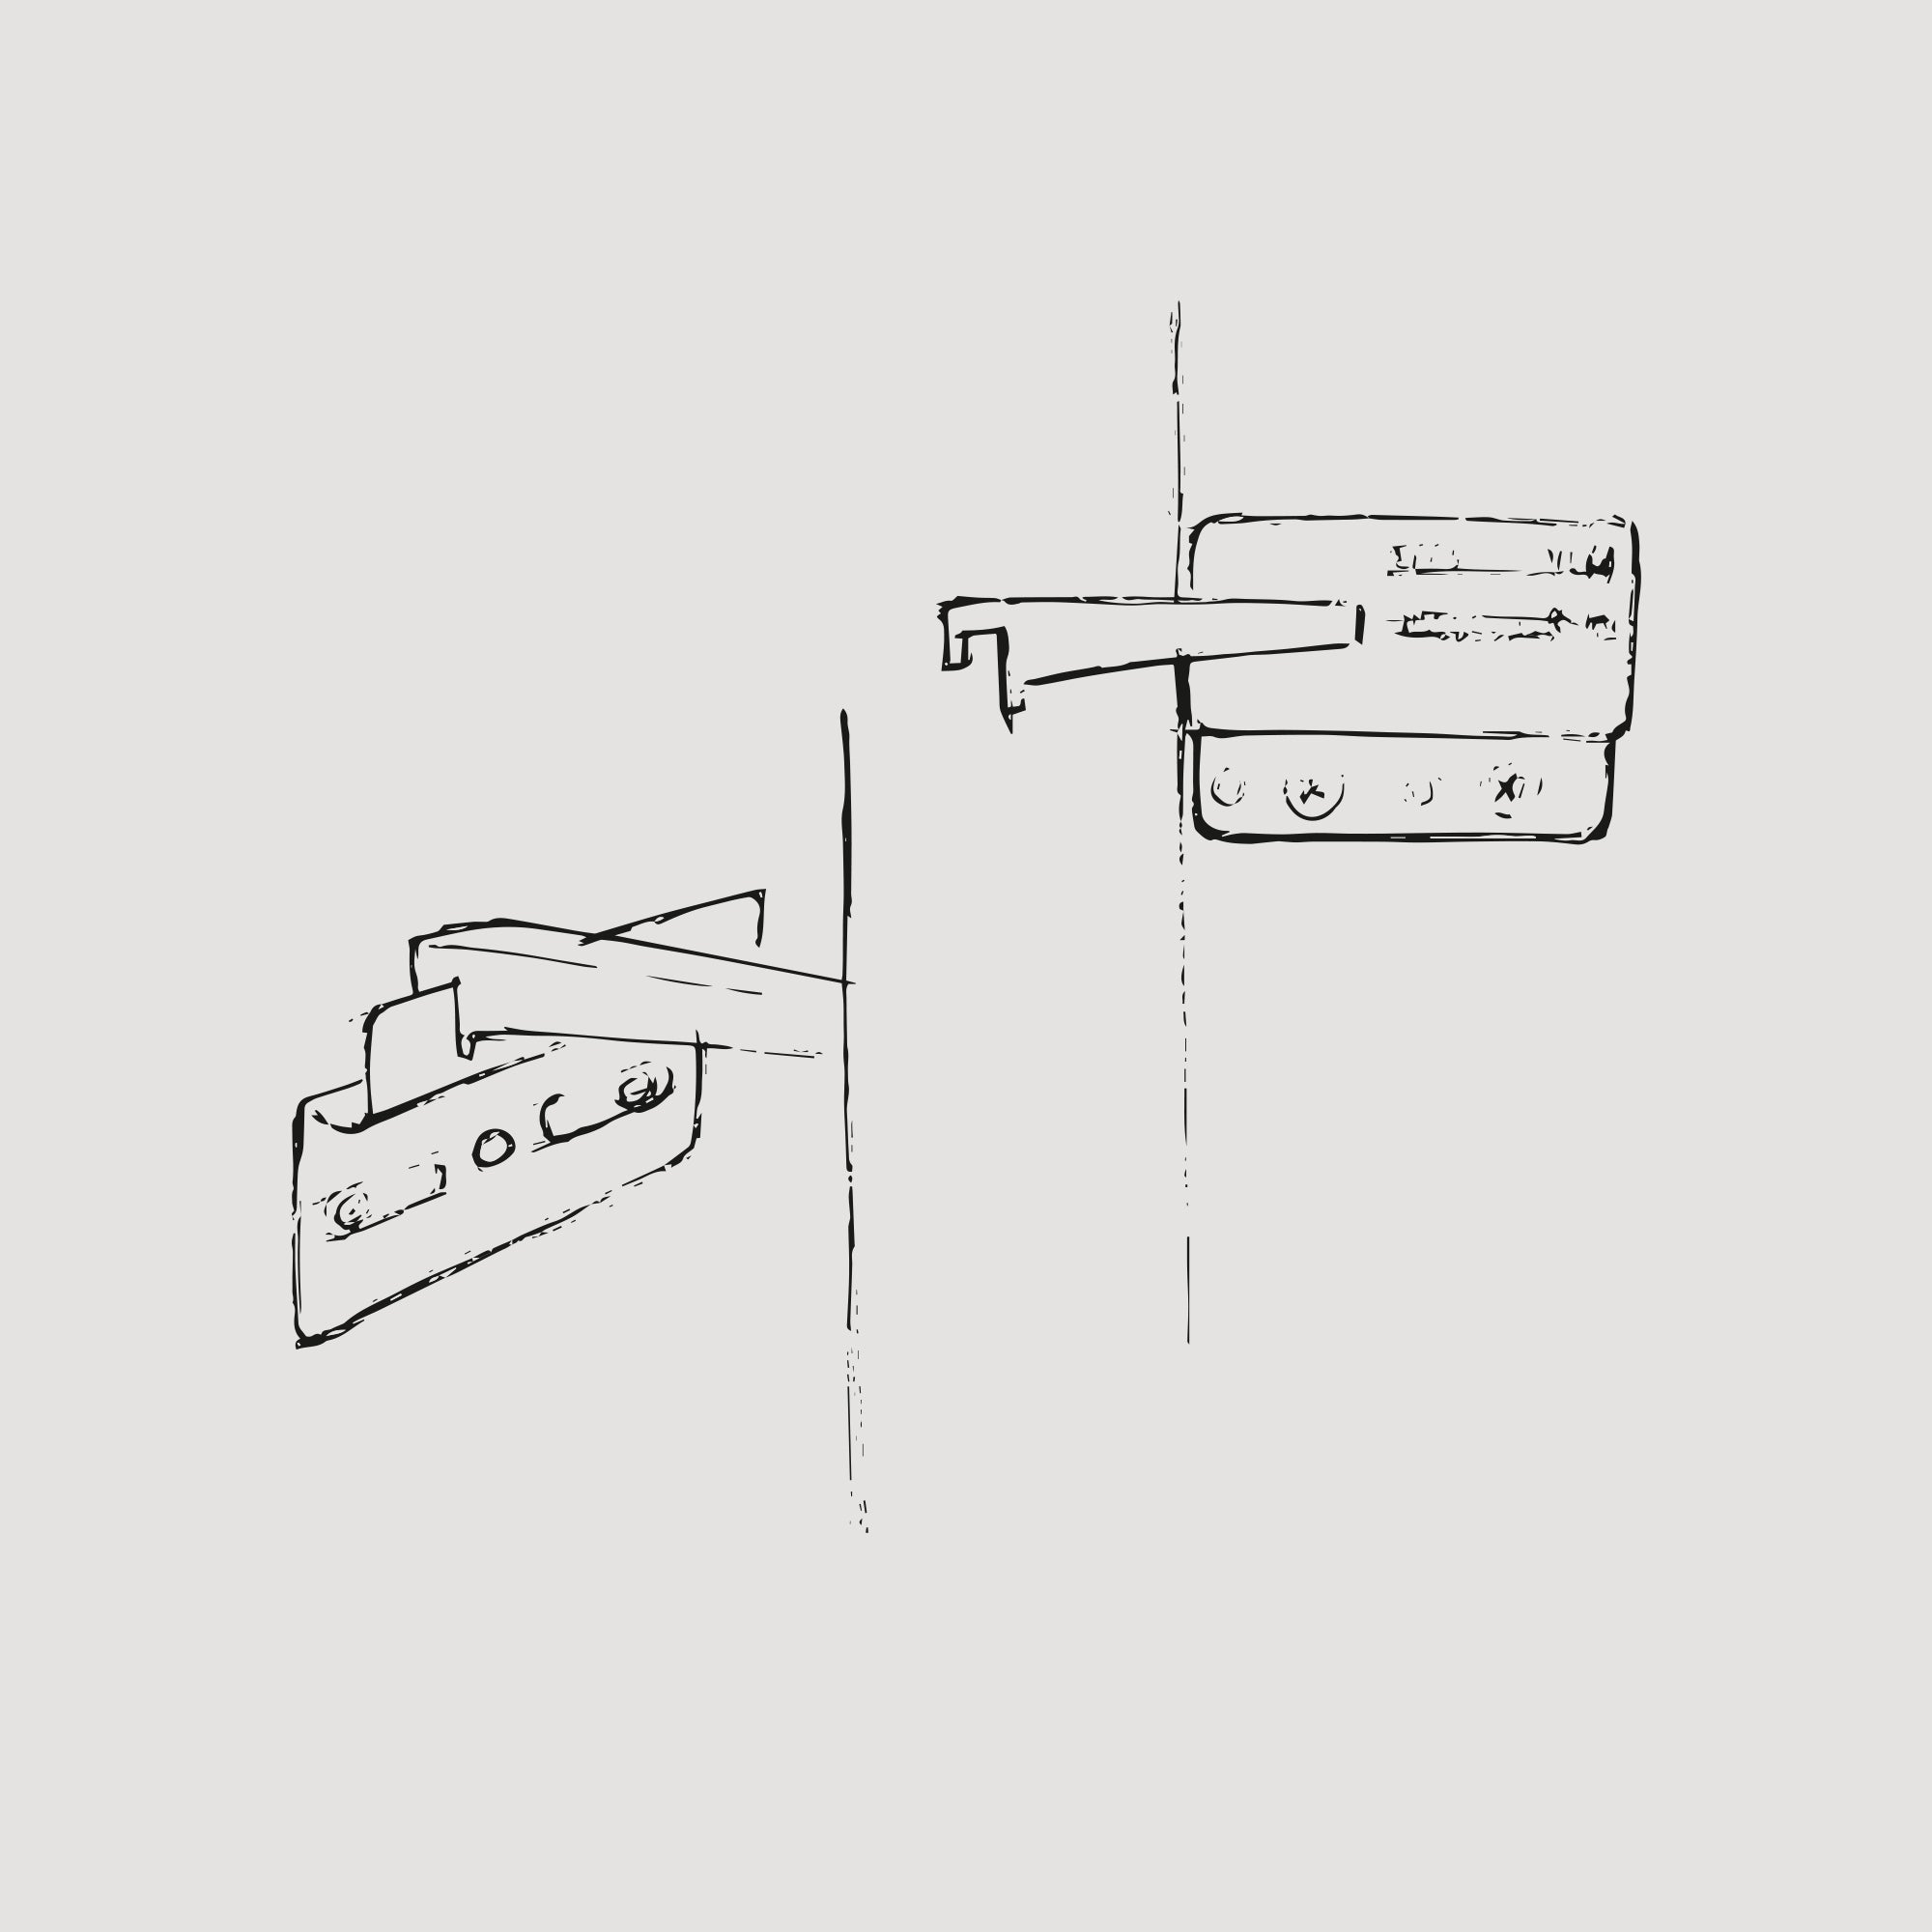
STEP 7
Hang the prepared cabinet on the mounting plates that have previously been mounted to the wall.

STEP 7
Hang the prepared cabinet on the mounting plates that have previously been mounted to the wall.
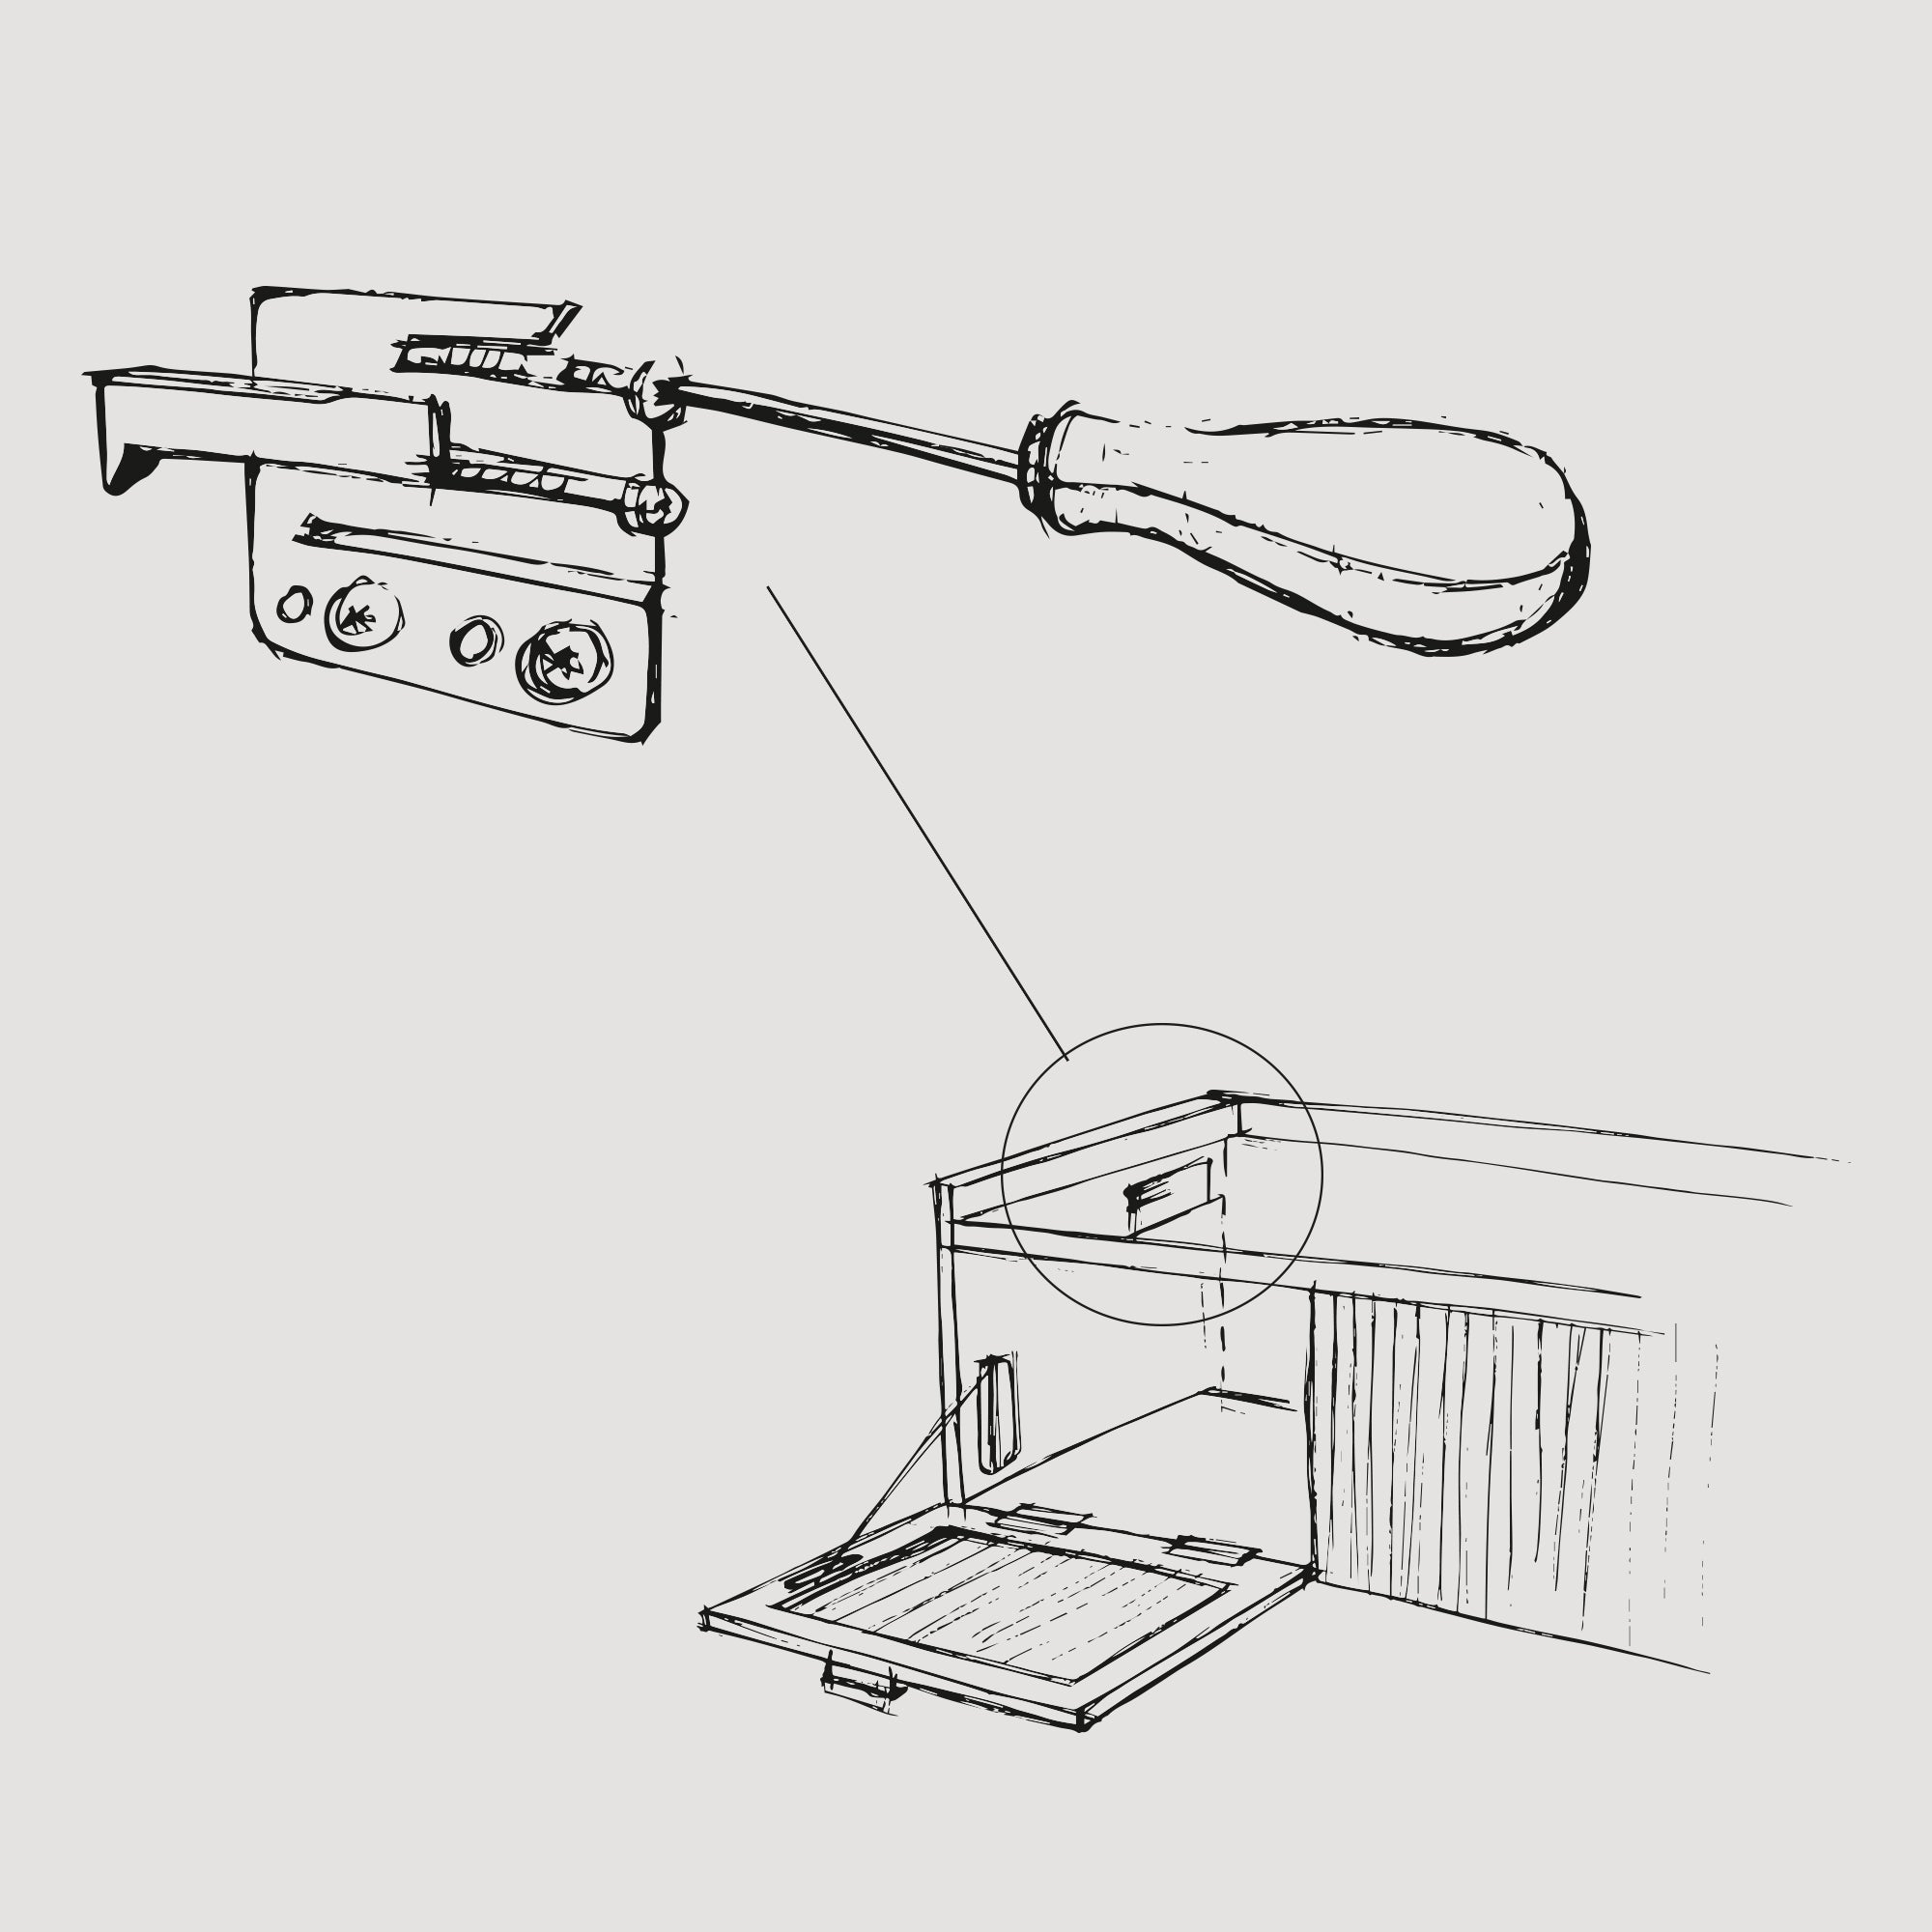
STEP 8
Use the adjustment to tighten the cabinet to the wall.
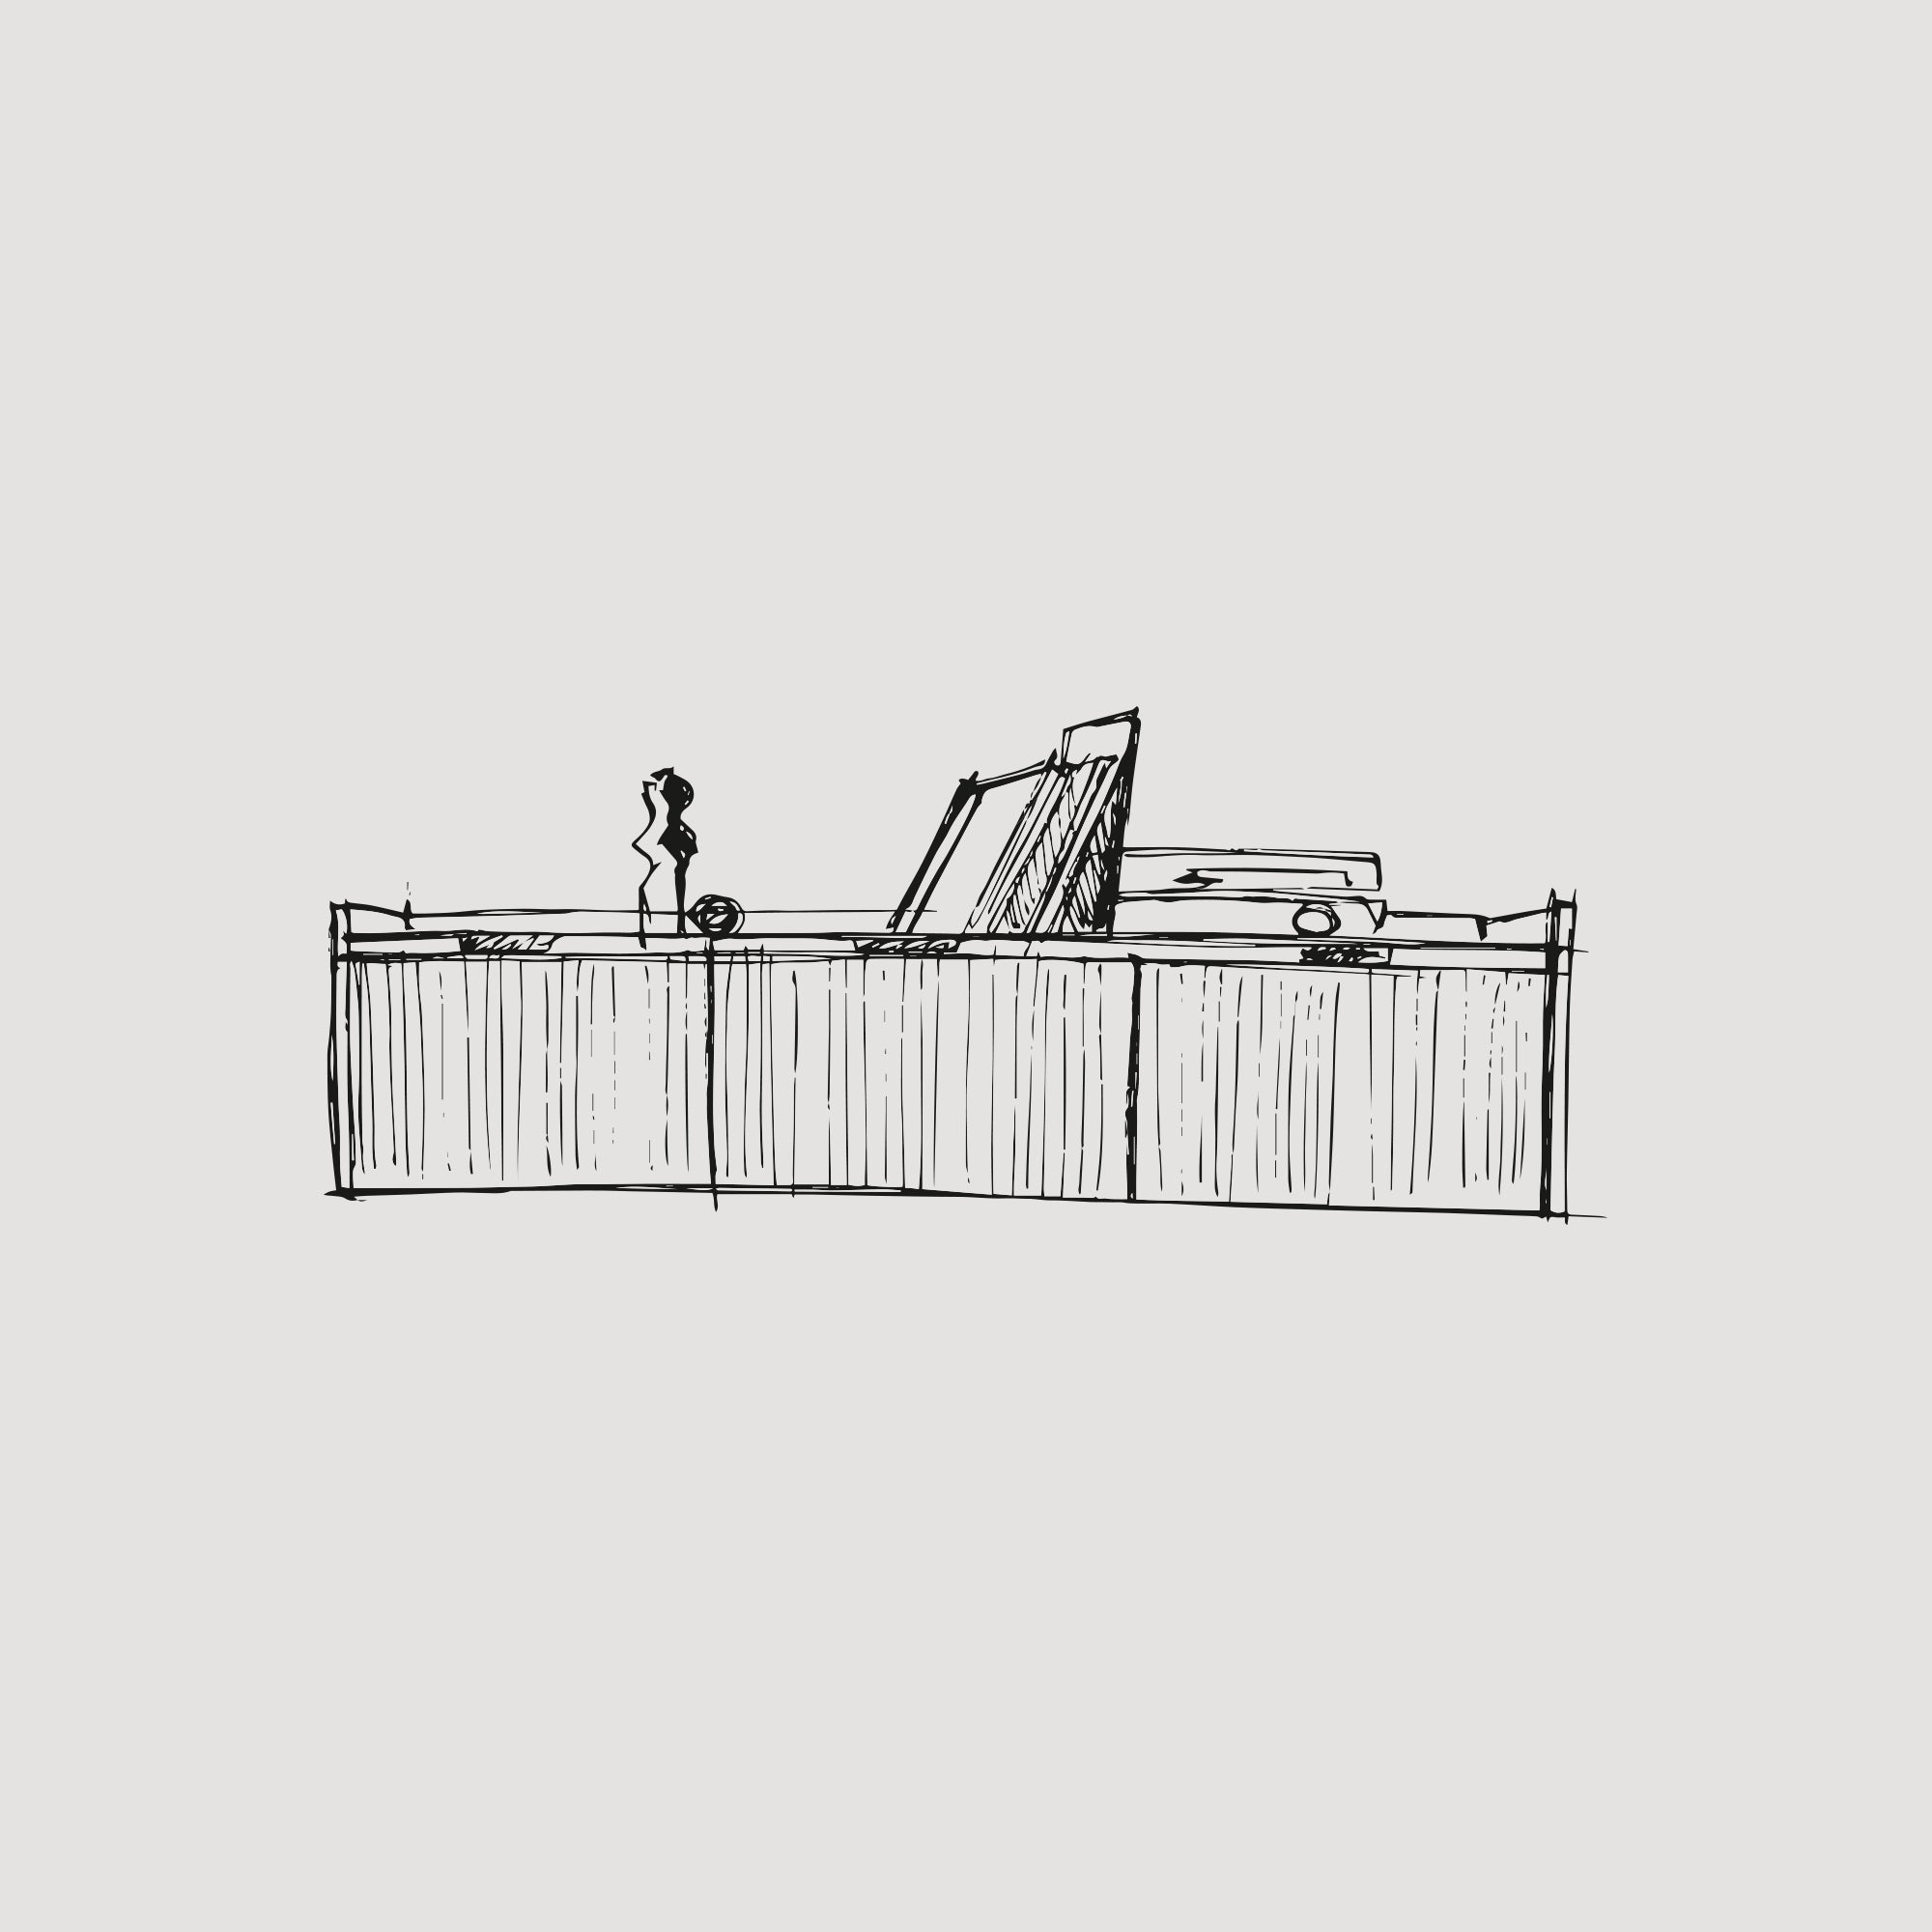
STEP 9
It's ready!
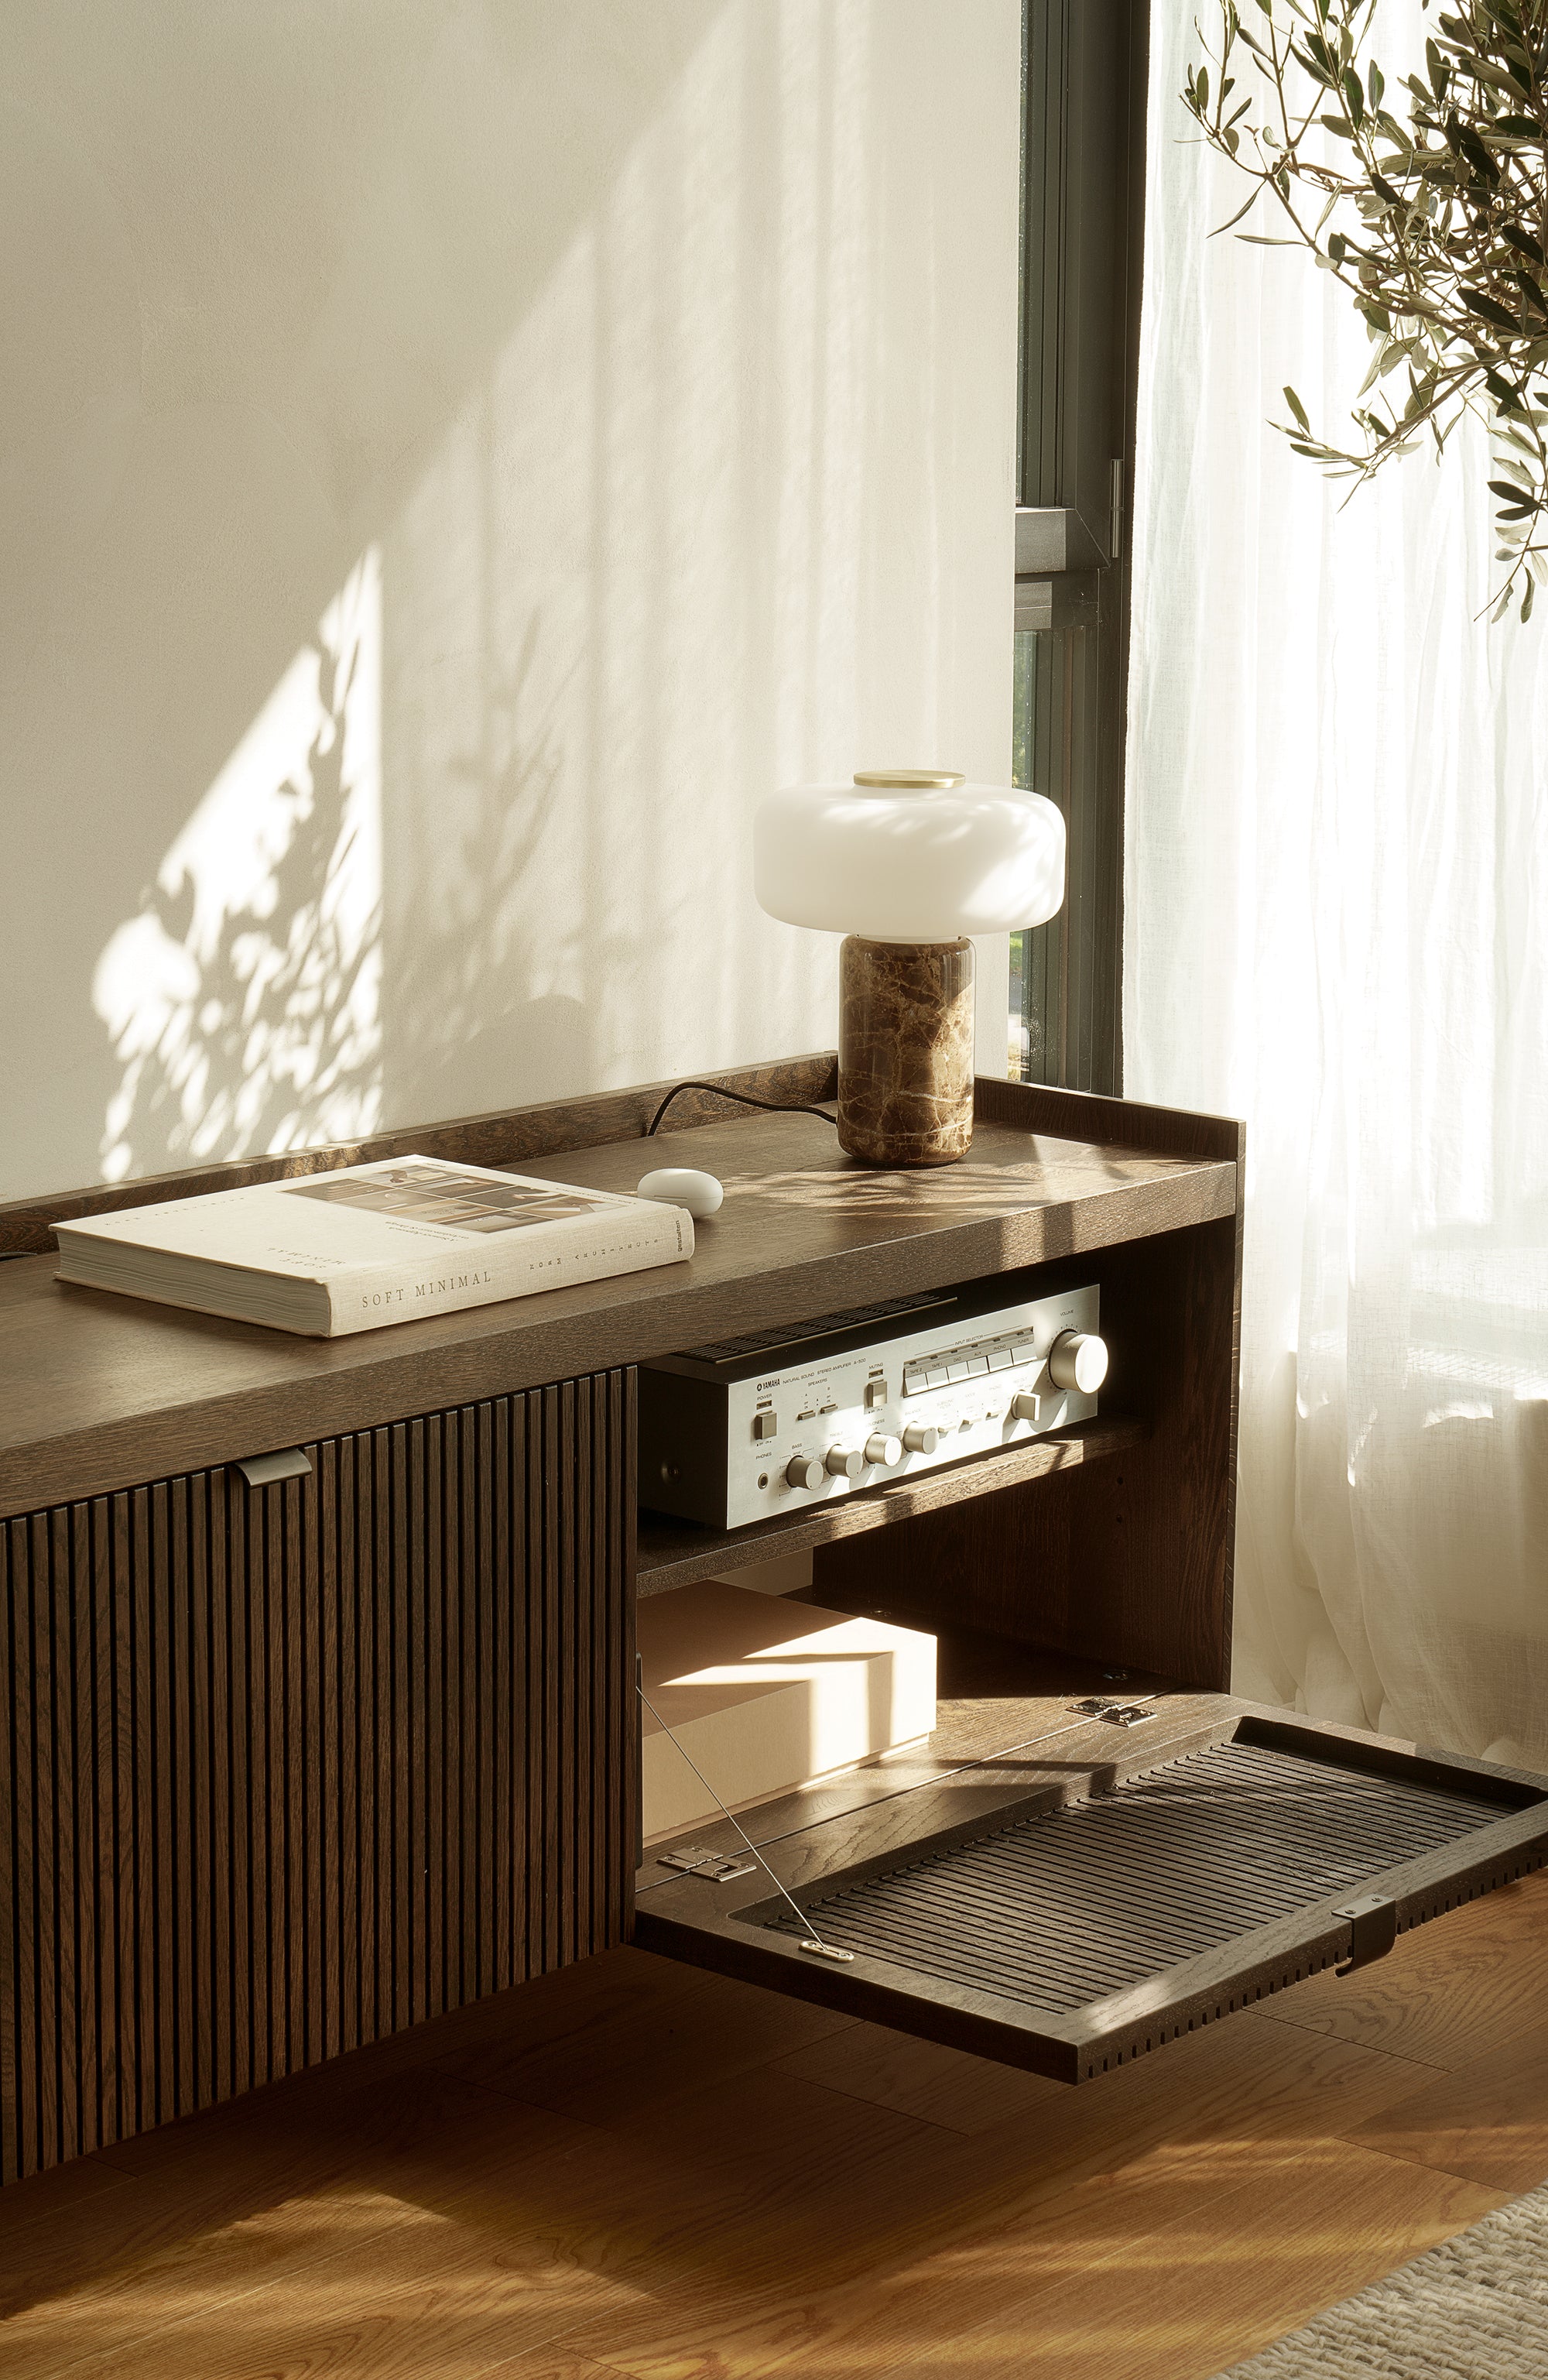
RTV
MEDA
MEDA furniture collection is a motif of fluted fronts and minimalism at its best. For many, this distinctive accent is a symbol of a contemporary and constantly popular trend, perfectly fitting into modern interiors. Our proposal is based on specially selected proportions with full functionality. Using simple stylistic treatments and the beauty of natural wood, we have created the MEDA RTV Hanging Cabinet.
VIEW