


Manual
BLOP
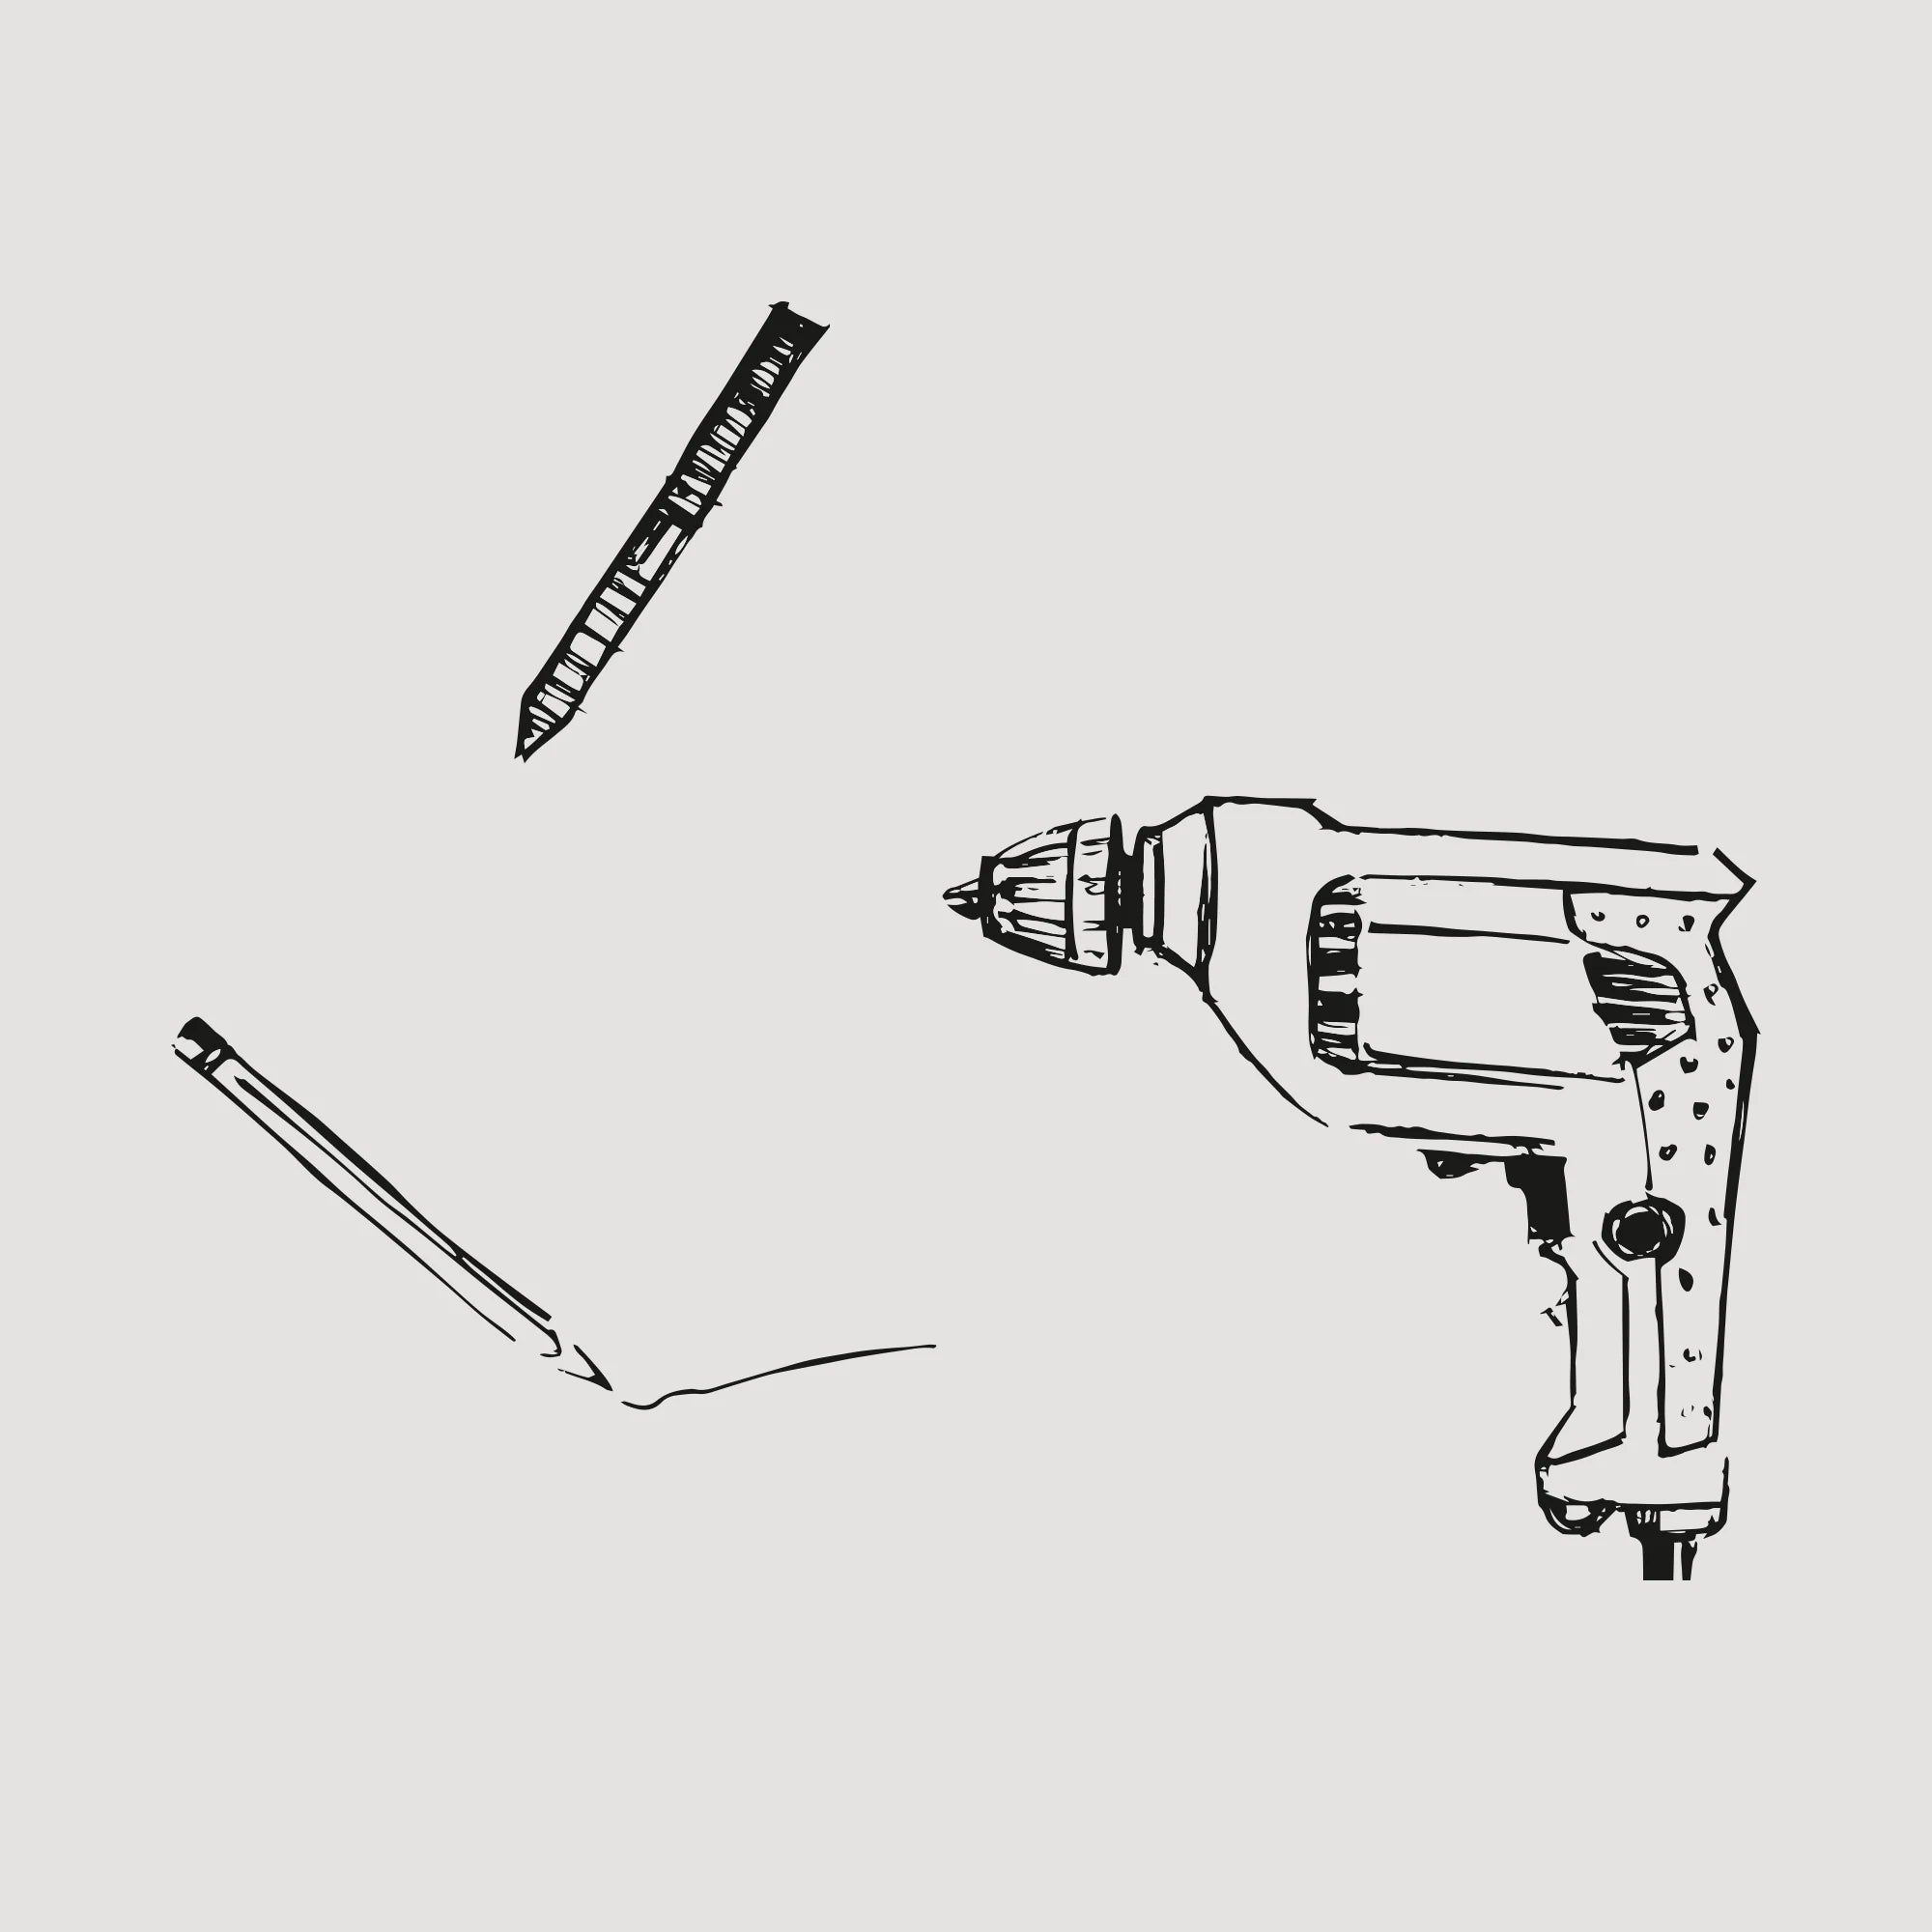
Prepare tools for mounting the BLOP hanger.
To mount the hanger efficiently, you will need:
#6 drill or screwdriver with drill function, screwdriver, pencil and Allen key.
START
Prepare tools for mounting the BLOP hanger. To mount the hanger efficiently, you will need: a drill with a drill bit No. 8 or a screwdriver with a drilling function, a pencil, a double-thread screw, which you will find in the BLOP package.
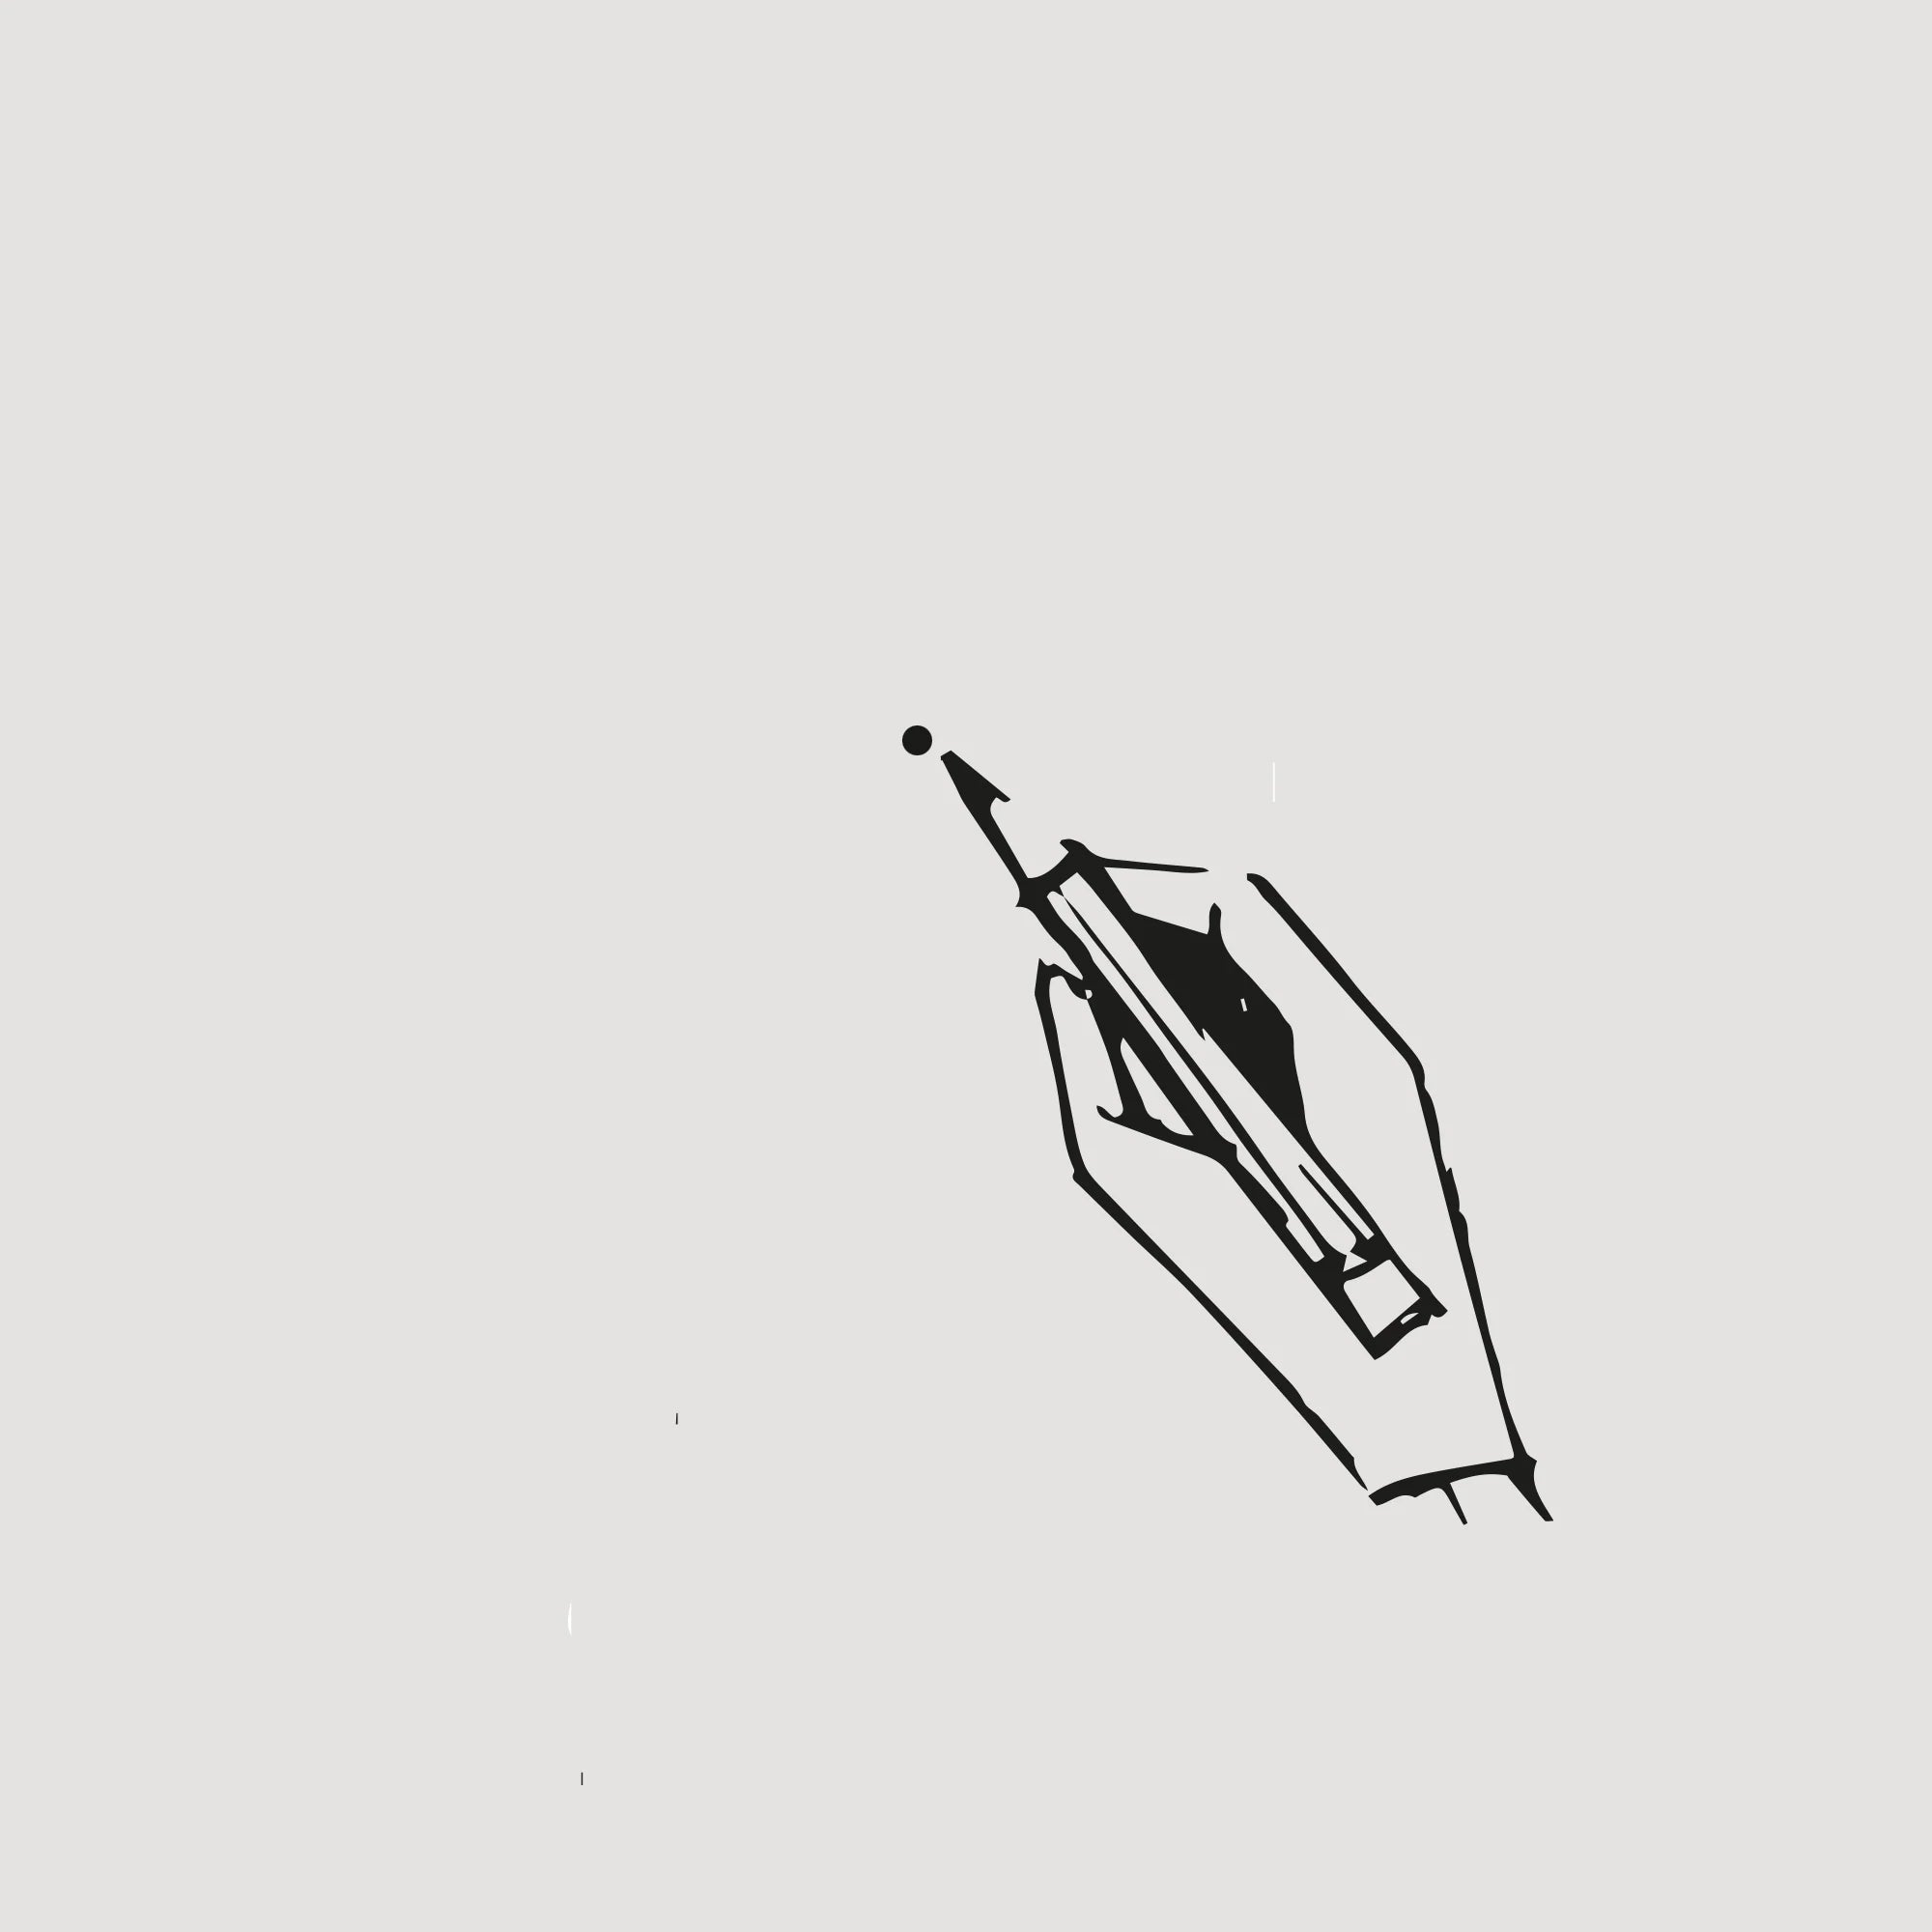
STEP 1
Mark with a pencil on the wall the point where you want to screw the BLOP.
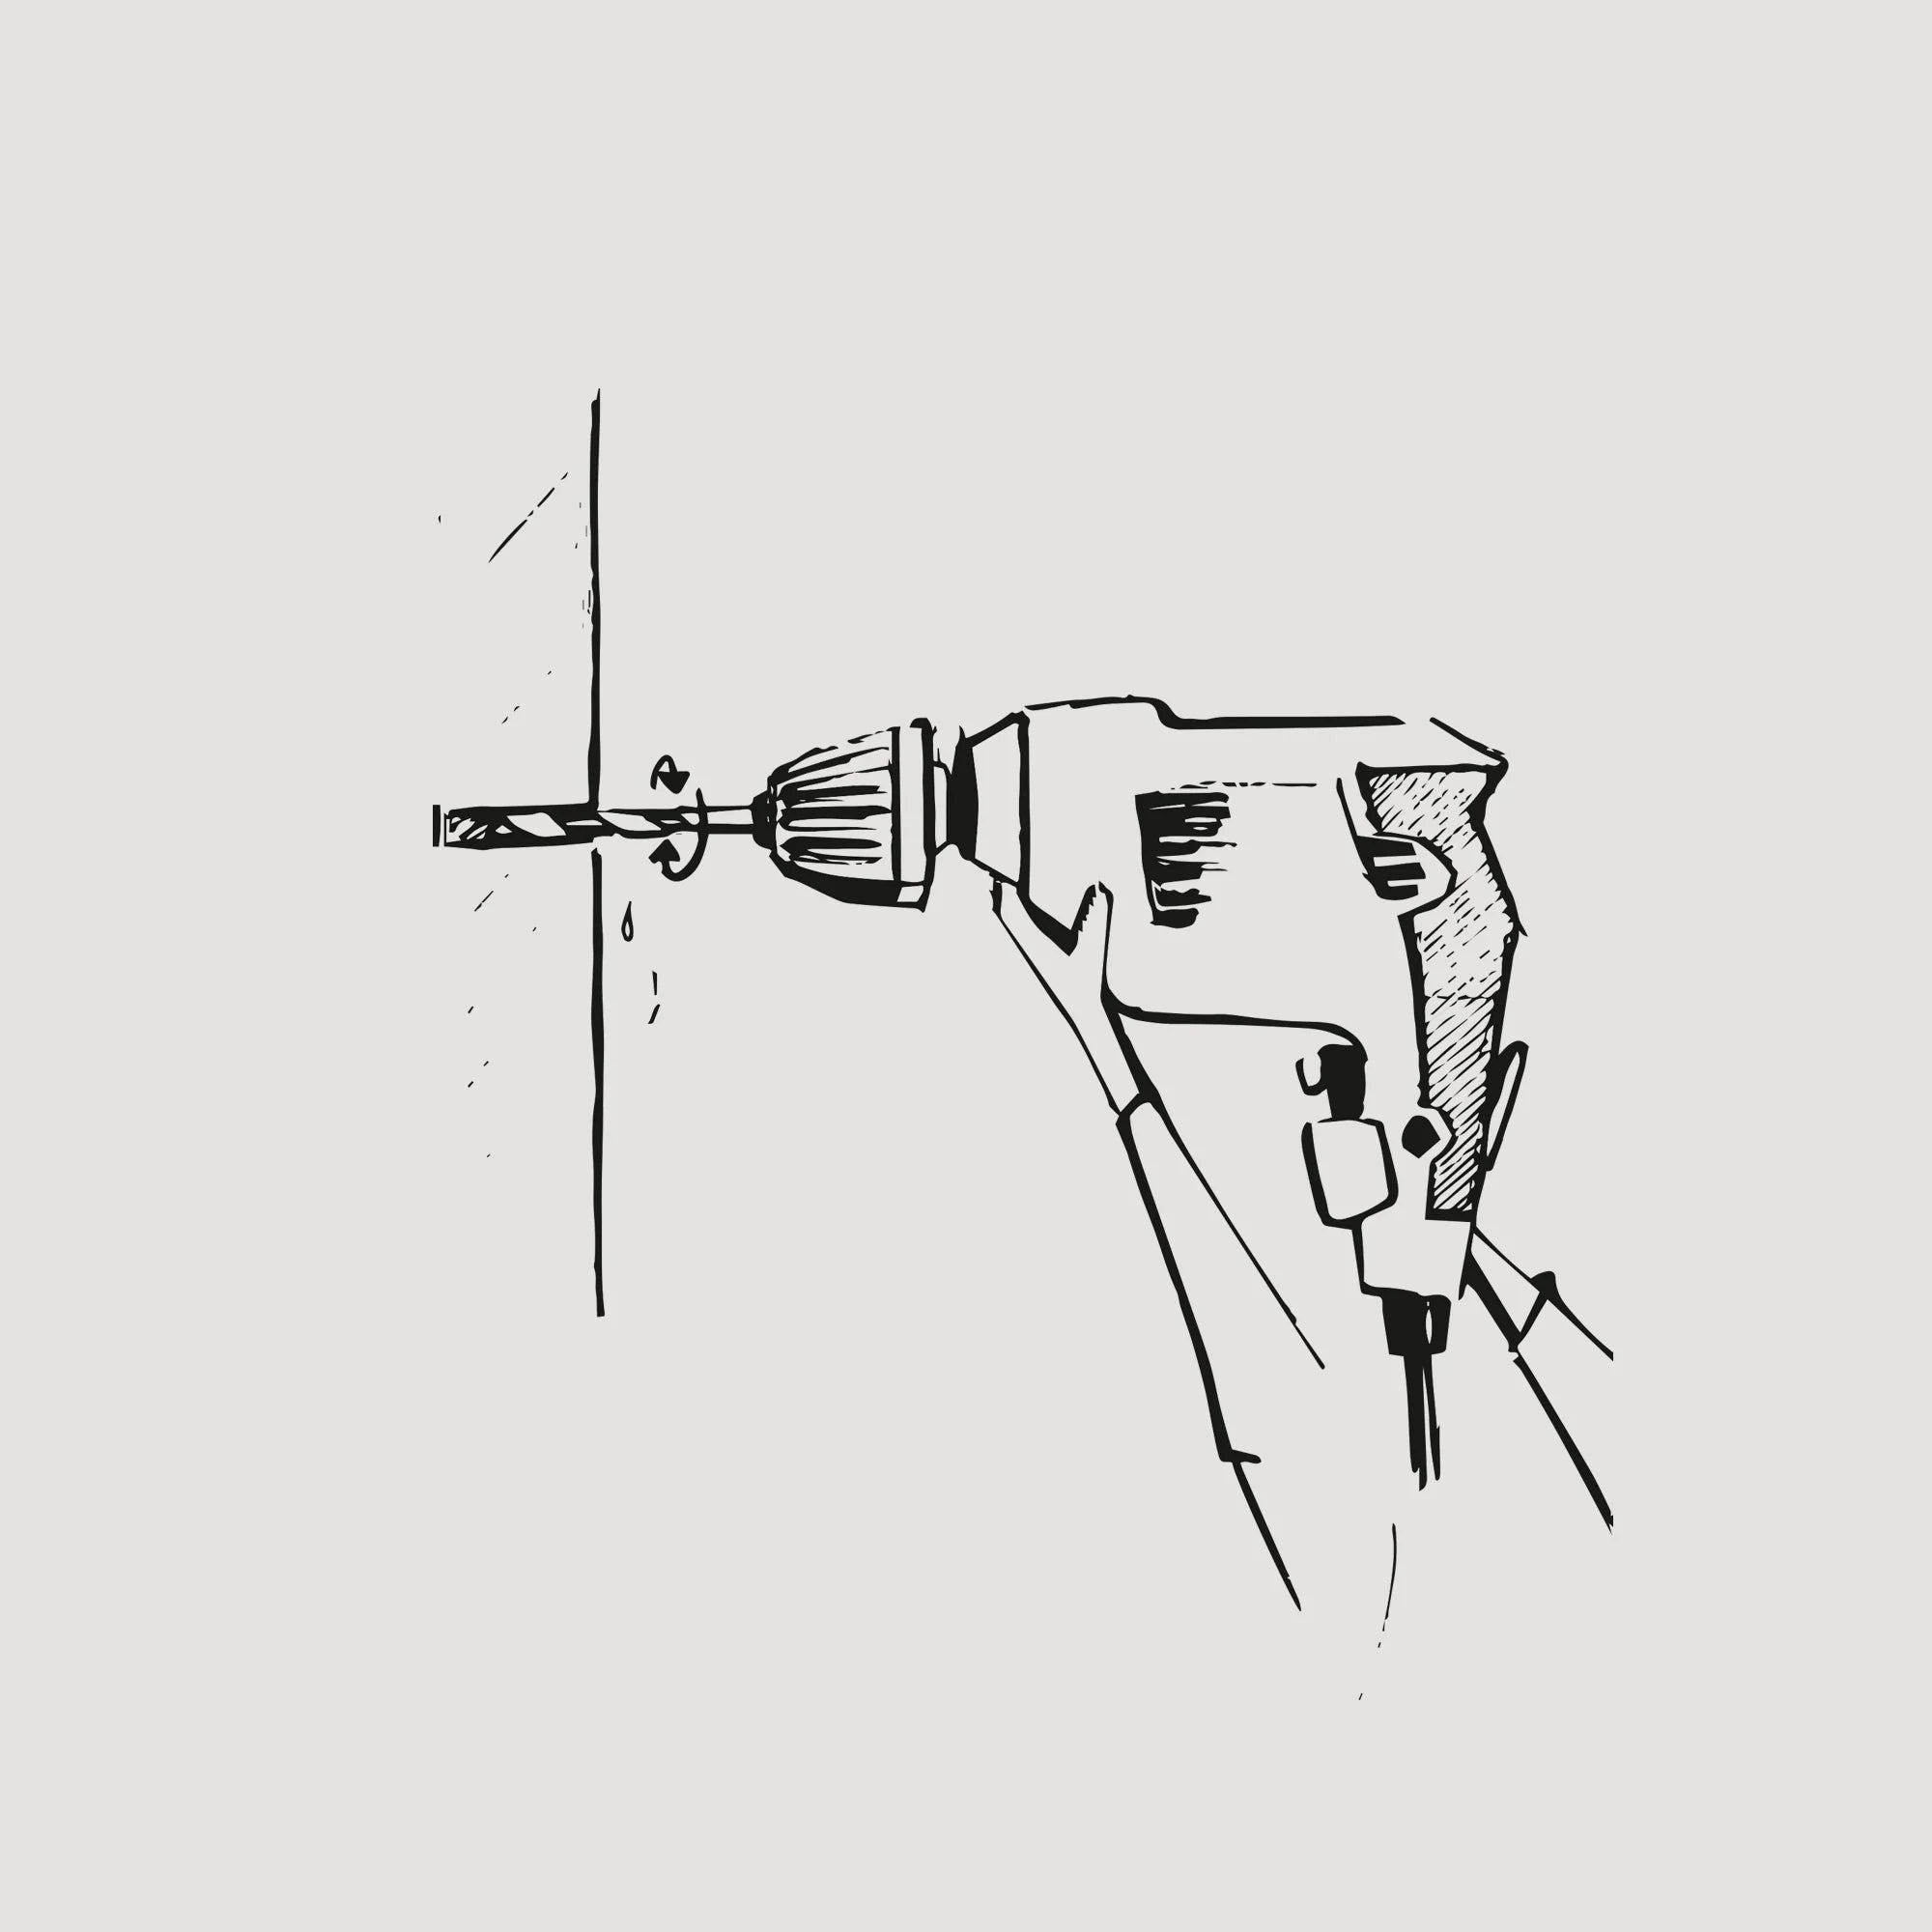
STEP 2
Drill a hole in the wall to the full depth of the plug (perpendicular to the wall with a drill with a diameter of the plug 8mm).
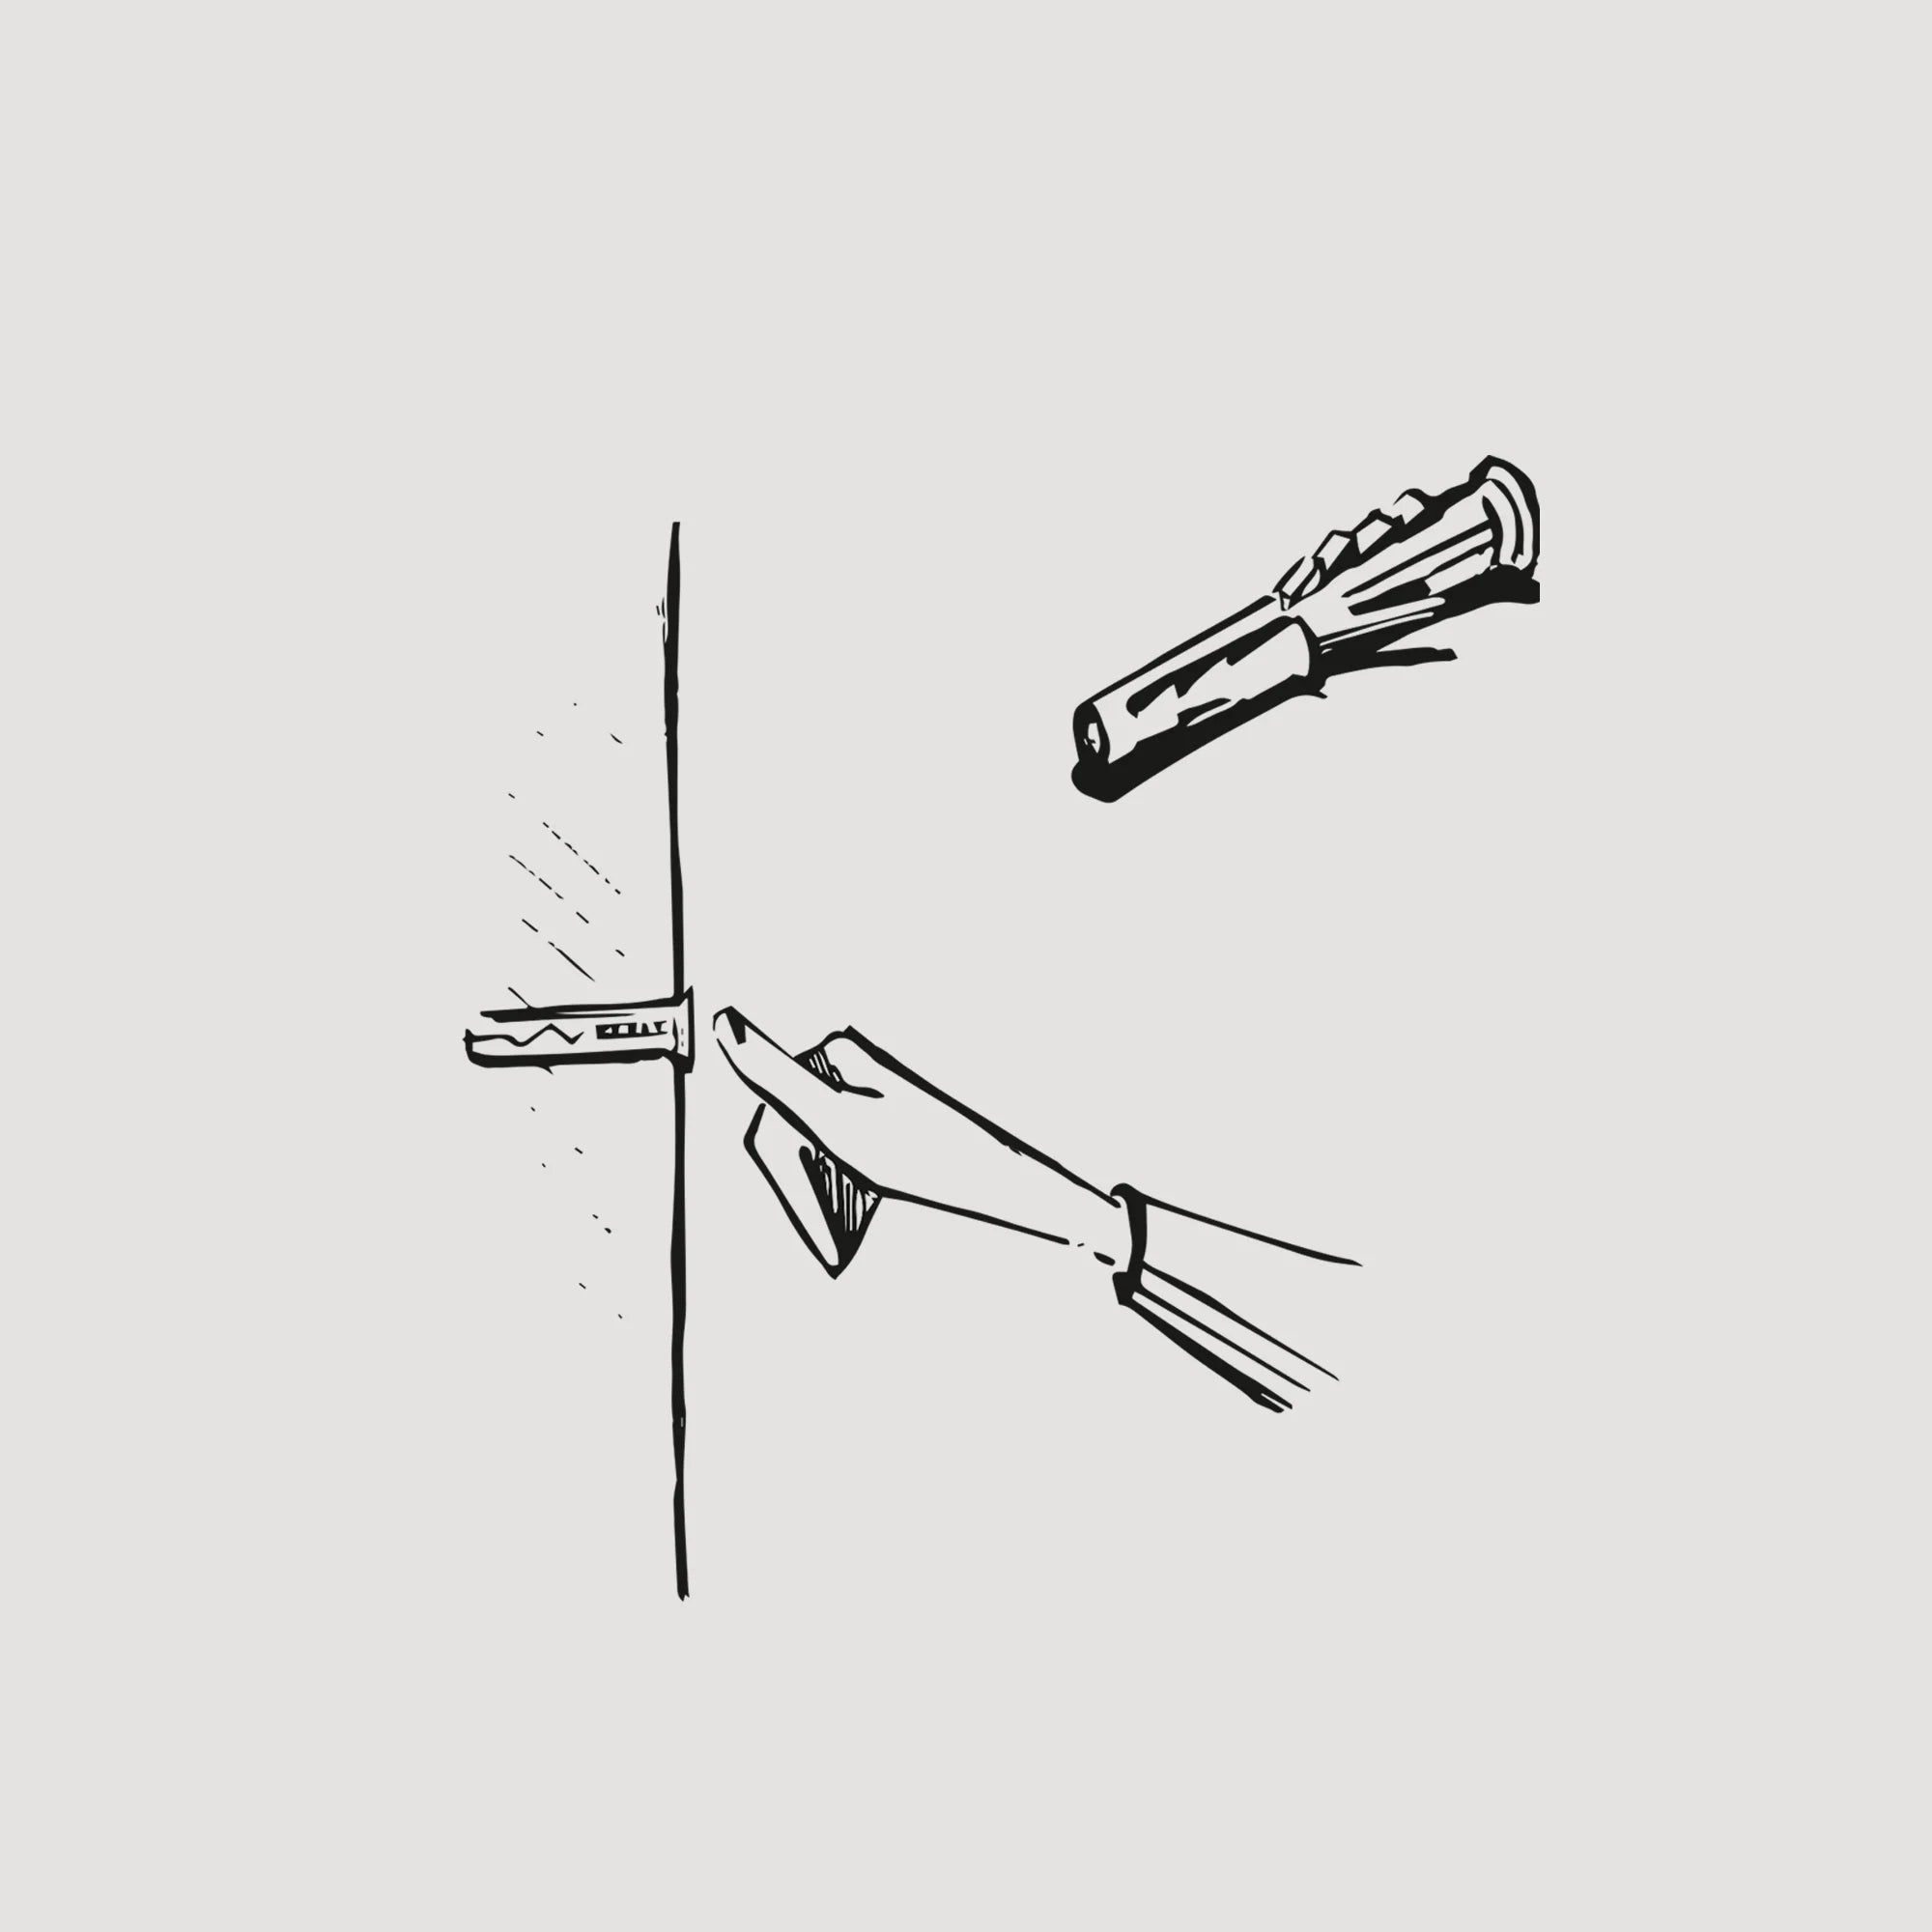
STEP 3
After drilling the top hole, insert the mounting pin into it. Set it so that its flange is flush with the wall.
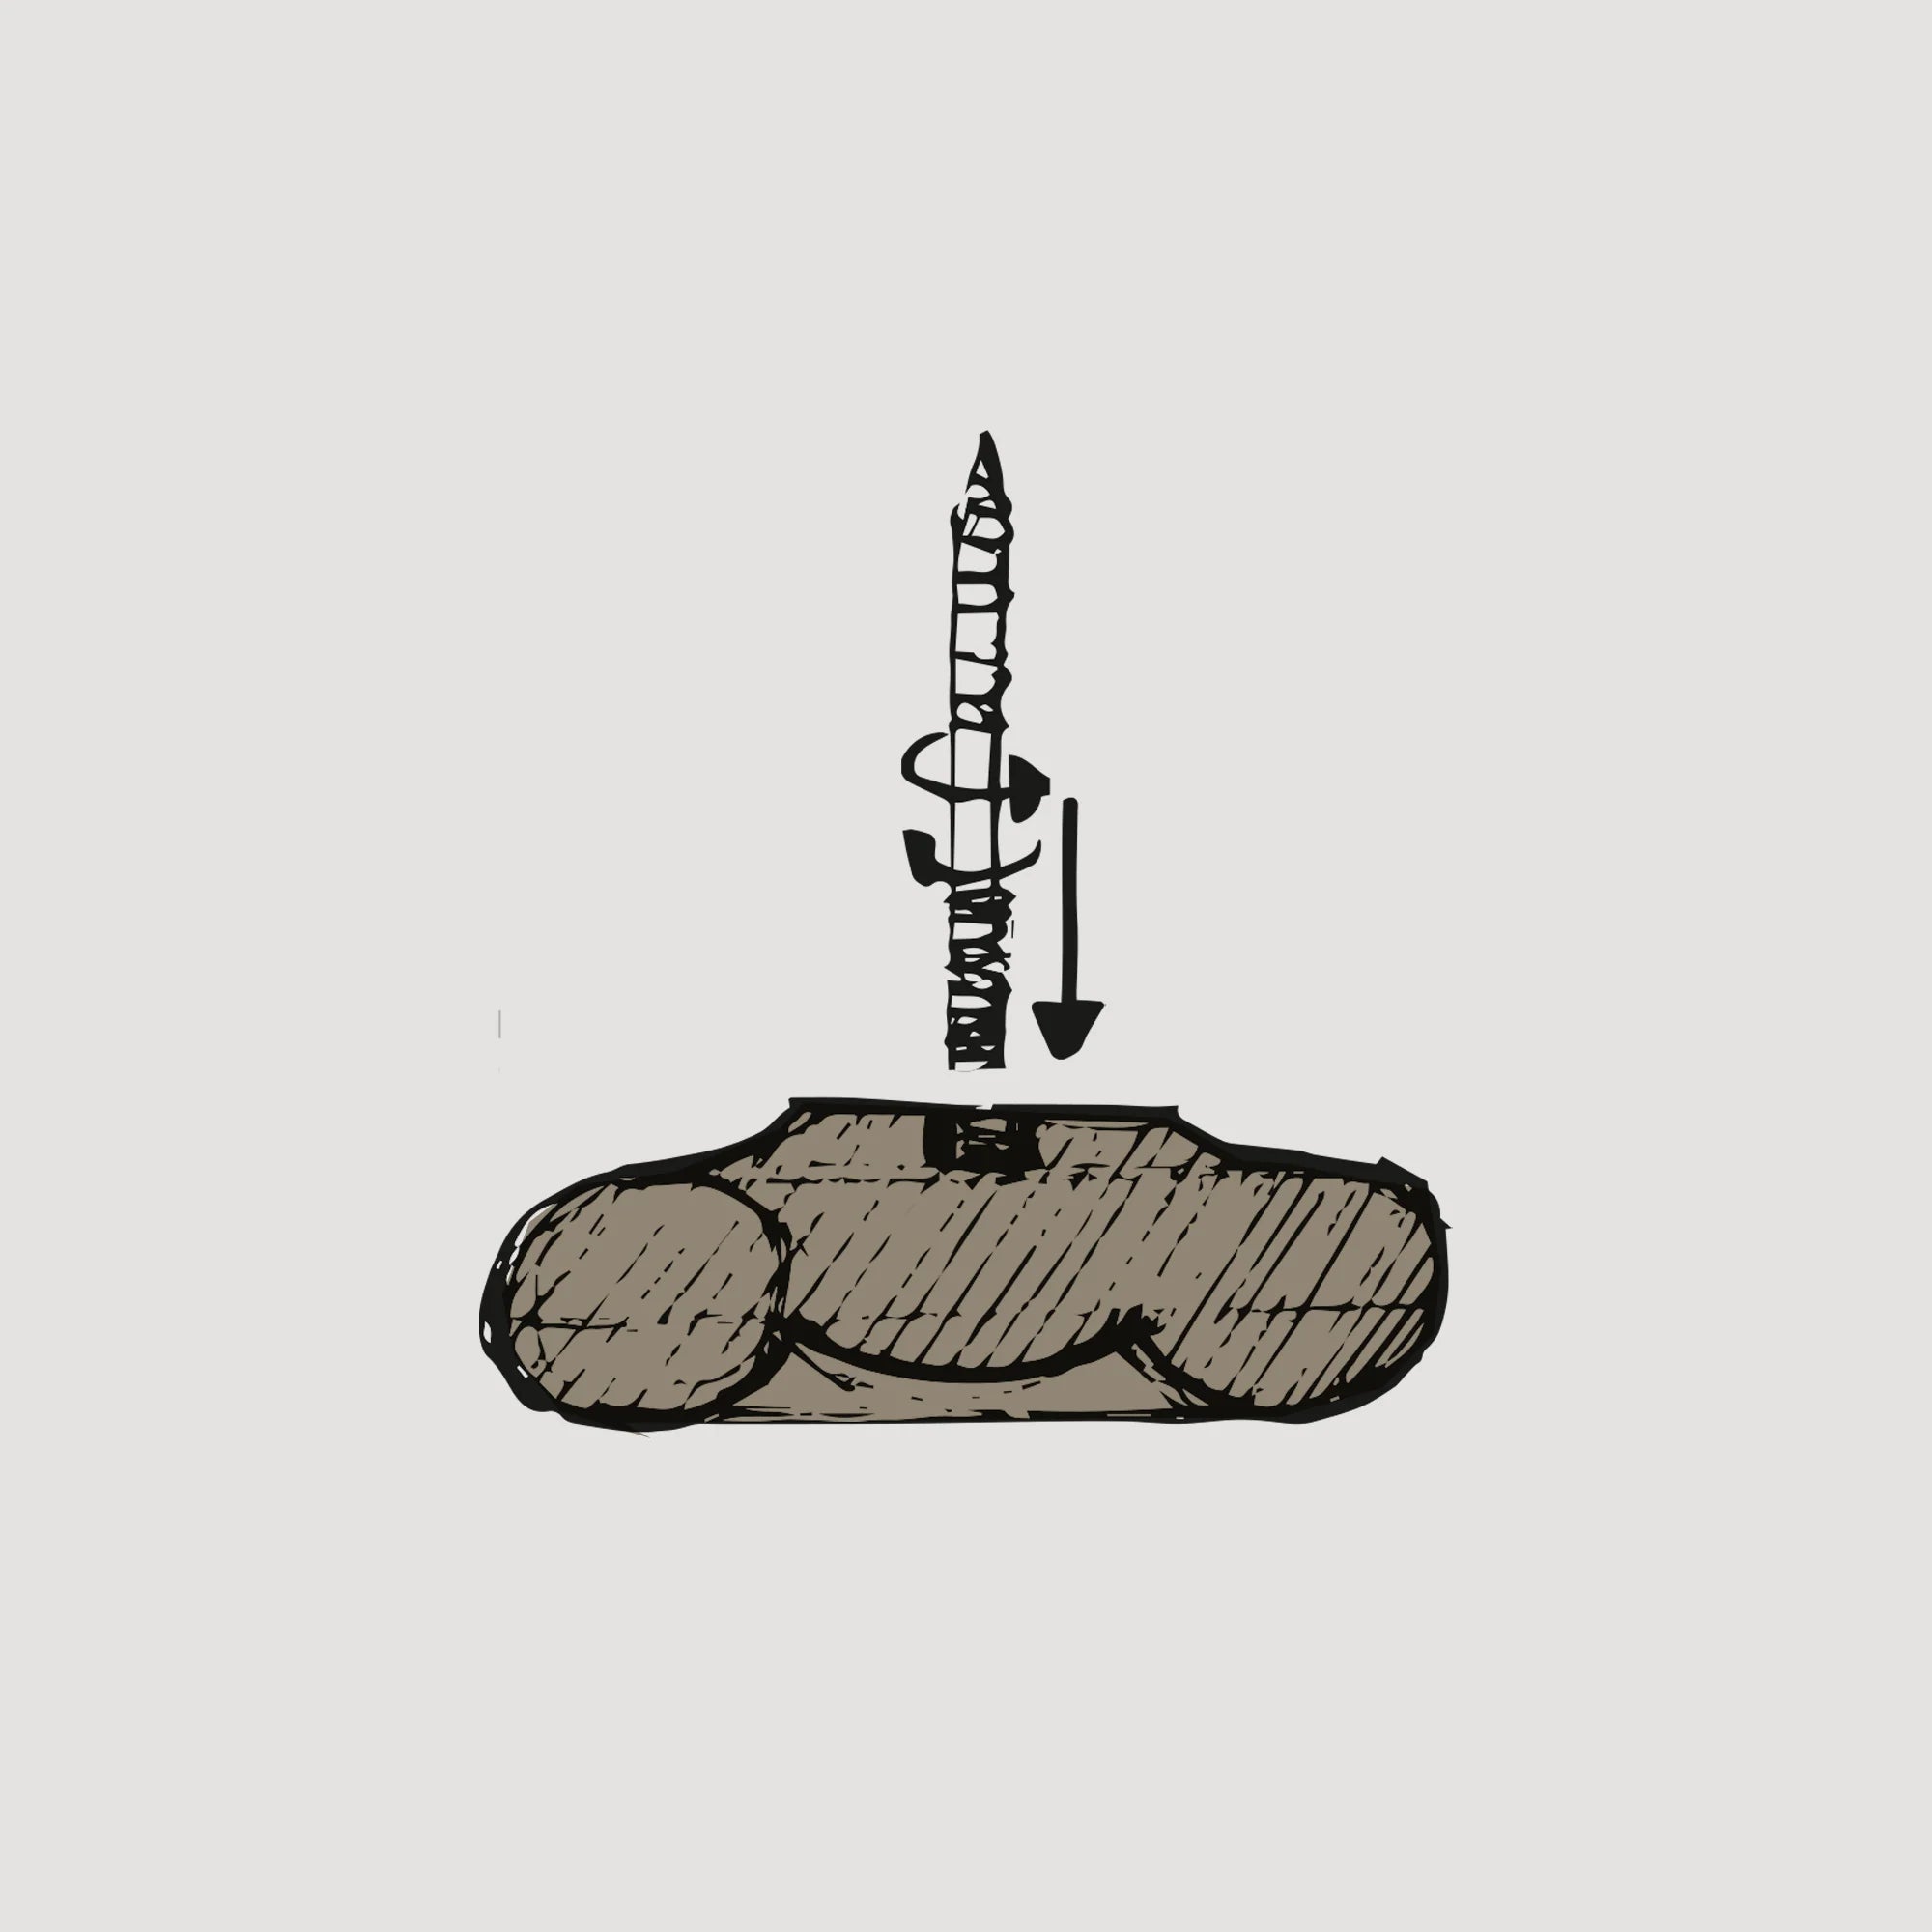
STEP 4
Screw the hanger bolt that you will find in the package into the bottom of the BLOP with the unsharpened part (as shown in the picture).
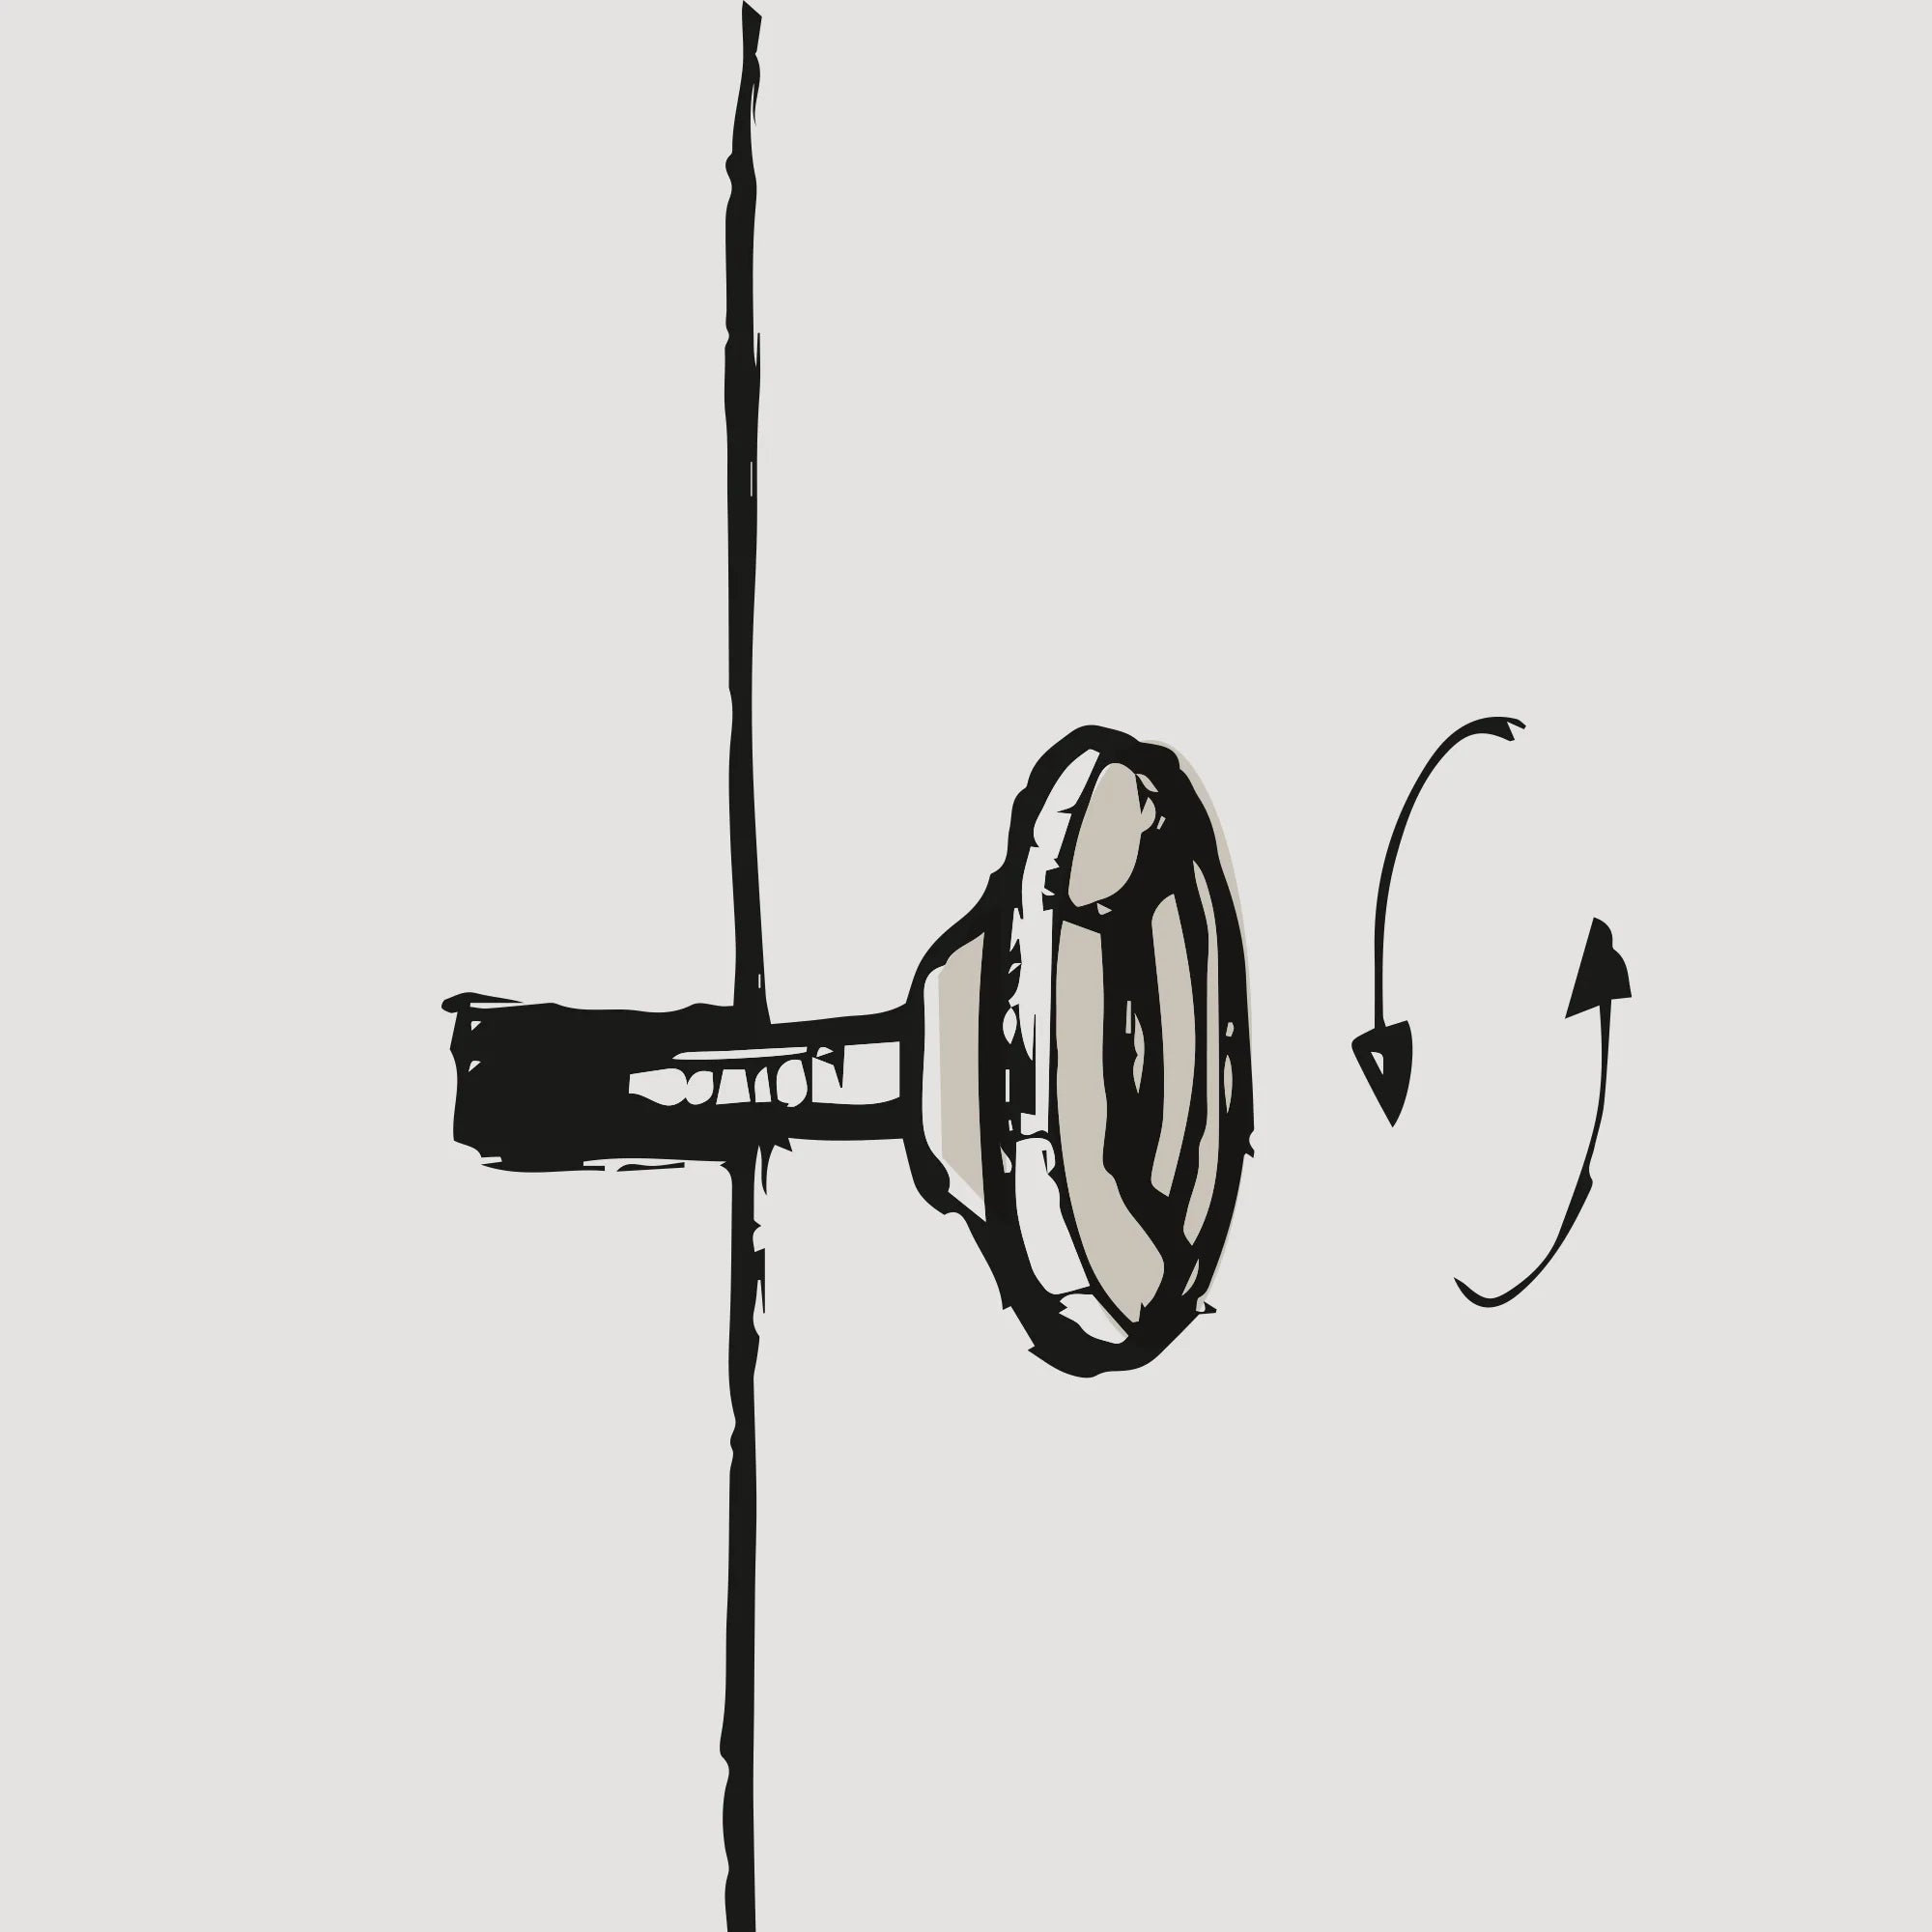
STEP 5
Screw the BLOP set with the screw into the mounting pin previously placed in the wall.
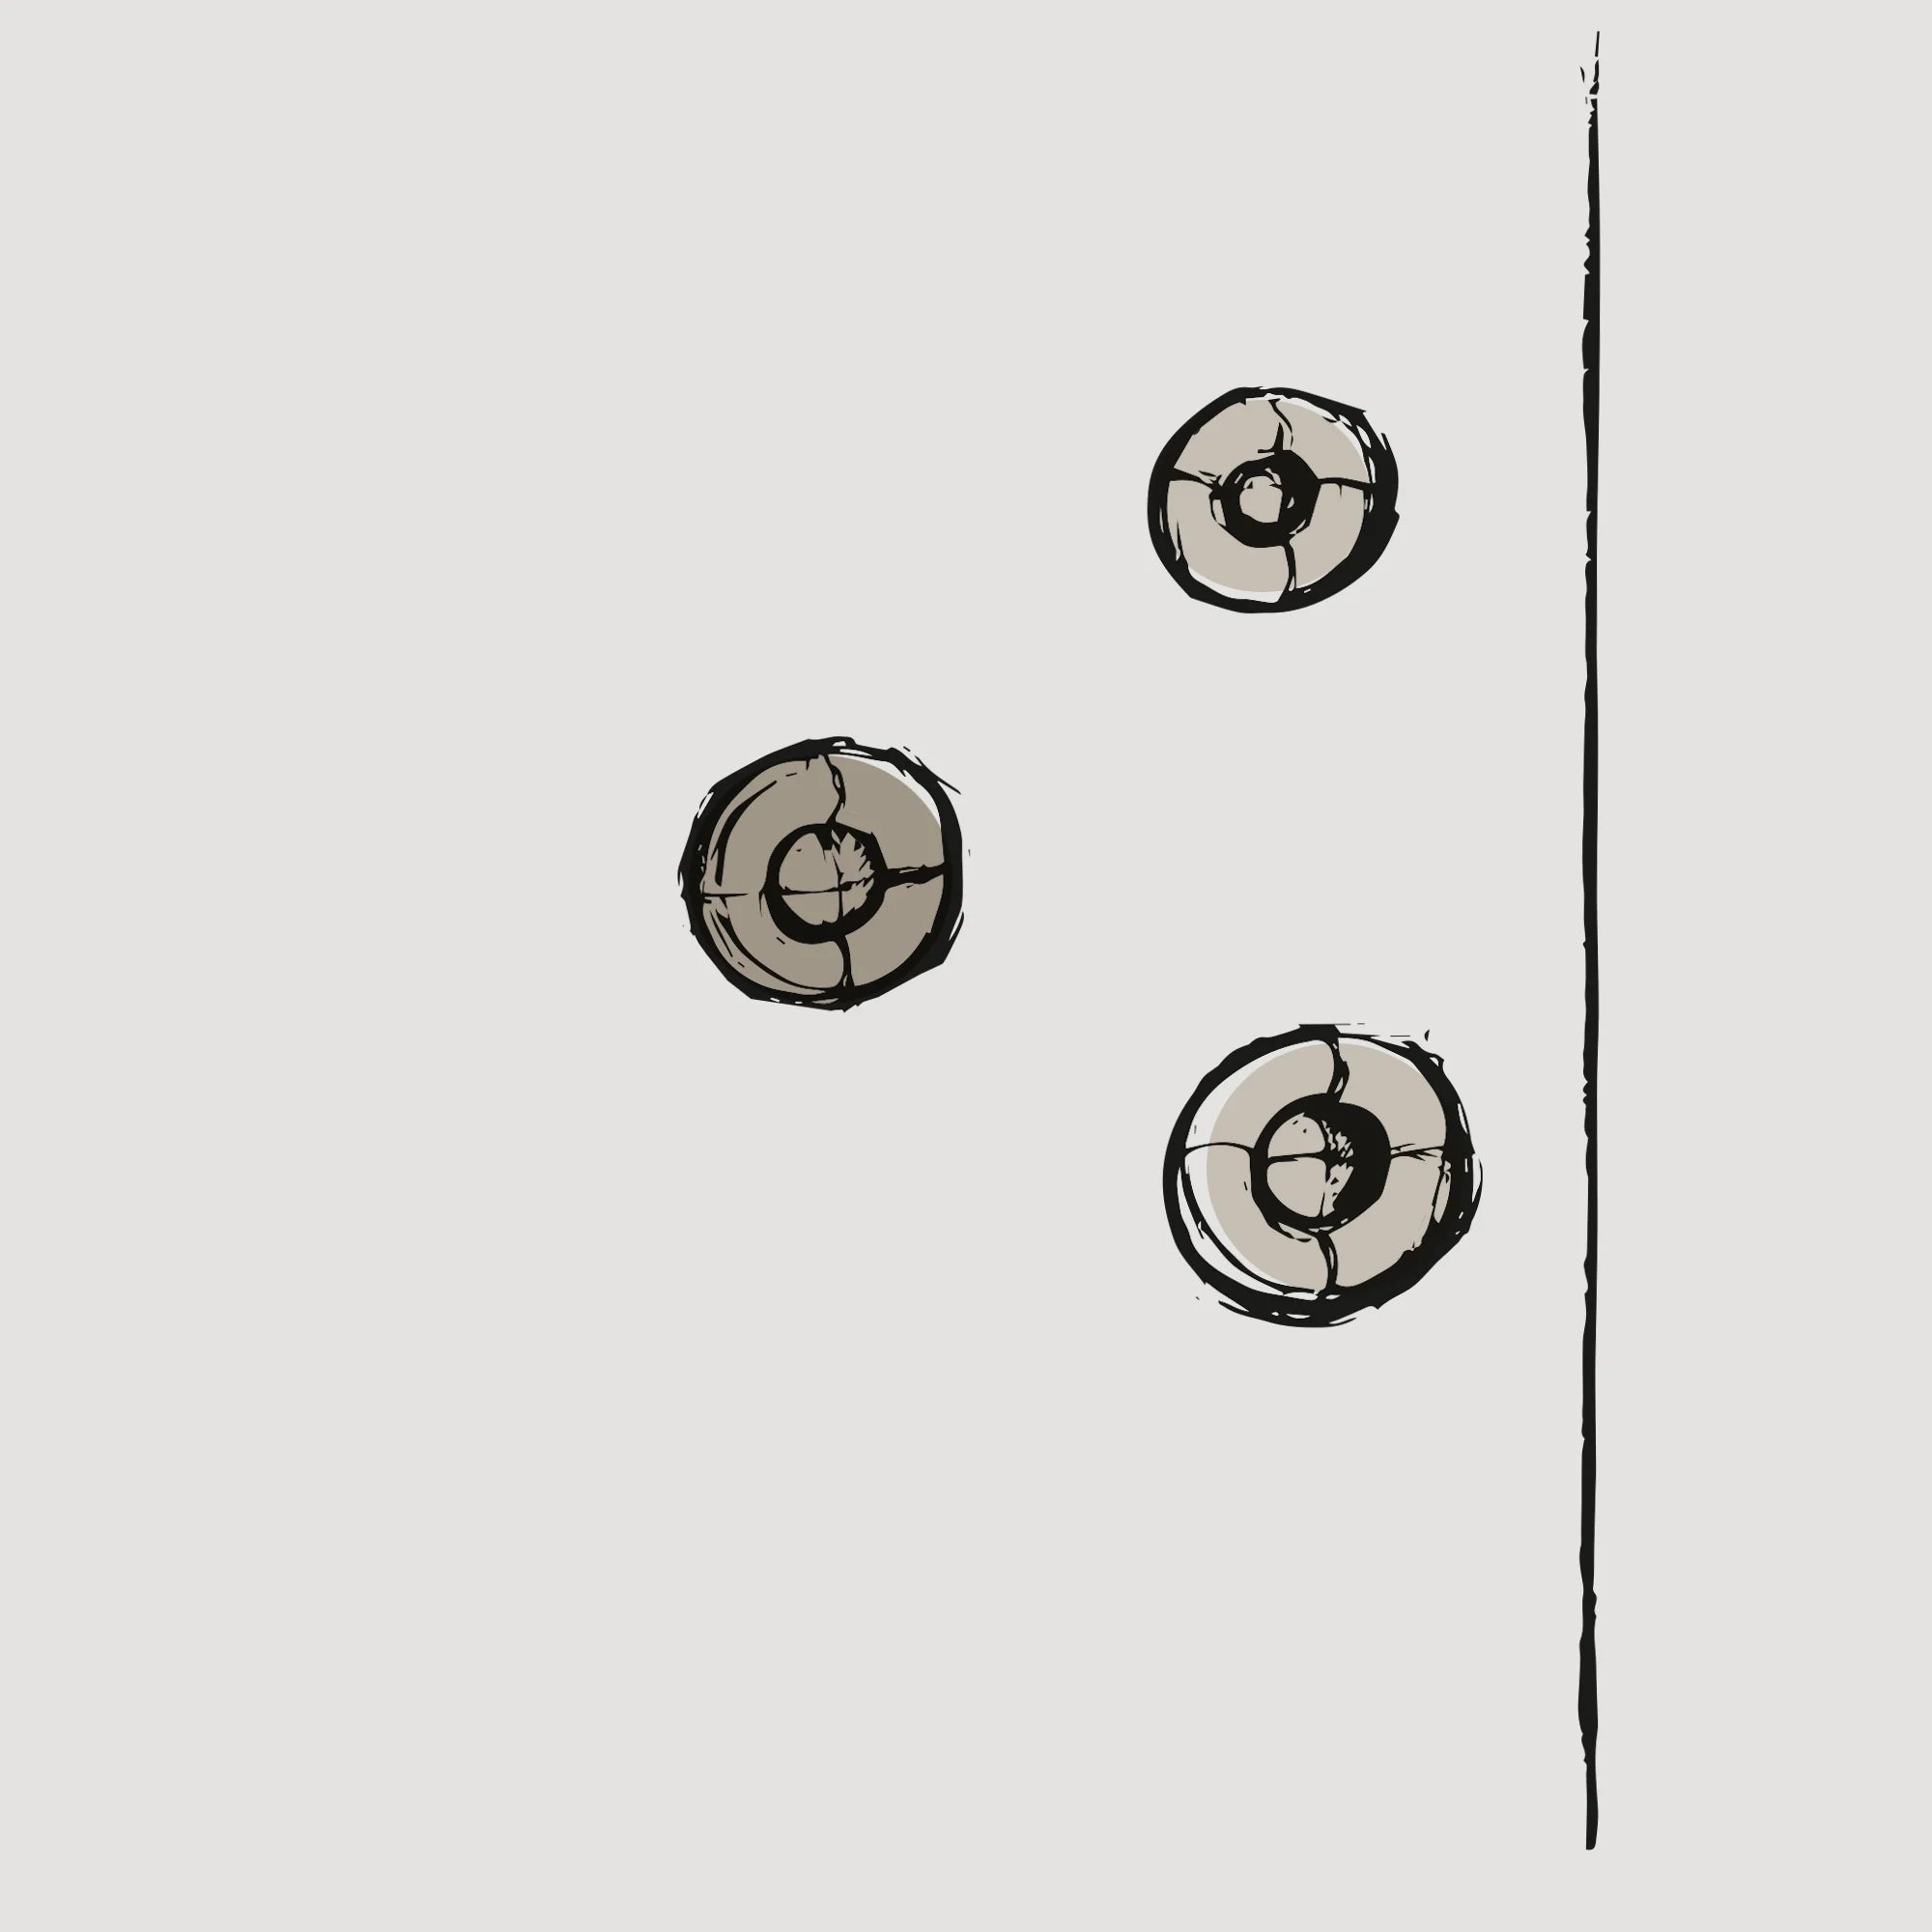
STEP 6
If you have more than one BLOP, repeat the steps above and create your own composition on the wall.
STEP 7
Ready
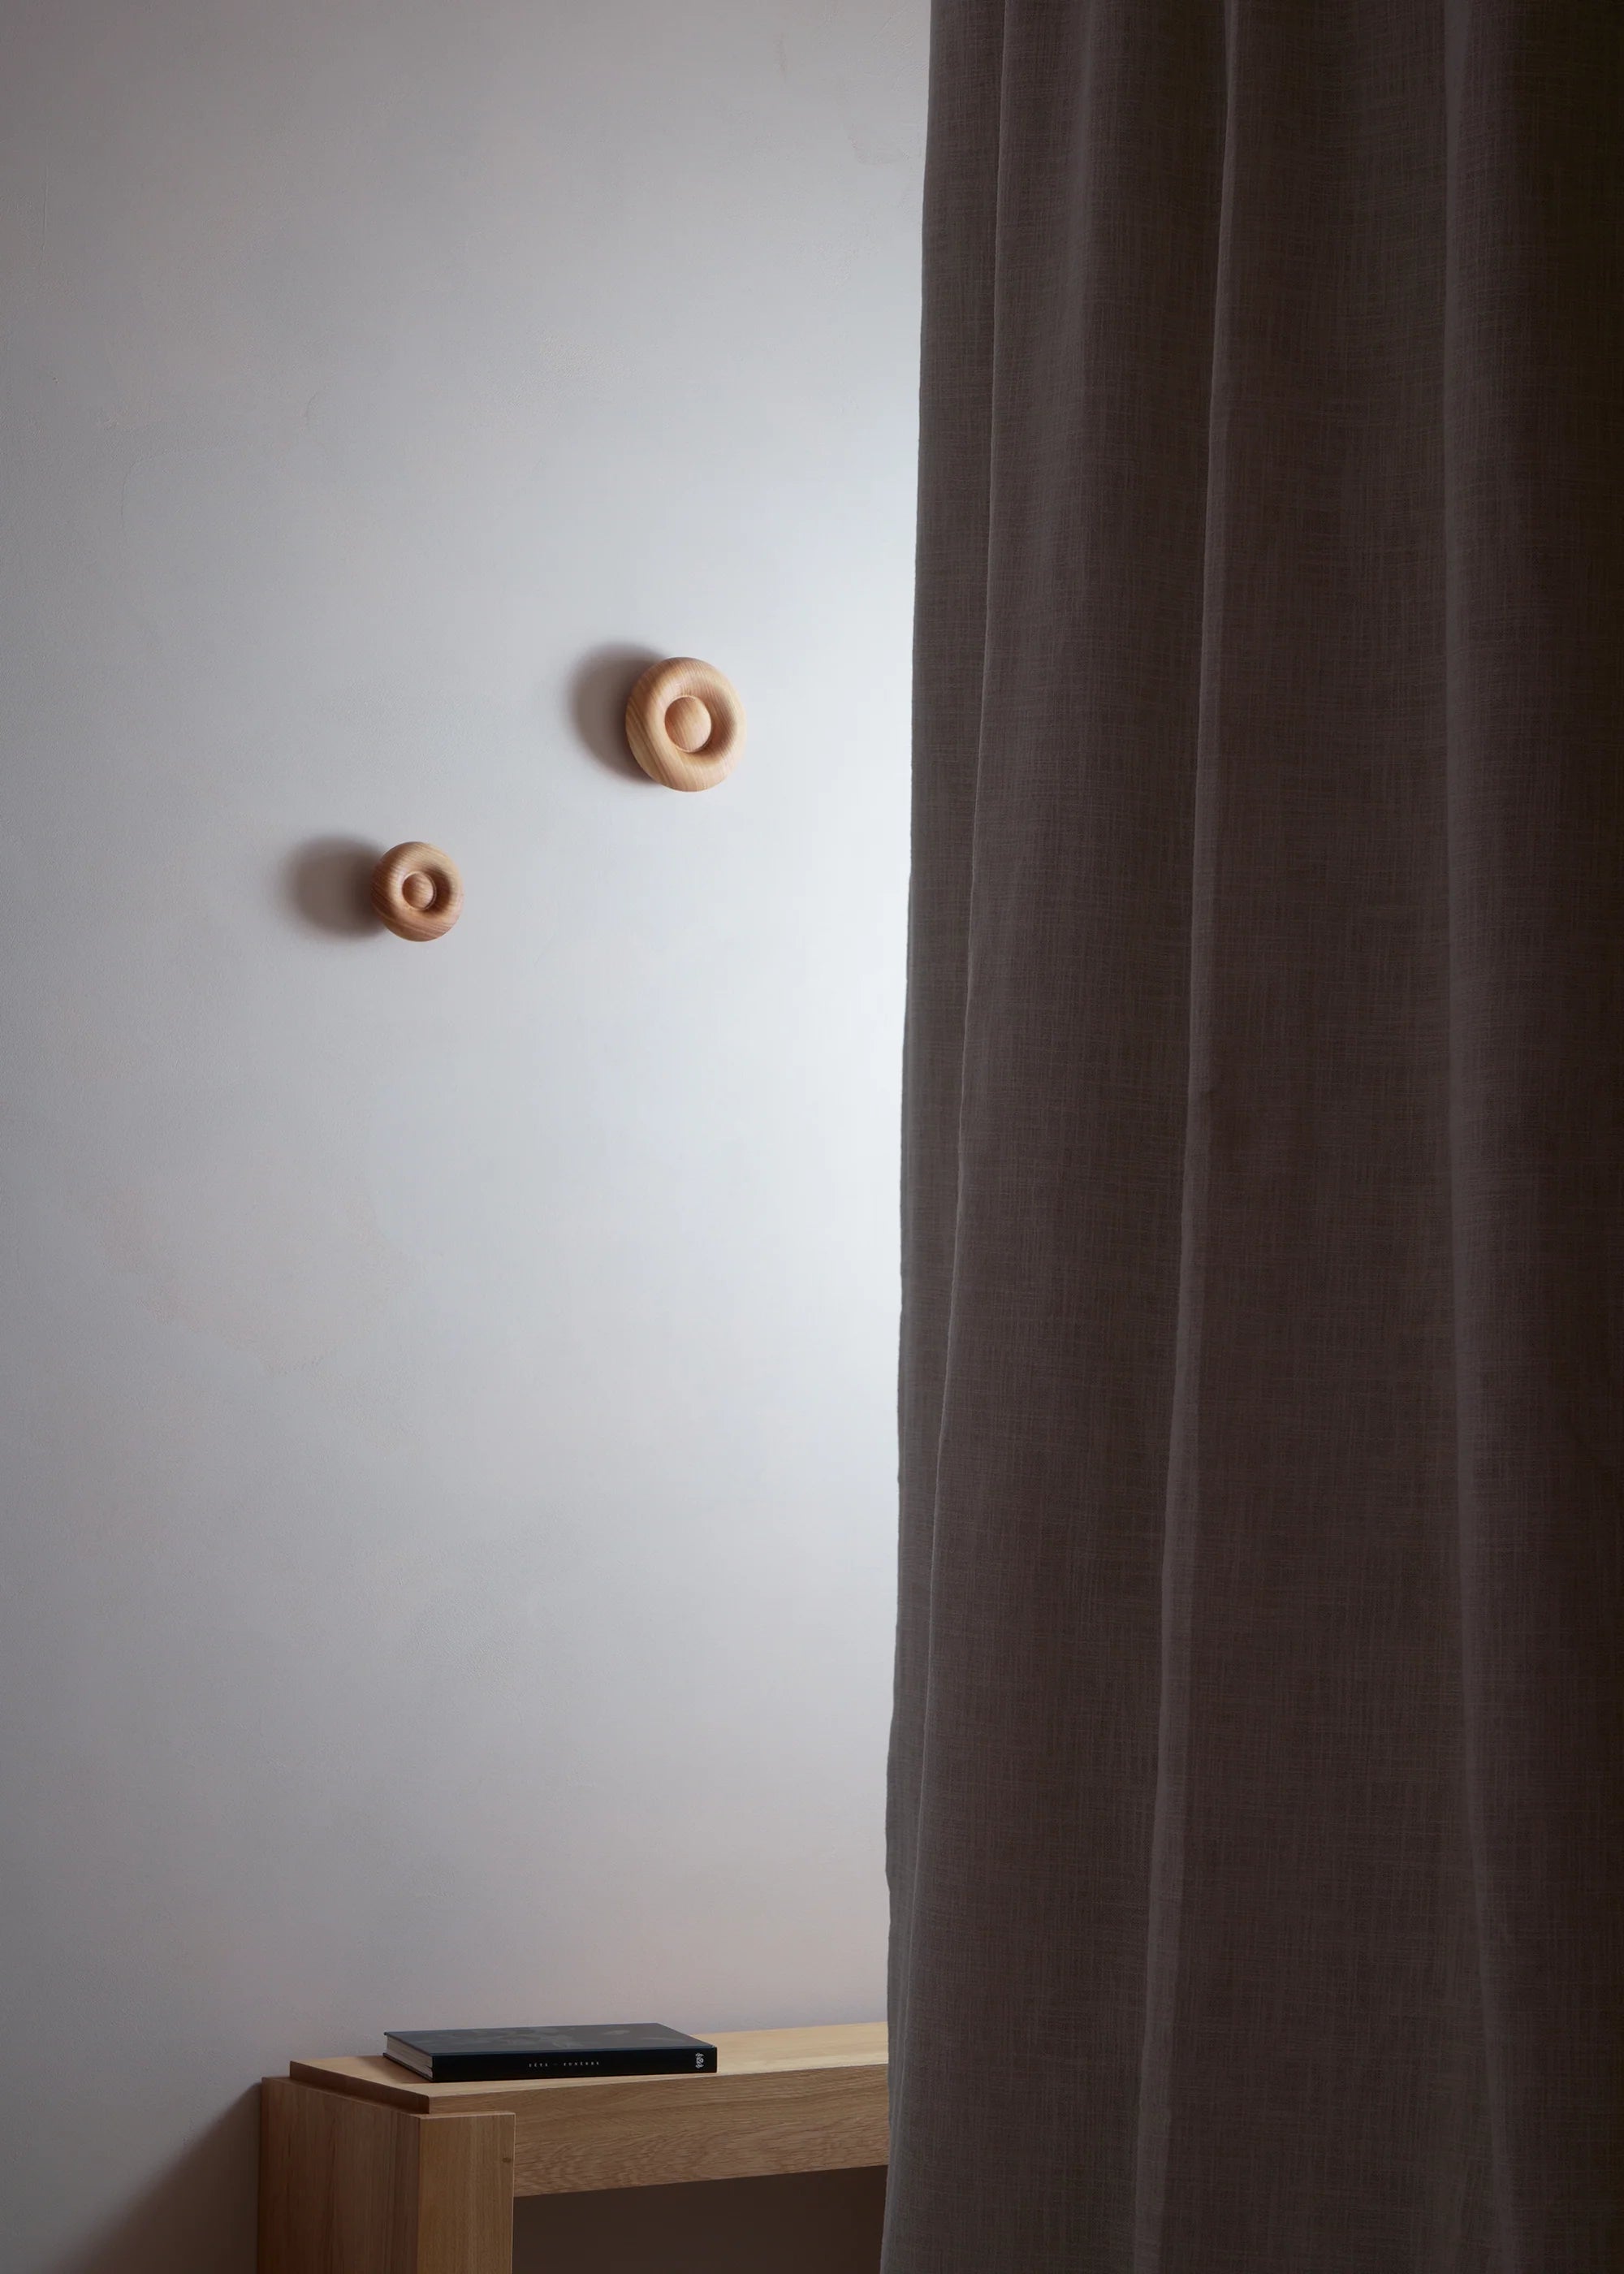
Hanger
BLOP
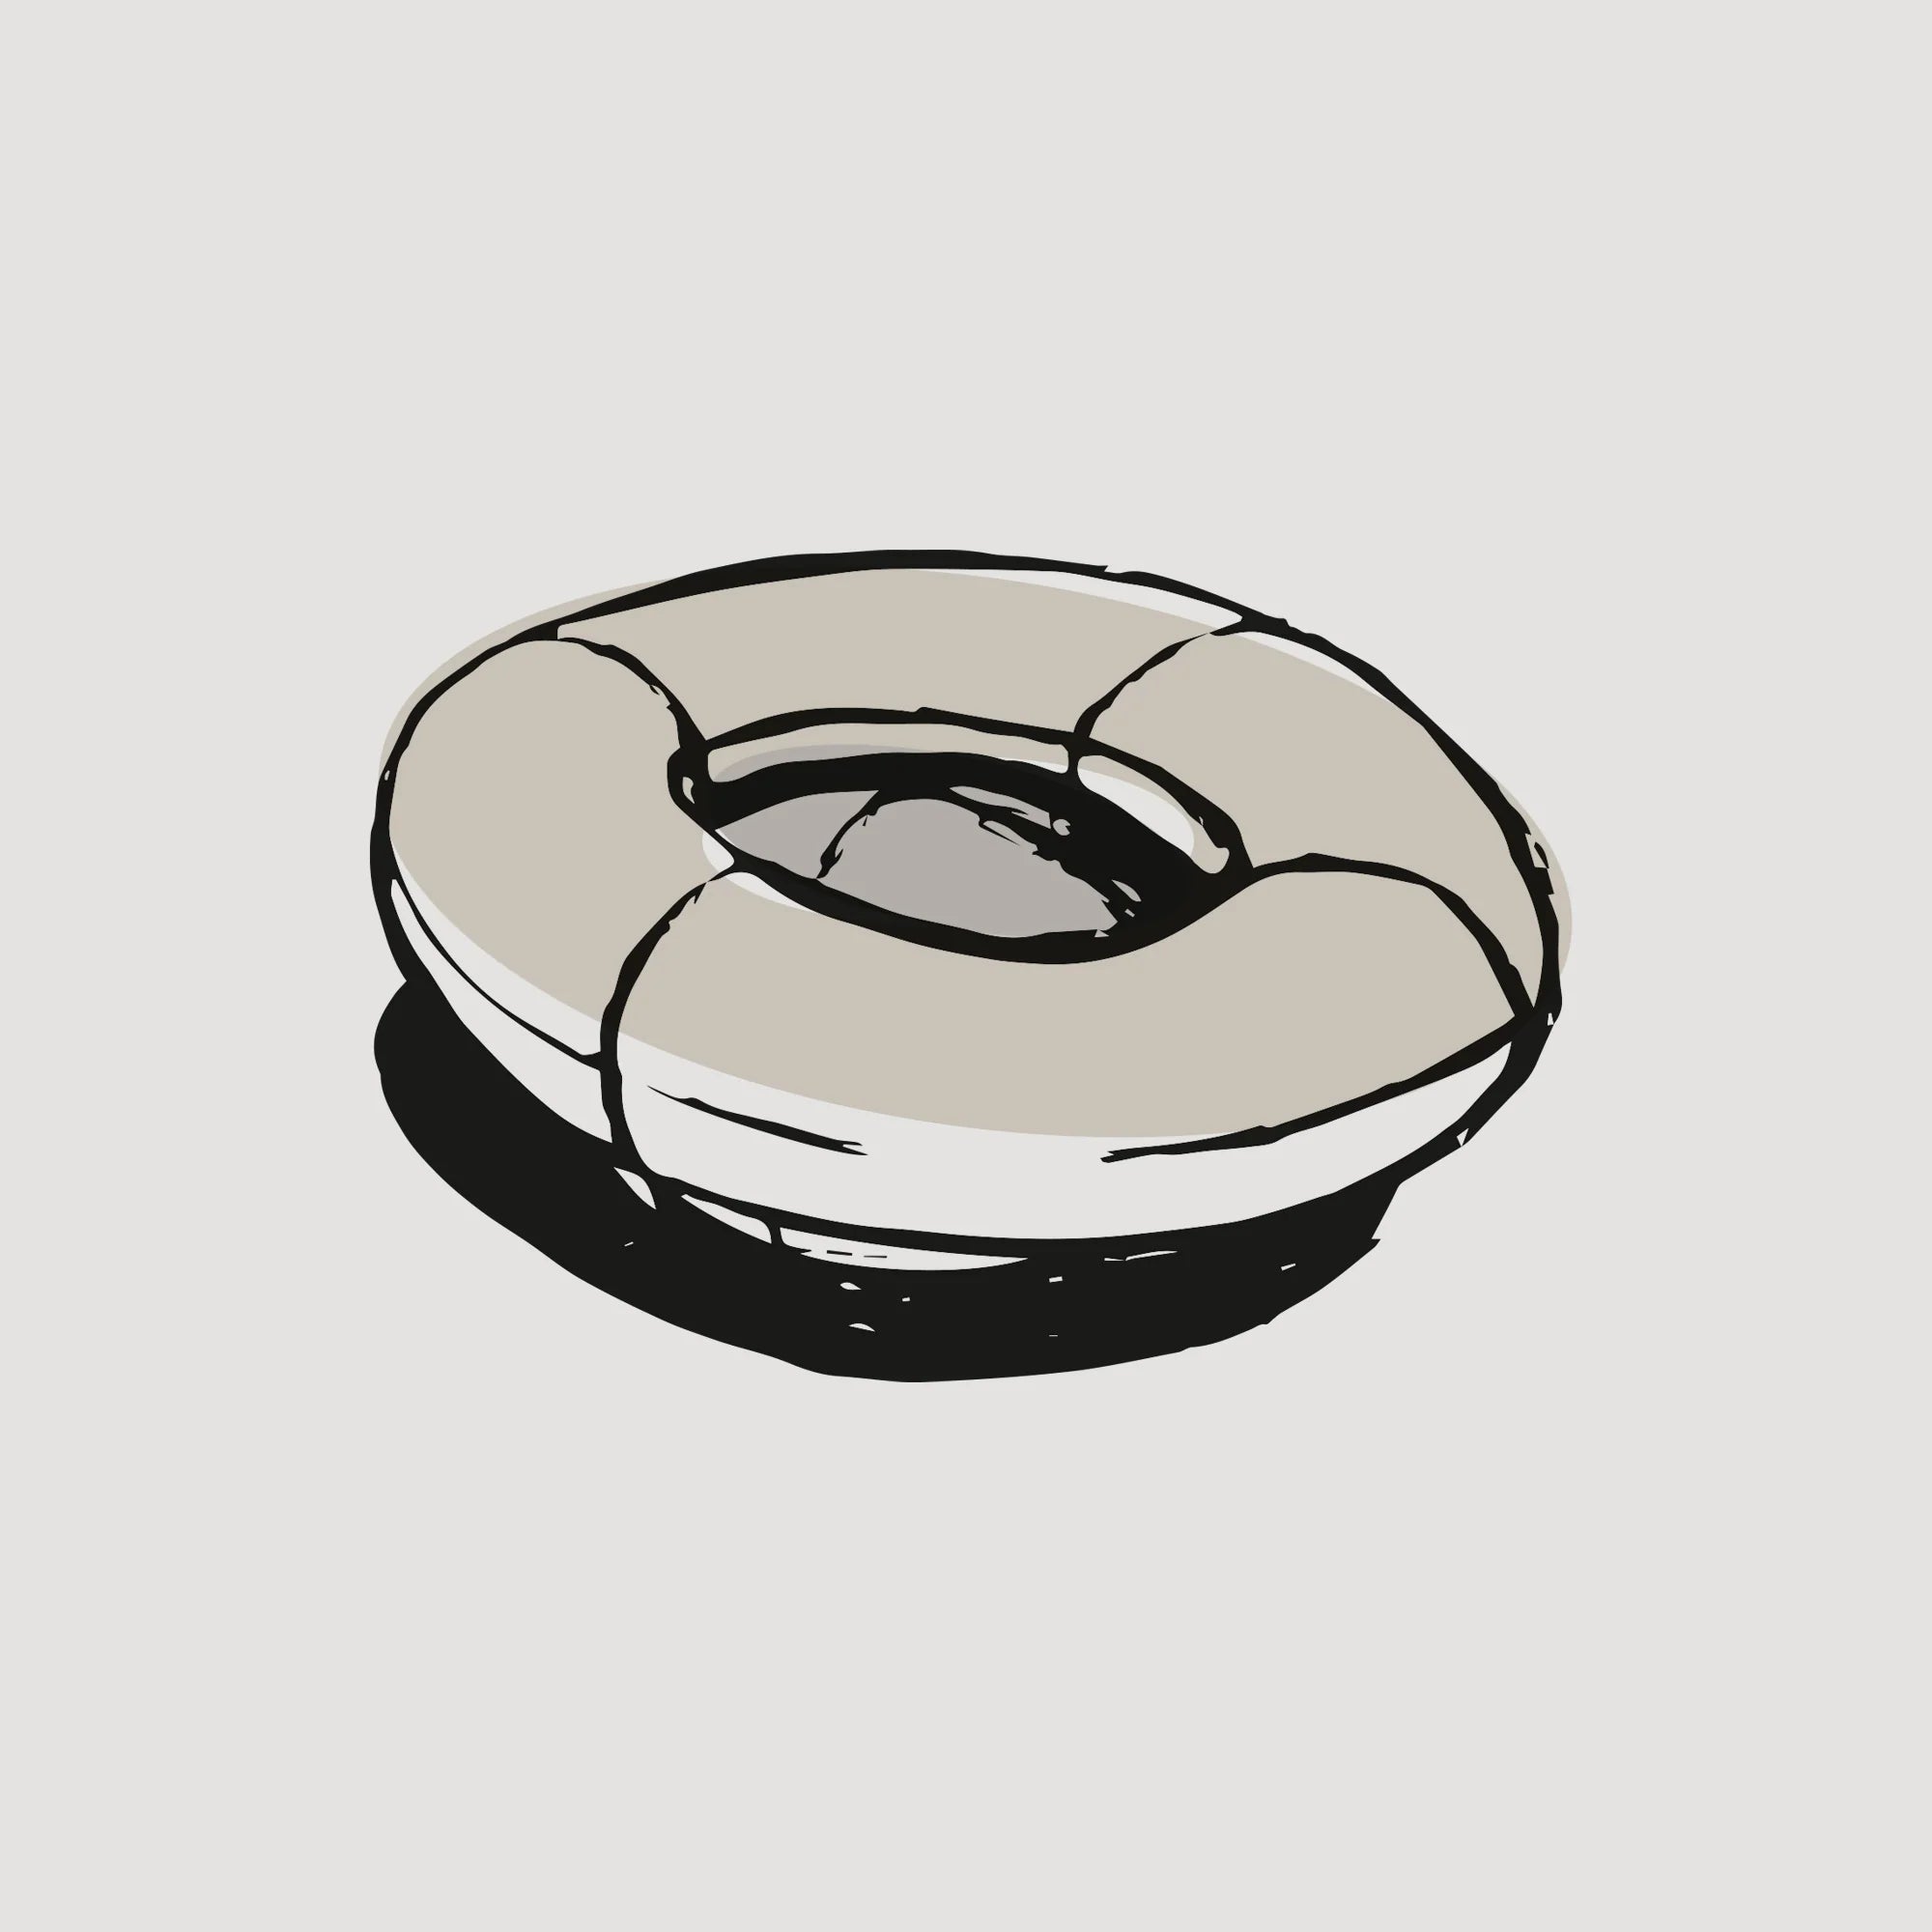
The organic shape of the BLOP hangers obtained by turning solid wood encourages the composition of functional wall areas. The decorativeness of ash wood combined with the function of a hanger is a peculiar addition to sophisticated interiors where the naturalness of materials is emphasized and light plays an important role. It is thanks to the light that our hanger shows its full face.
The torus shape in which we see a submerged sphere is so interesting that we do not want to take our eyes off it and its curves want to be touched.
Blop was designed by Krystian Kowalski and complements our collection of products made of natural wood.