Manual
FILAR HIGH / FILAR LOW
Follow the instructions below.
BEGINNING
Prepare a place to assemble the FILAR Low or FILAR High table. This manual will guide you step by step on how to assemble your new table.

FILAR HIGH / STEP 1
Let's start with the HIGH version of the table.
FILAR HIGH / STEP 2
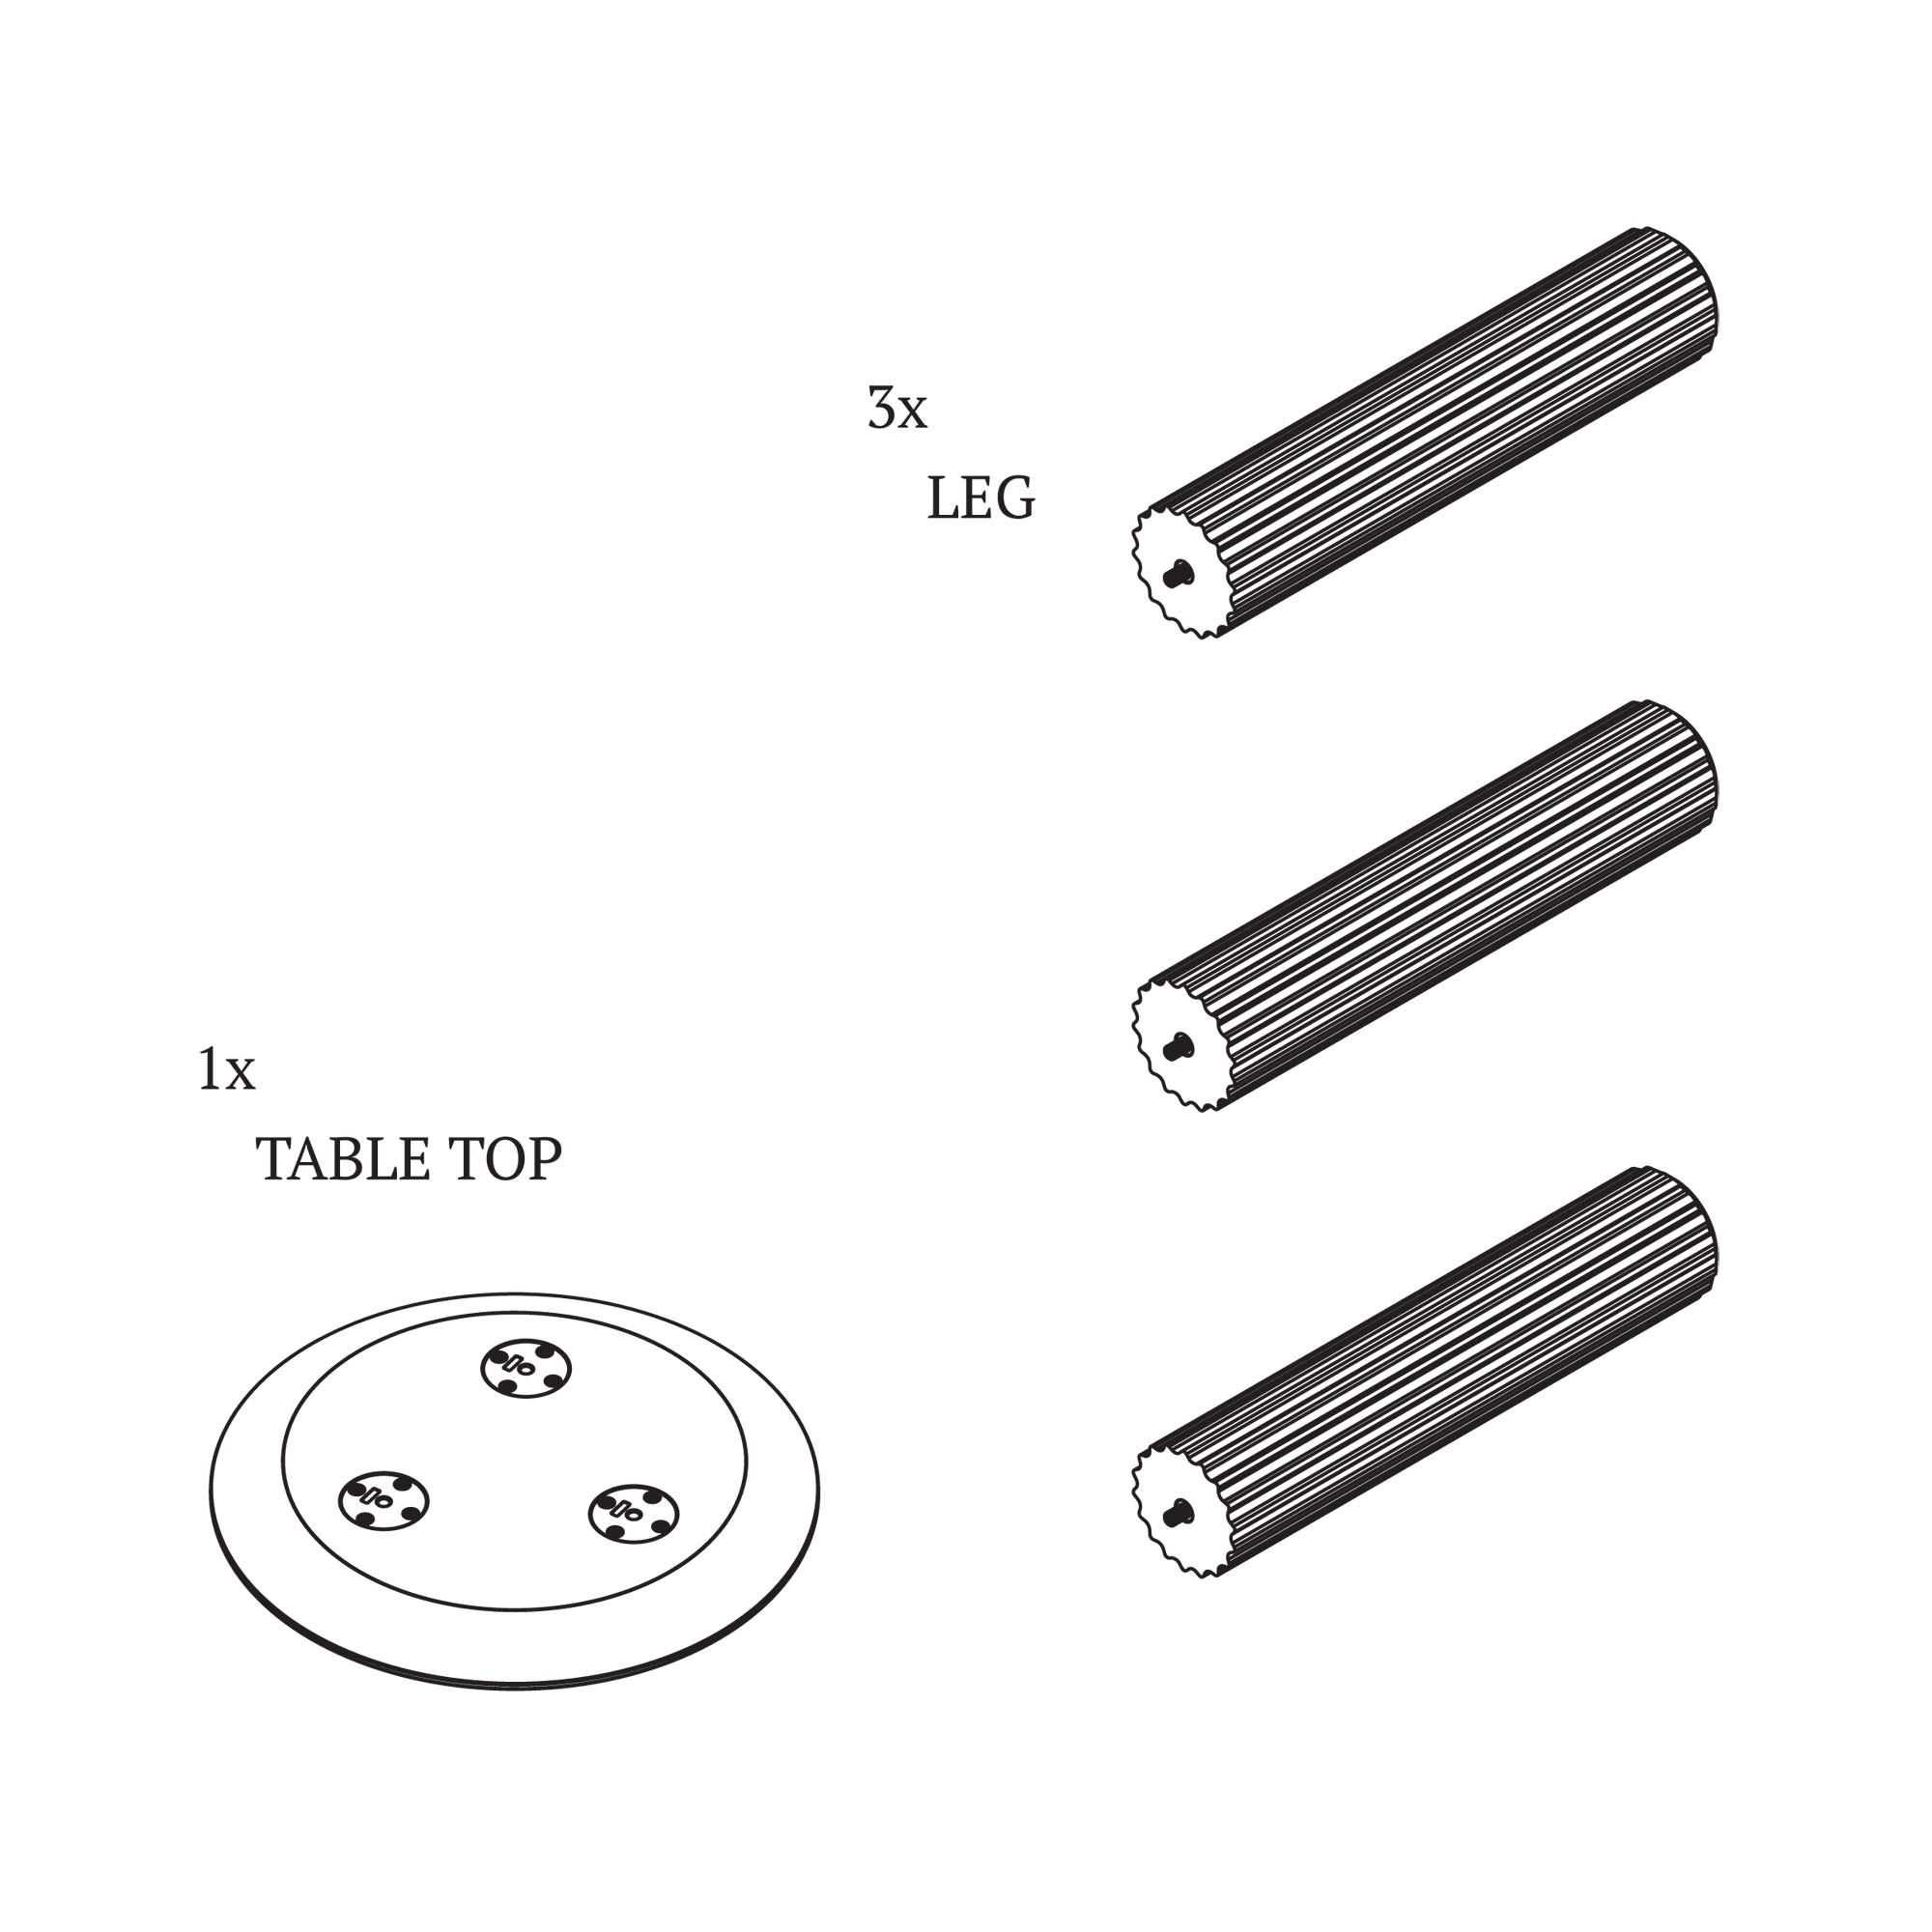
Unpack all parts. Arrange them so that you have an overview of all the parts. Check quantities with instructions.
FILAR HIGH / STEP 3
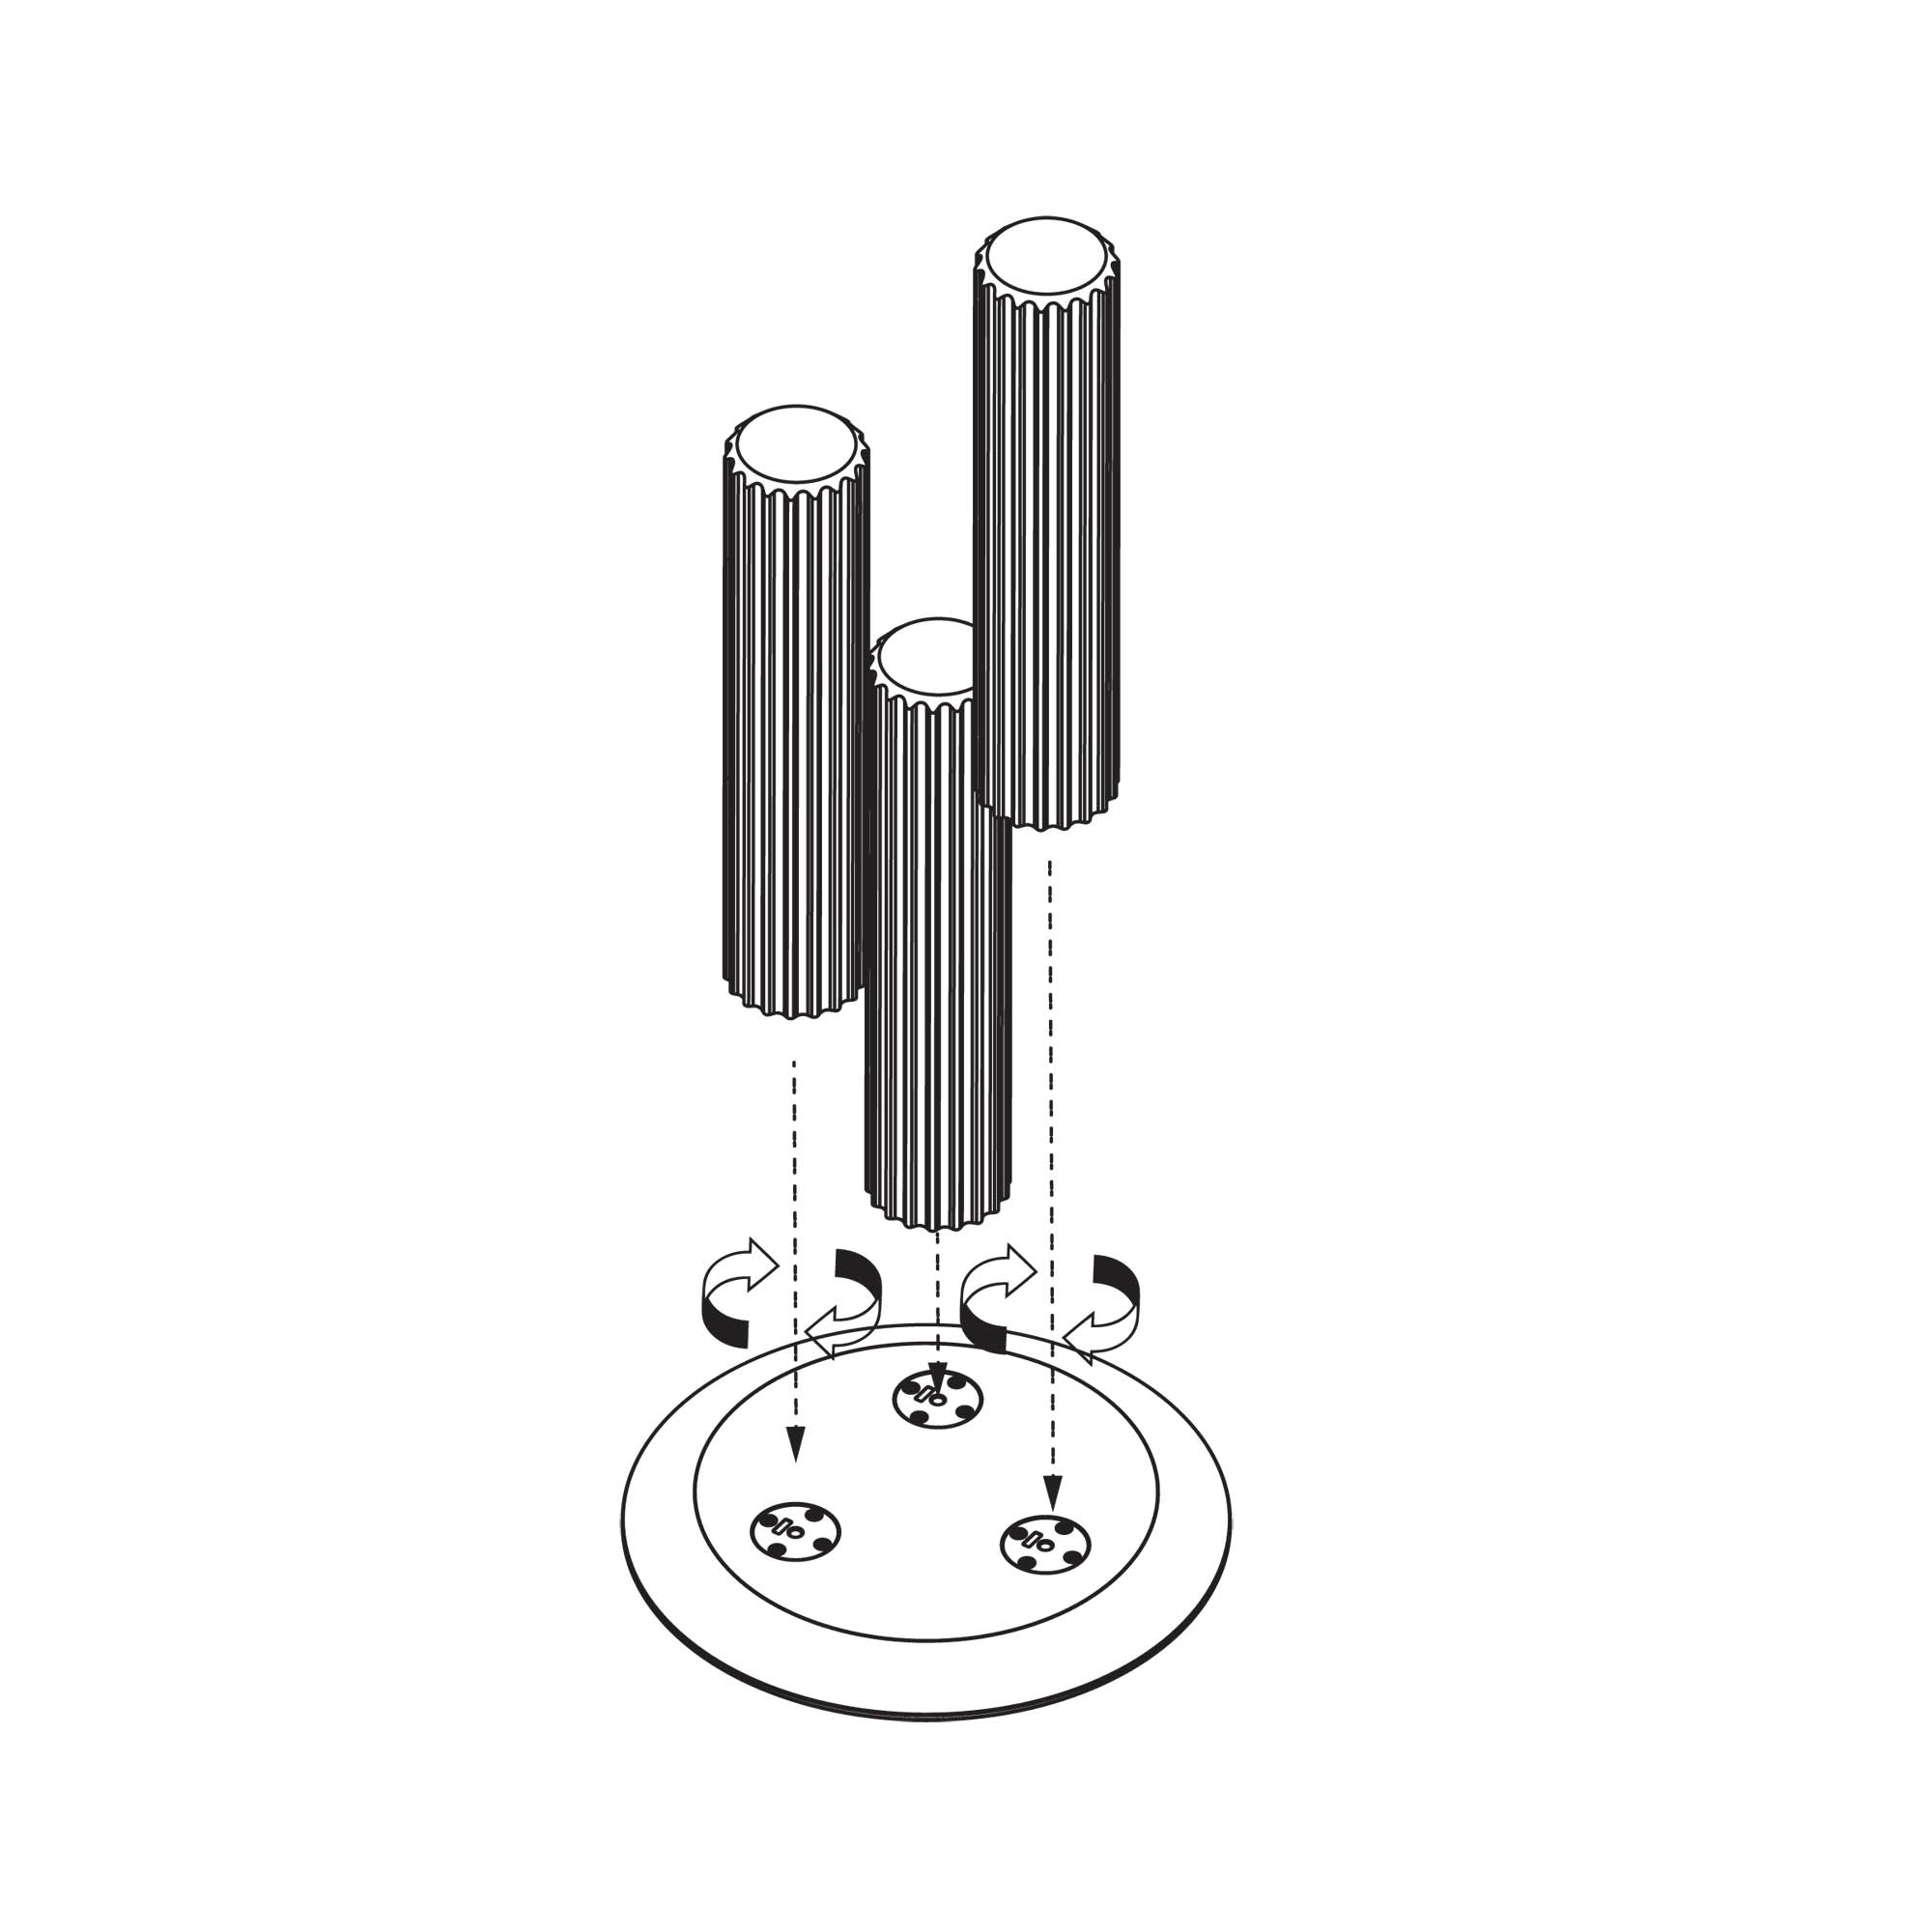
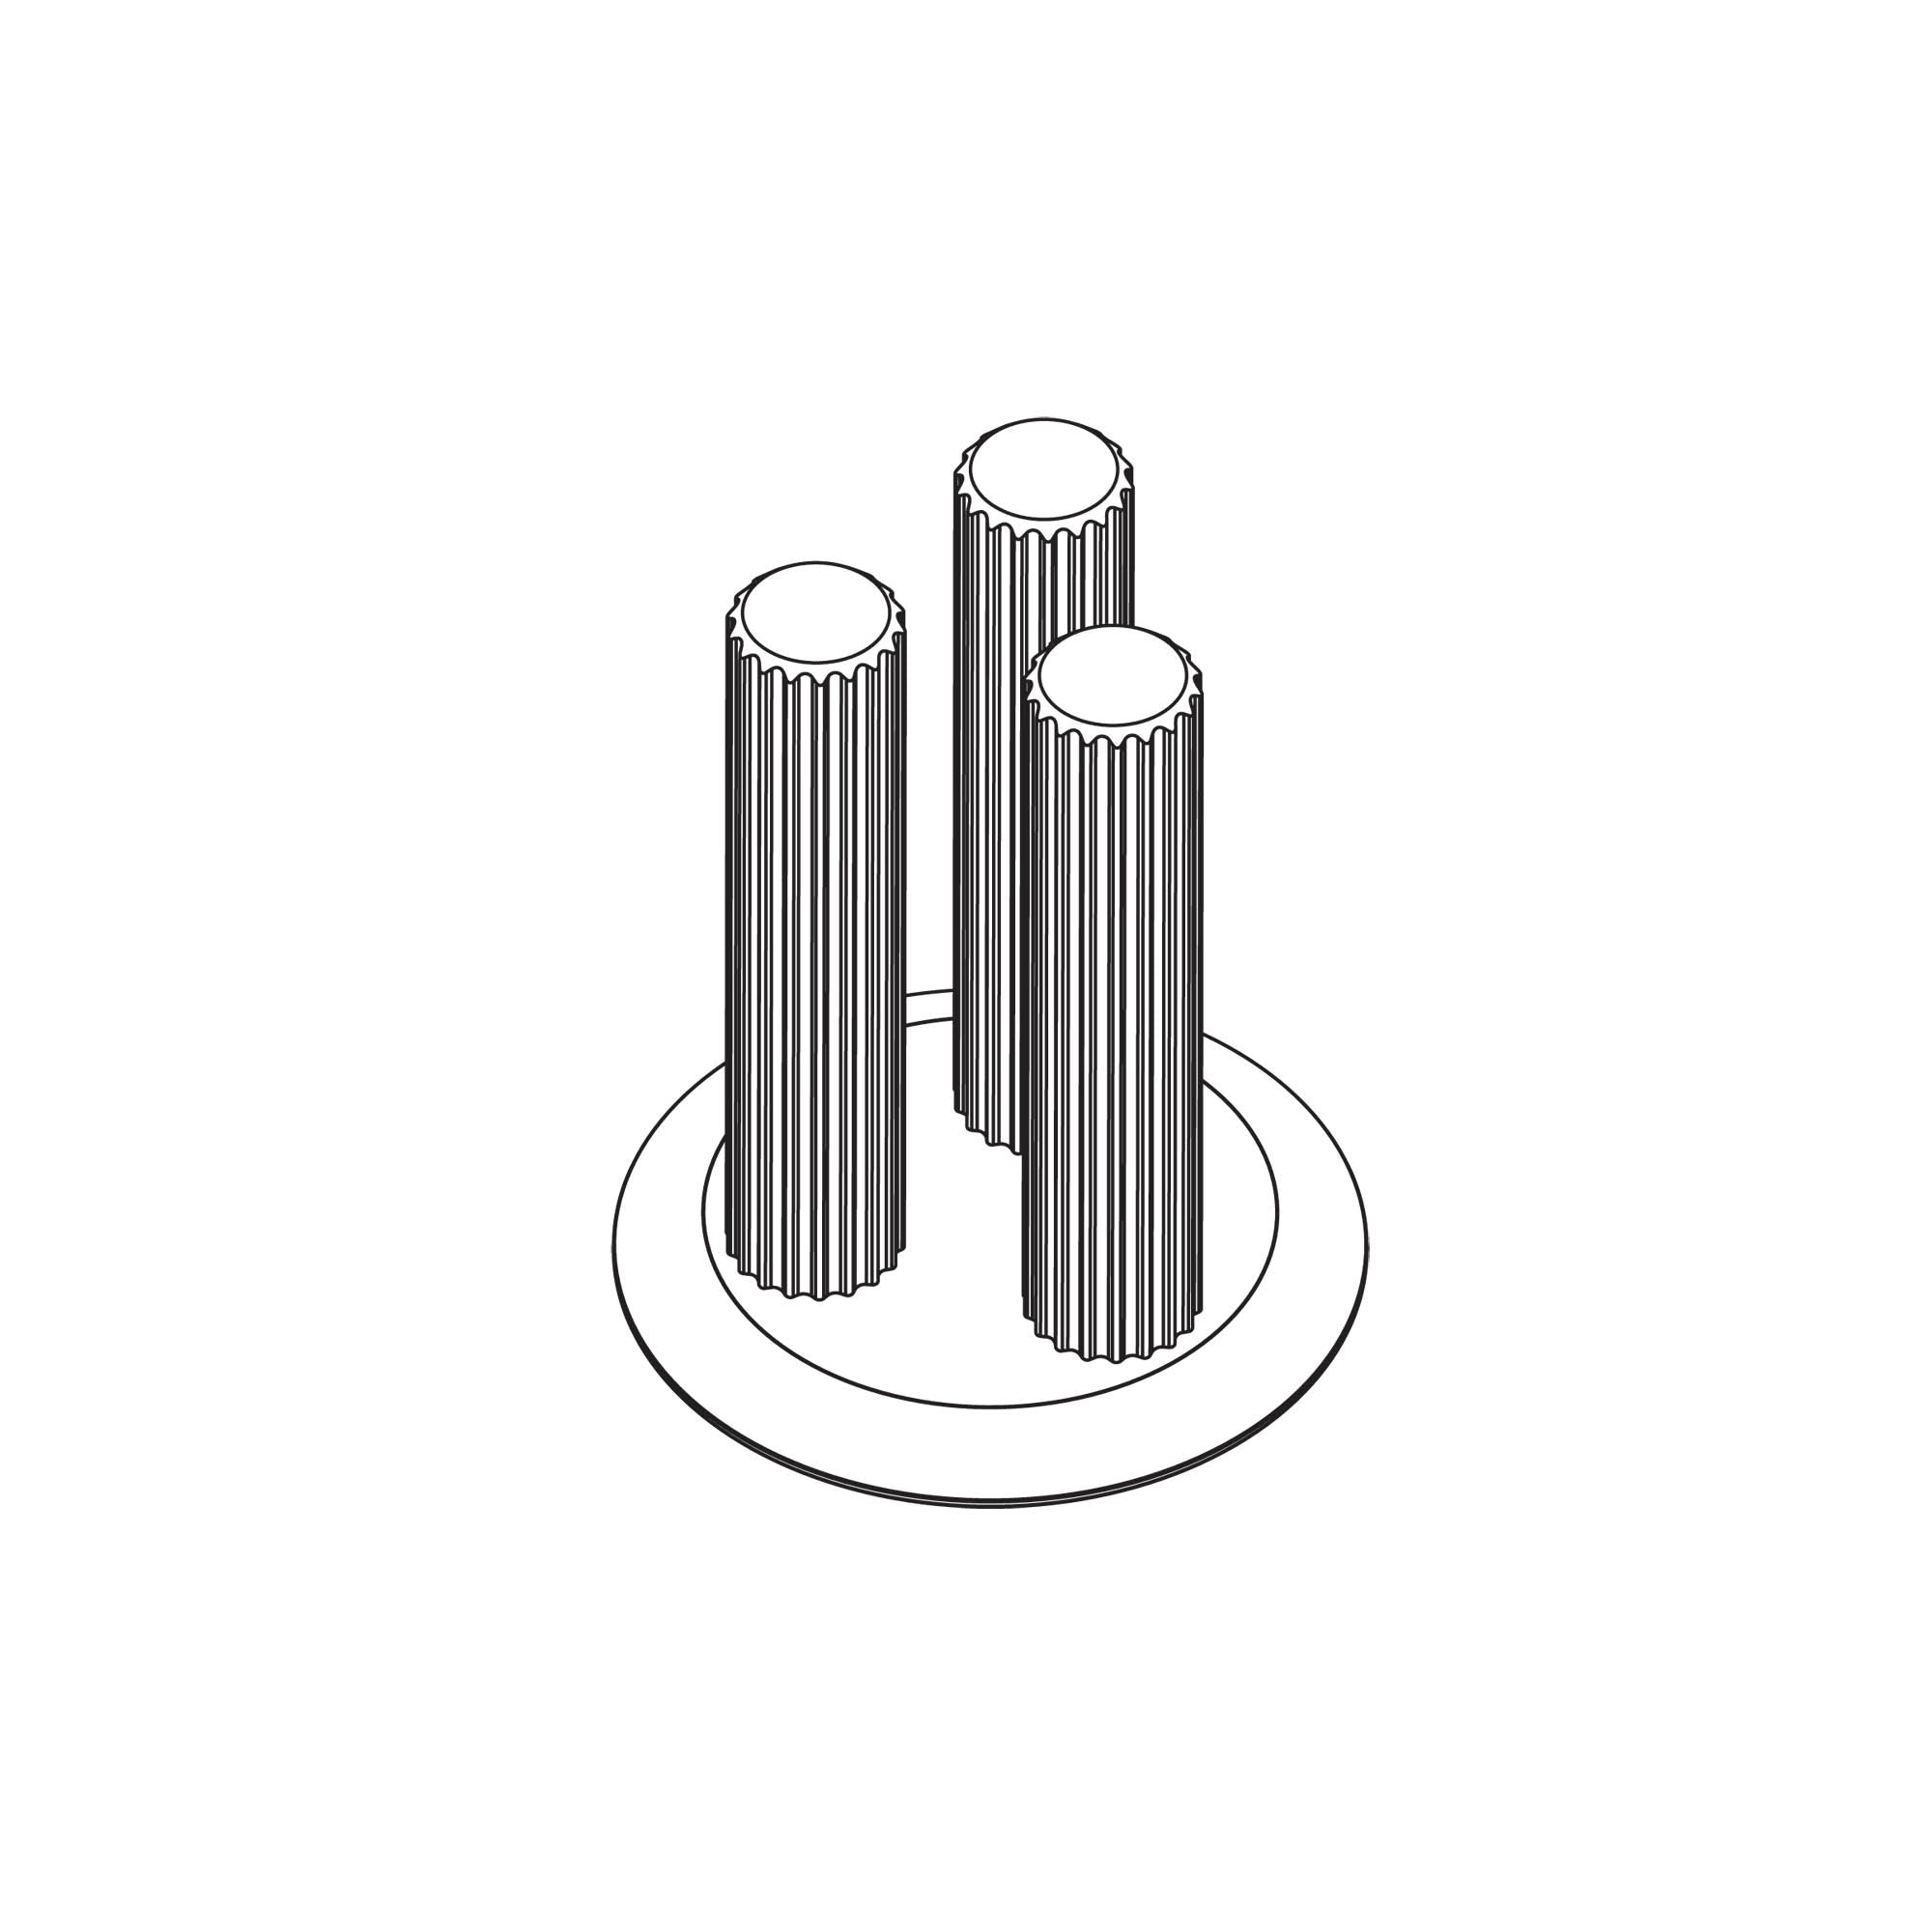
Place the tabletop on a smooth and clean, preferably soft surface with the mounting plates facing up. The table top has 3 threads into which the legs need to be screwed.
FILAR HIGH / STEP 4
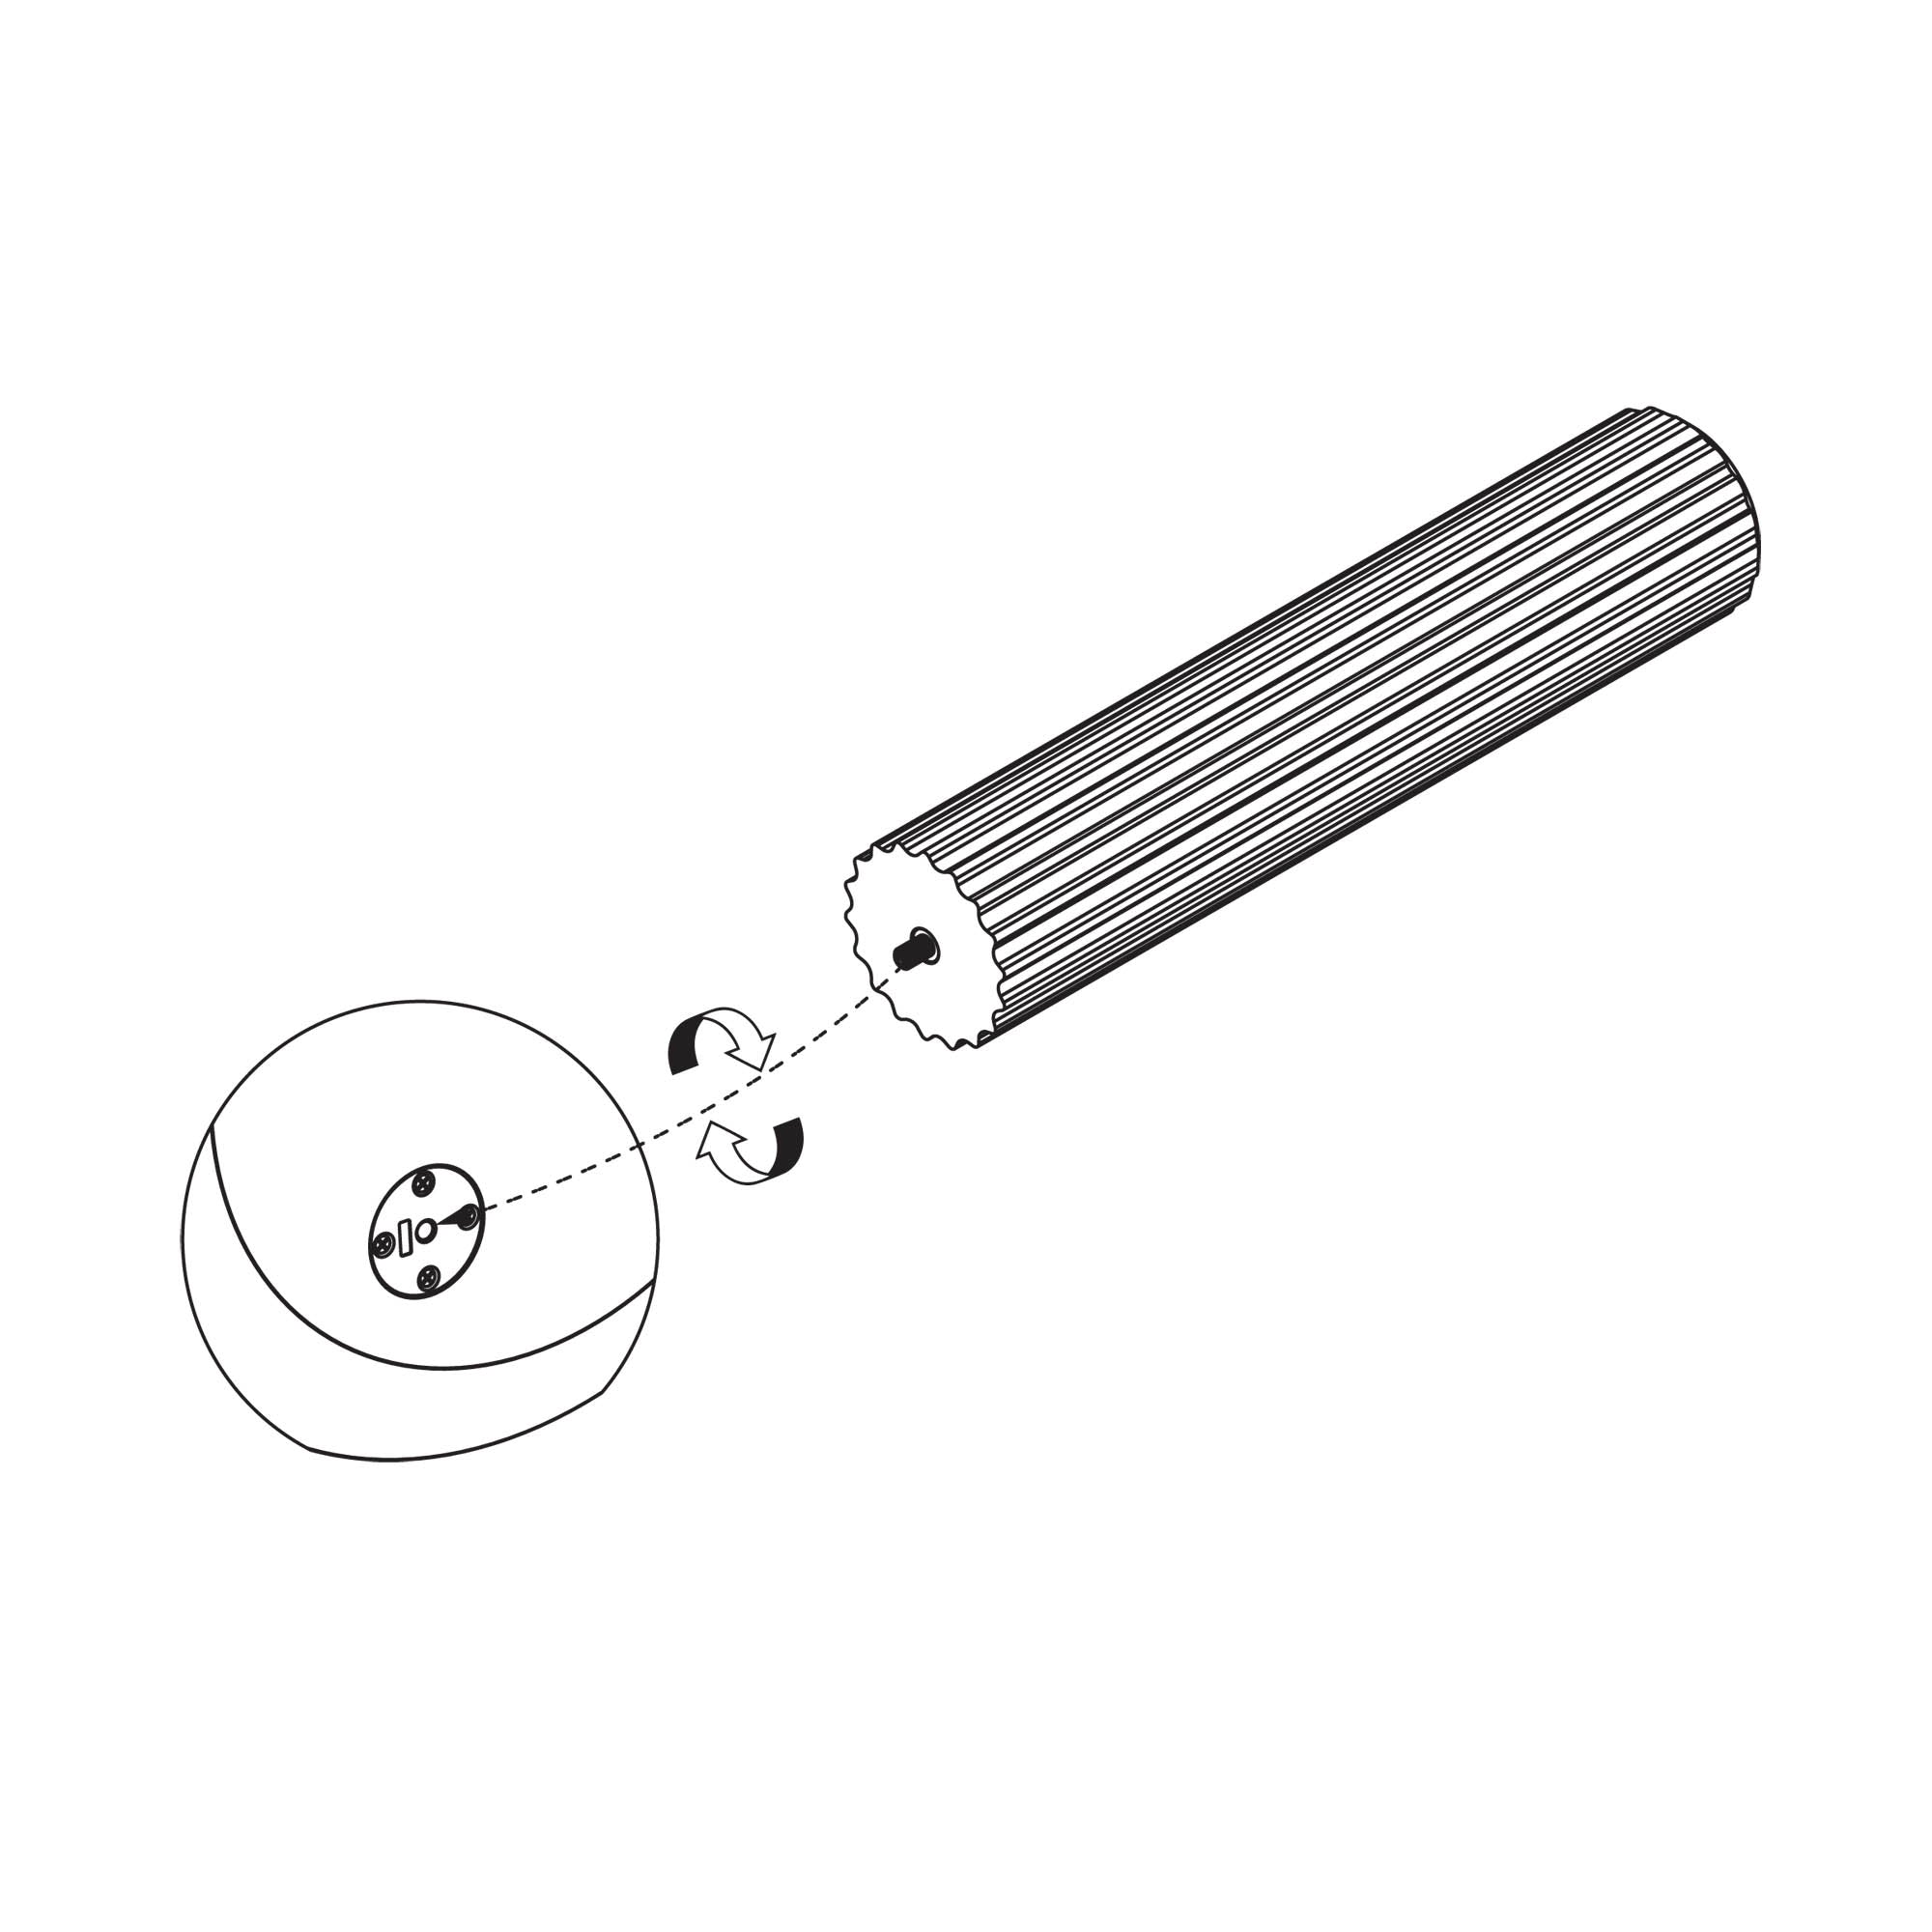
Each leg has a screw with an M10 metric thread.
FILAR HIGH / STEP 5
Screw in the legs until they stop. Without using excessive force. The legs should be stationary and at an angle of 90* to the tabletop.
FILAR HIGH / STEP 6
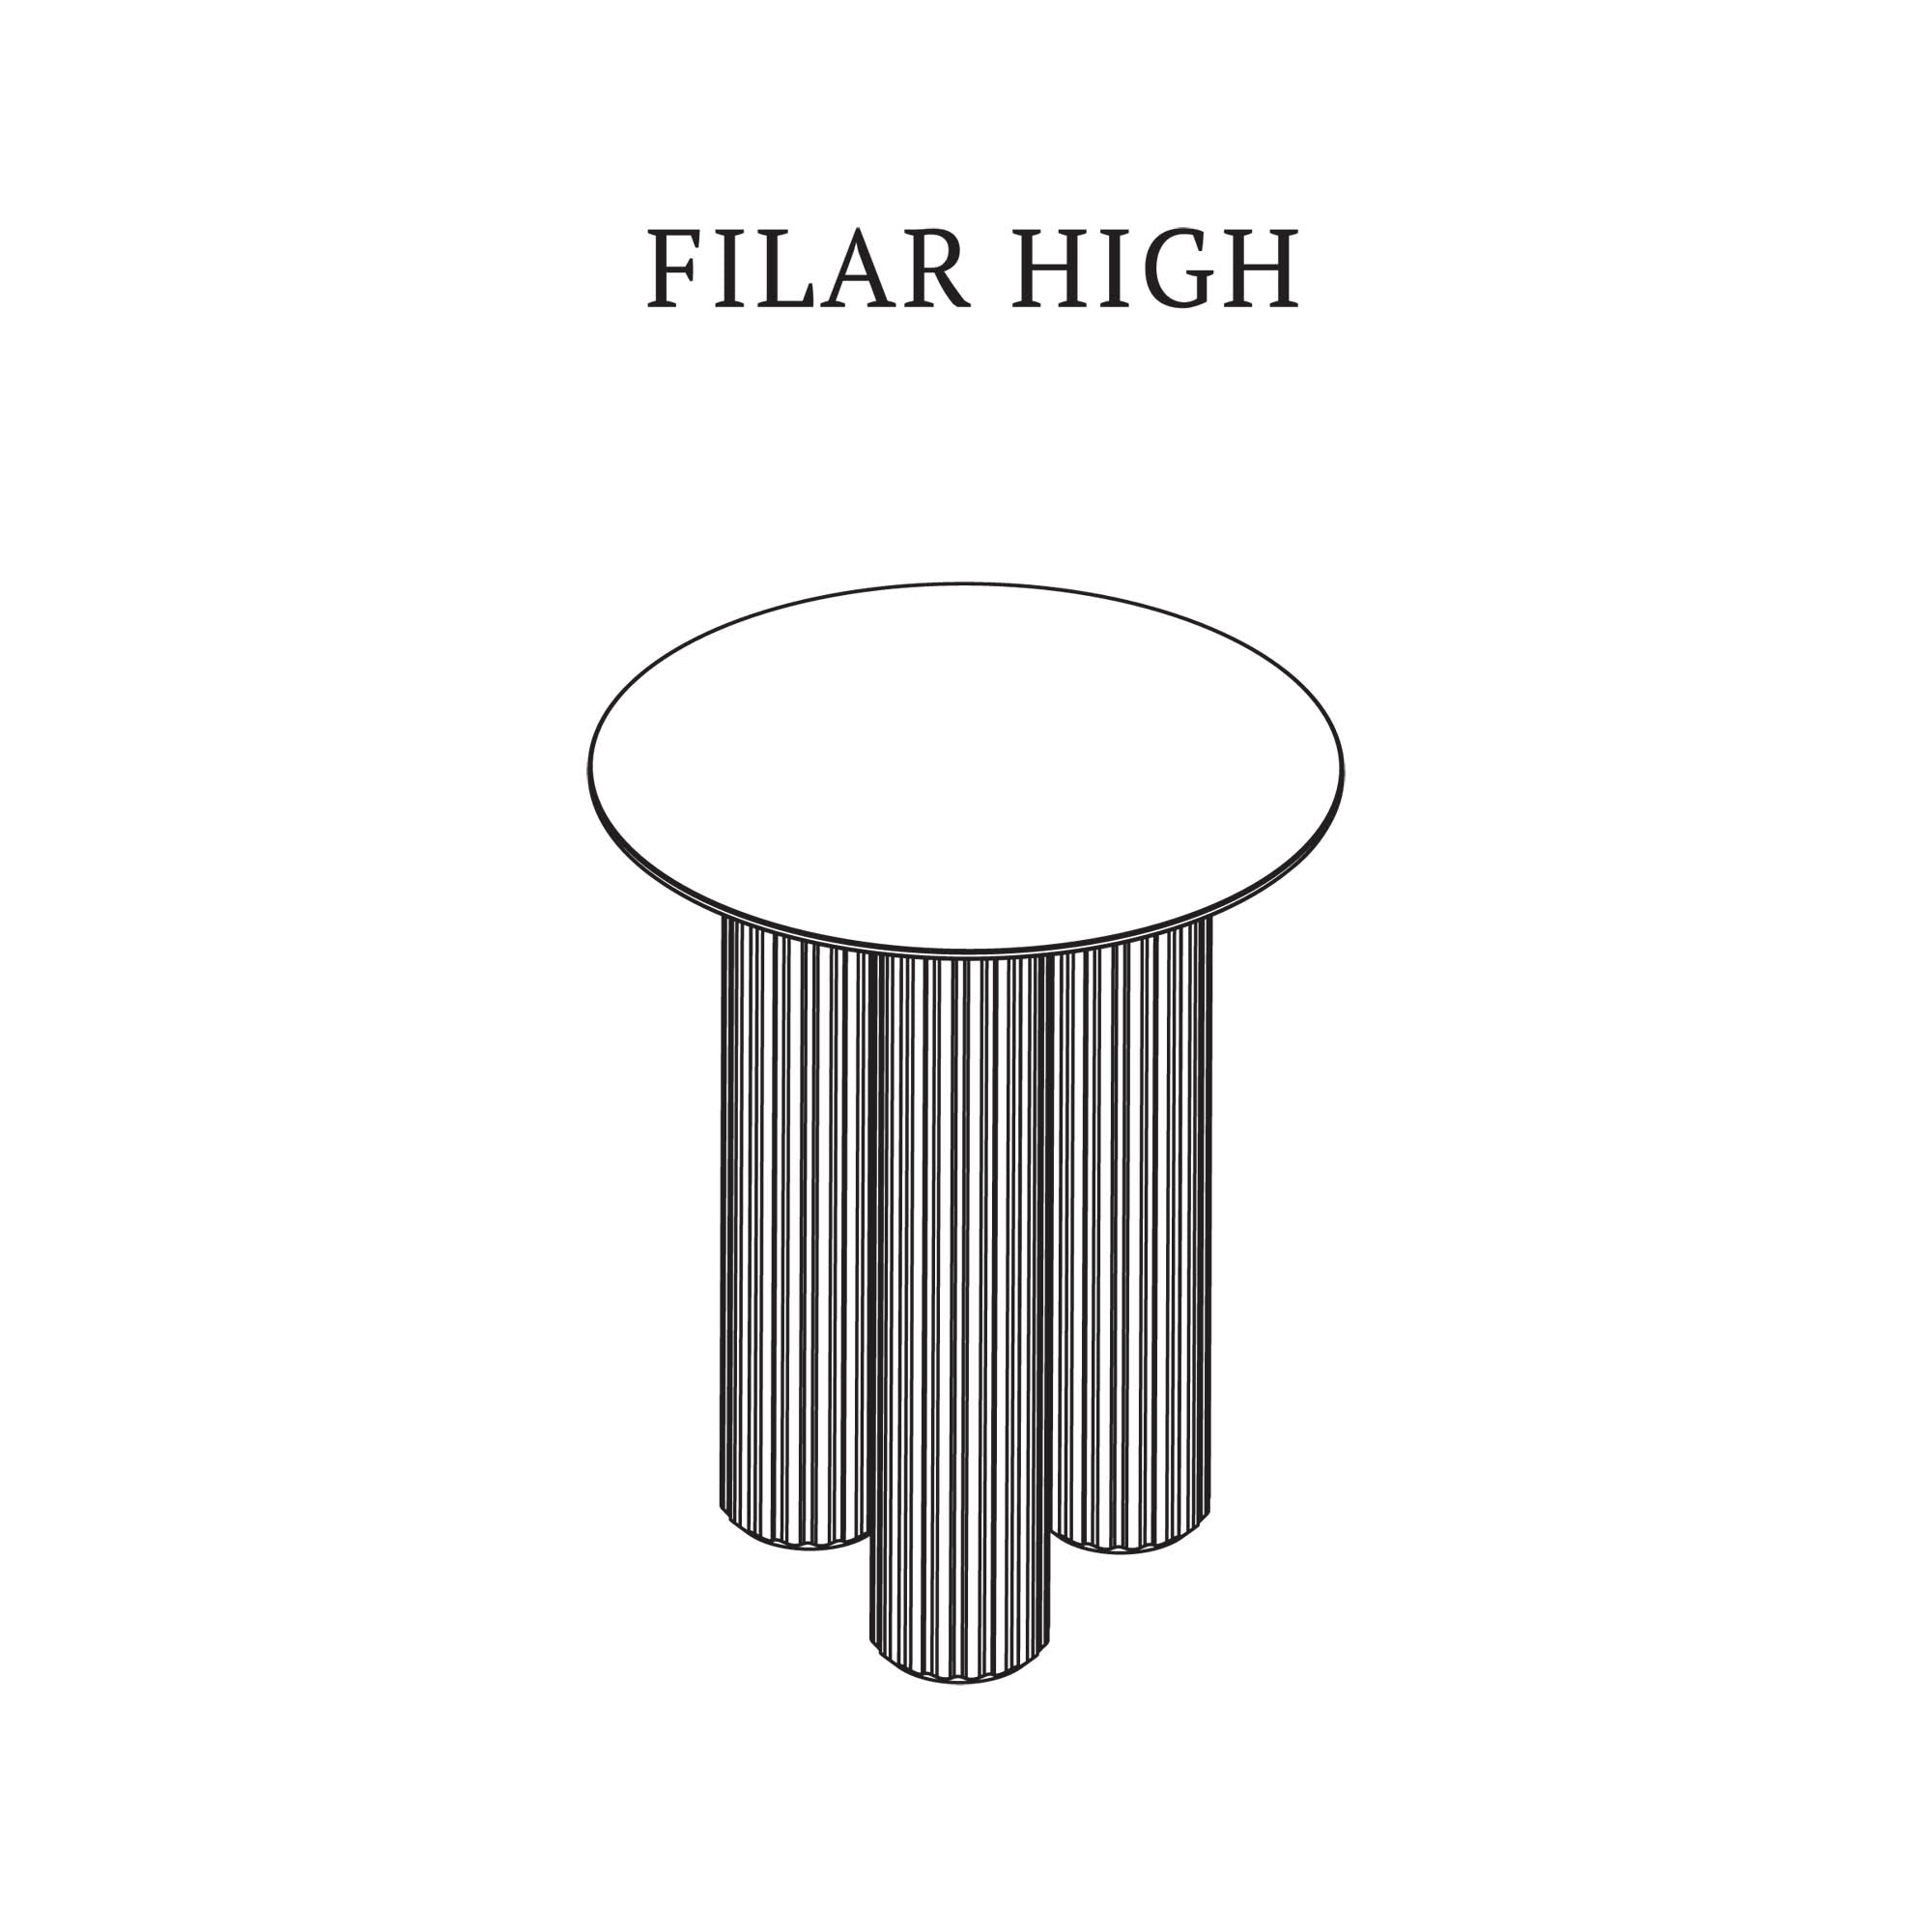
The FILAR HIGH table is ready for use. Turn it carefully and place it on its legs. More information on the use and care of our furniture can be found at: Care and Use
FILAR LOW TABLE
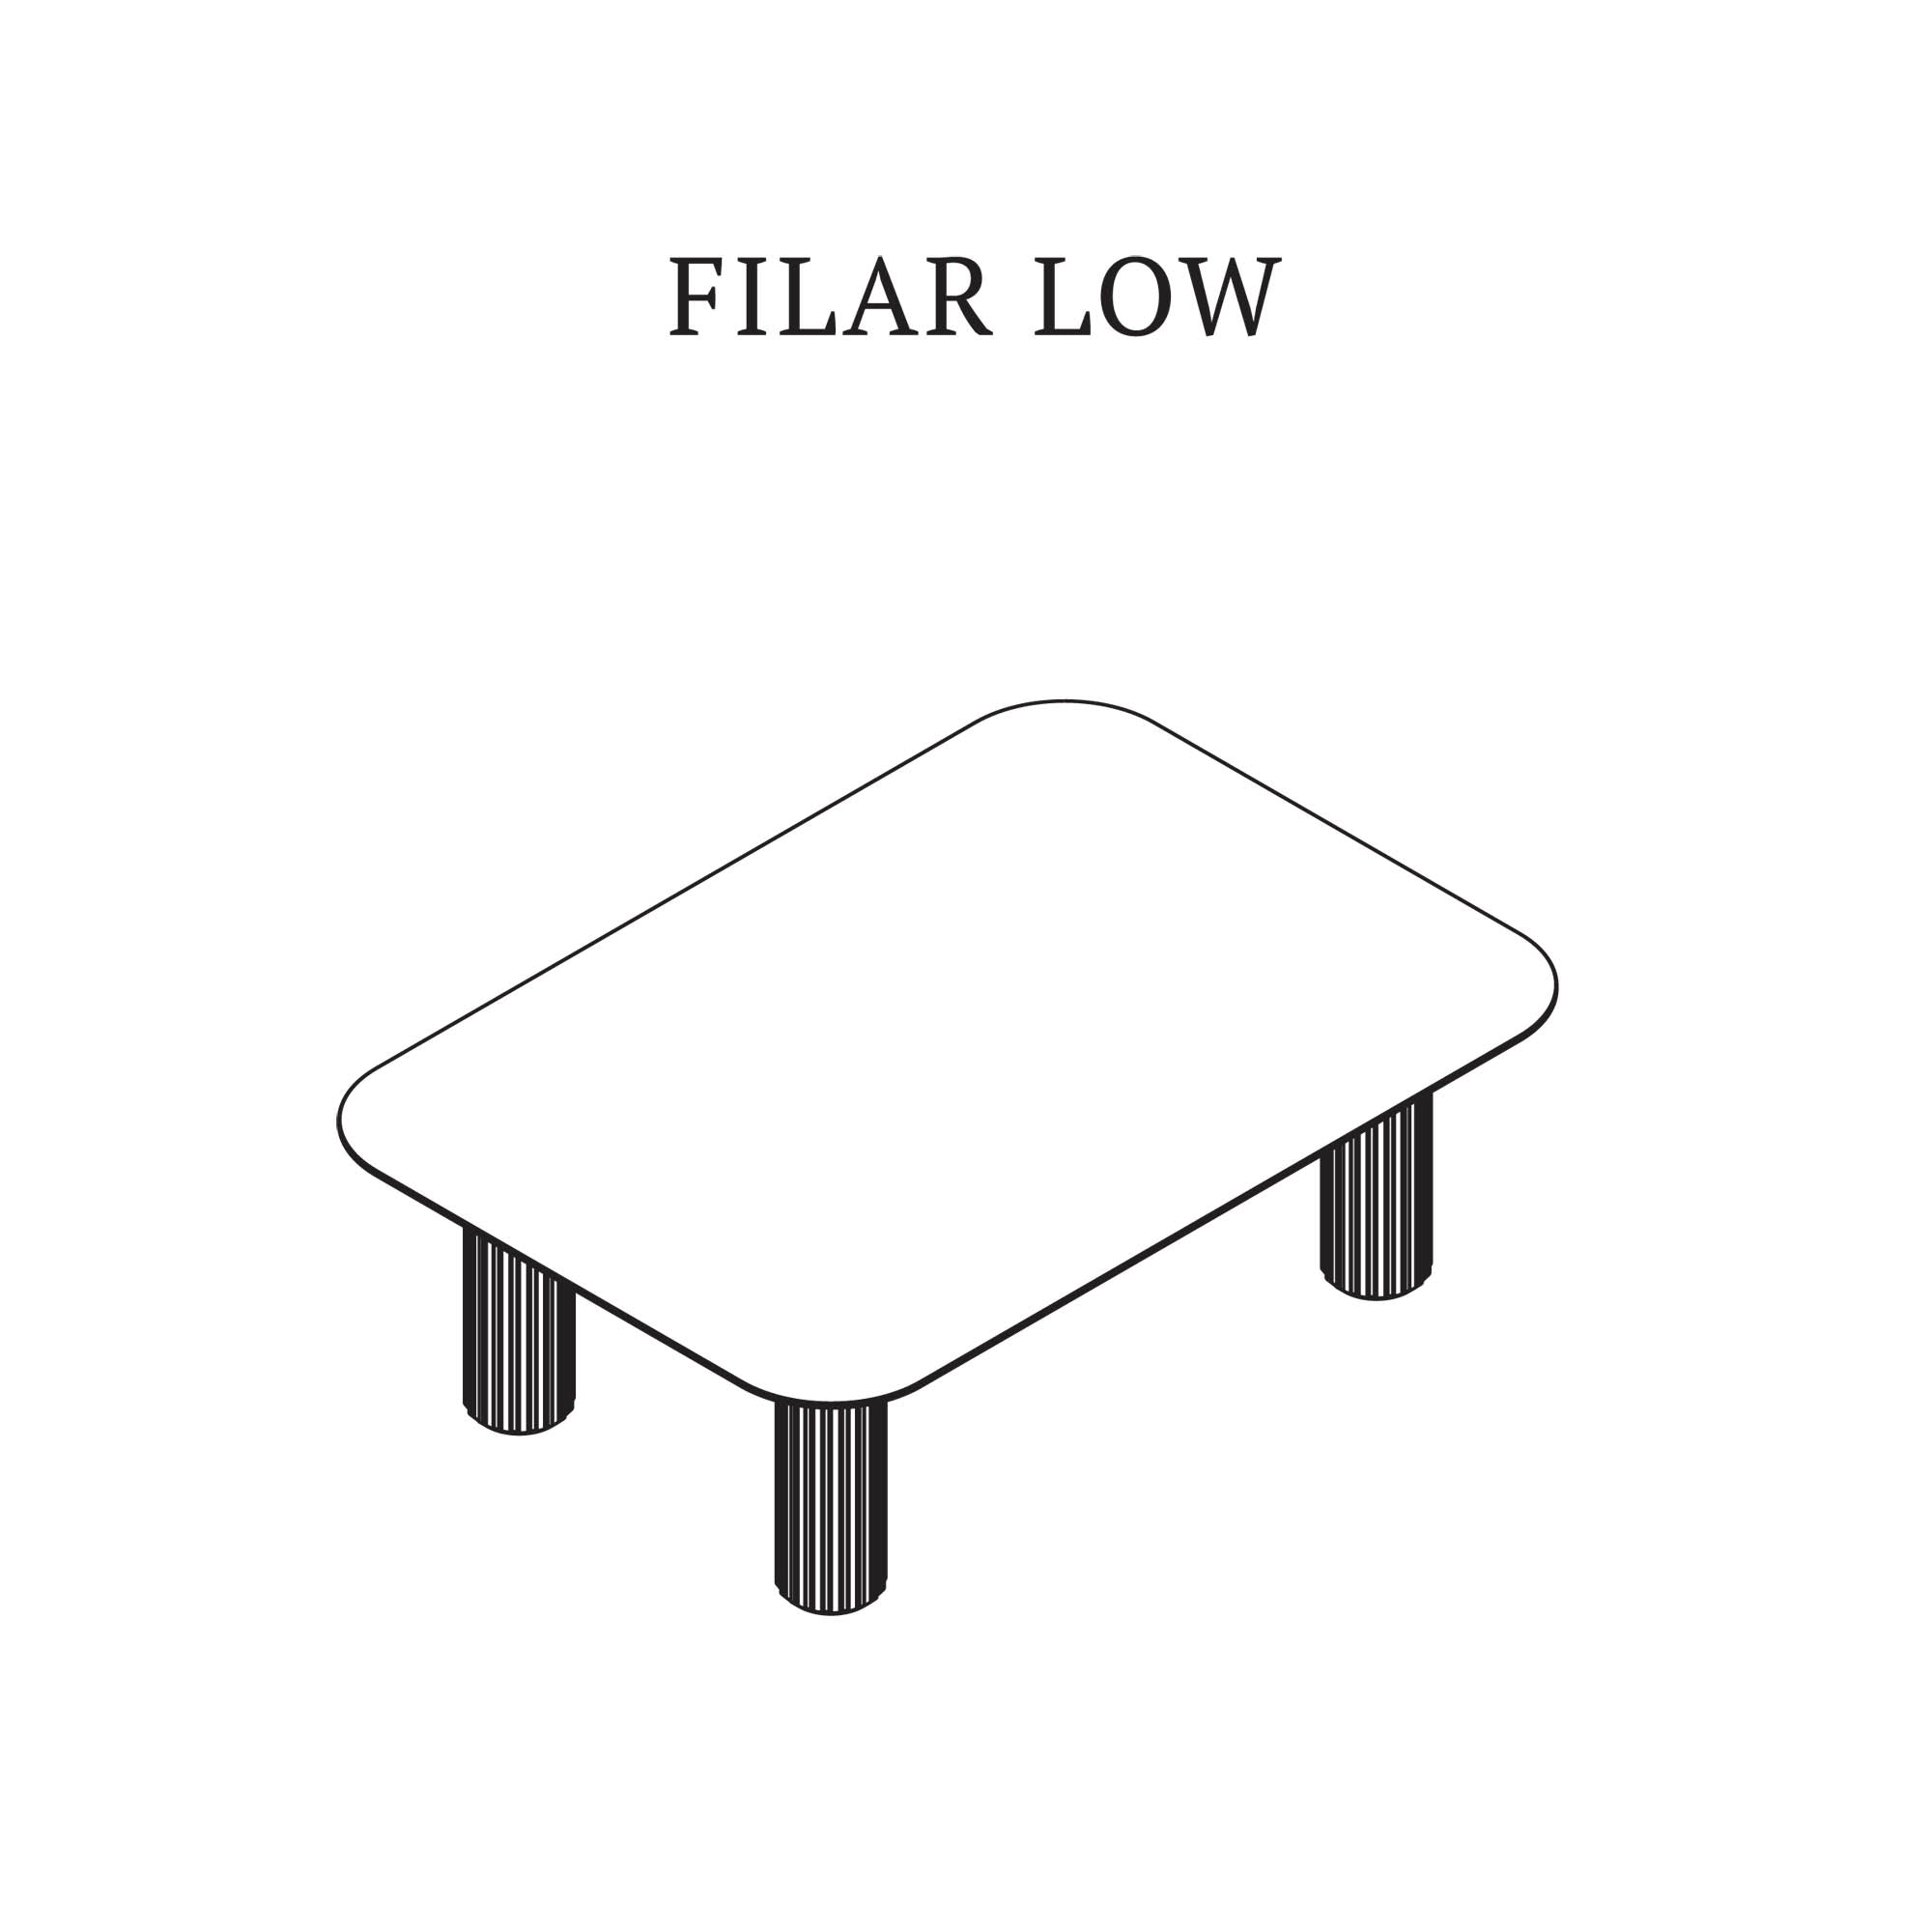
To assemble the FILAR LOW table, follow the instructions below.
FILAR LOW / STEP 1
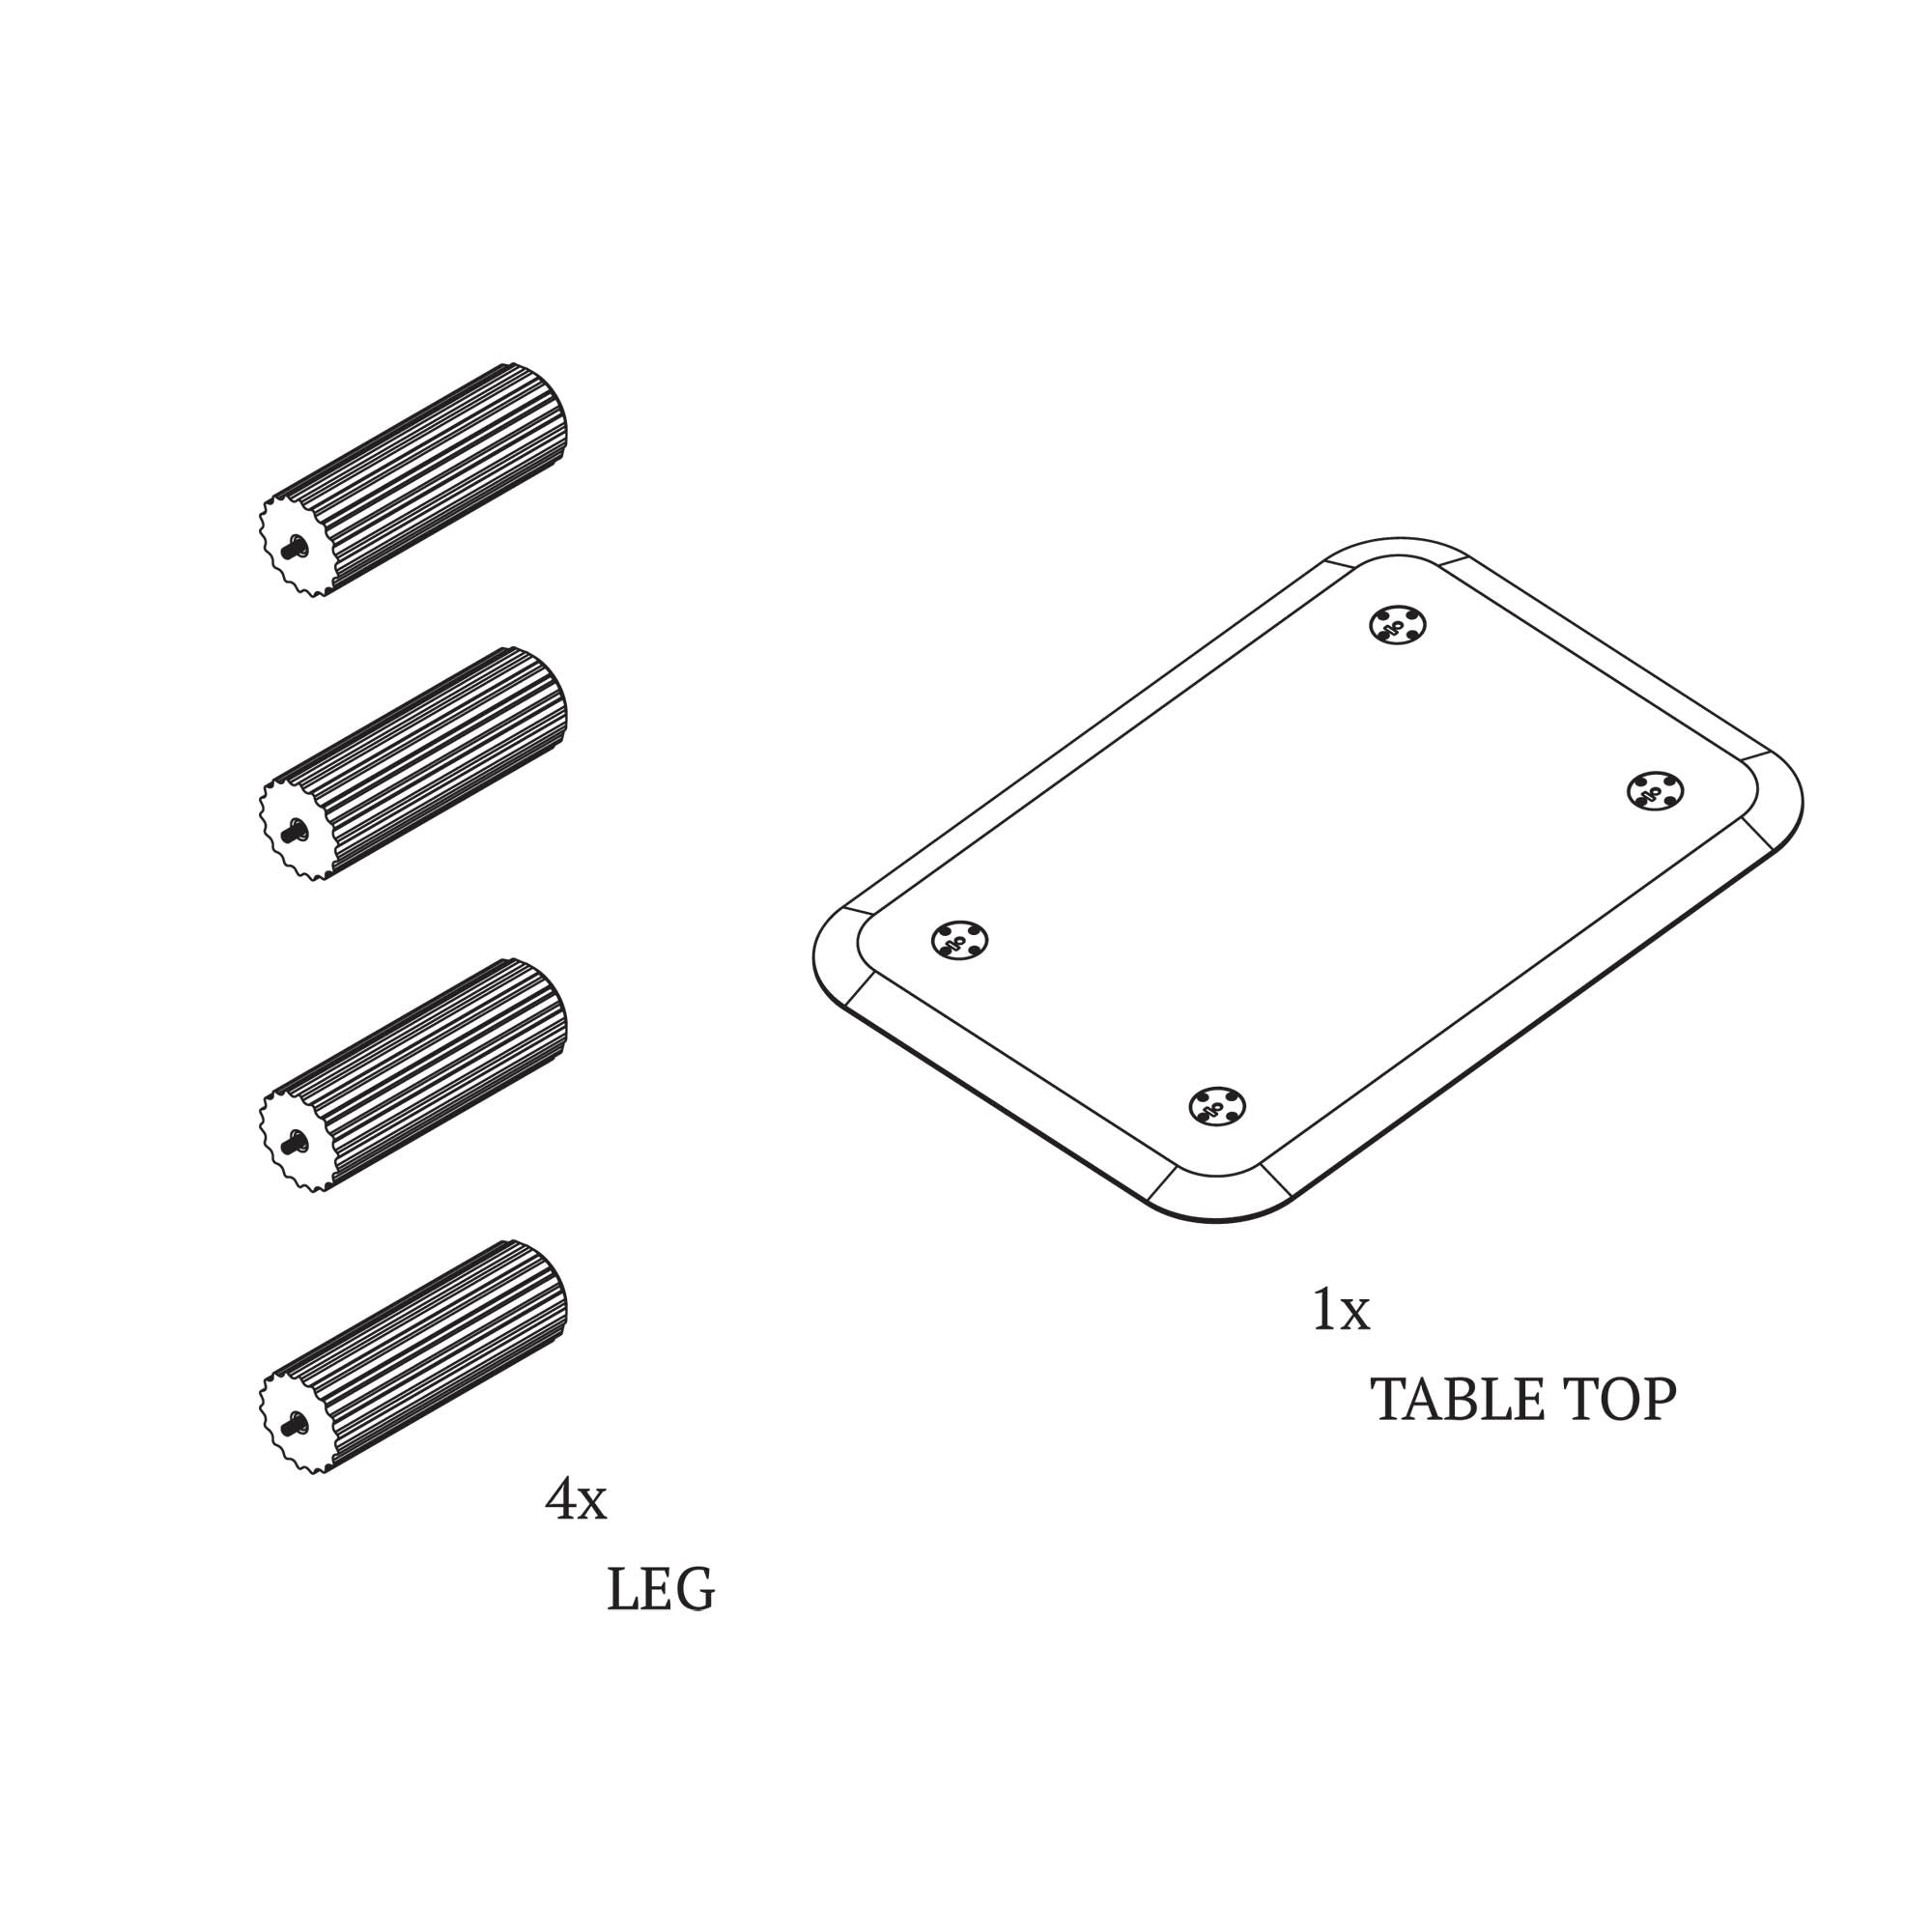
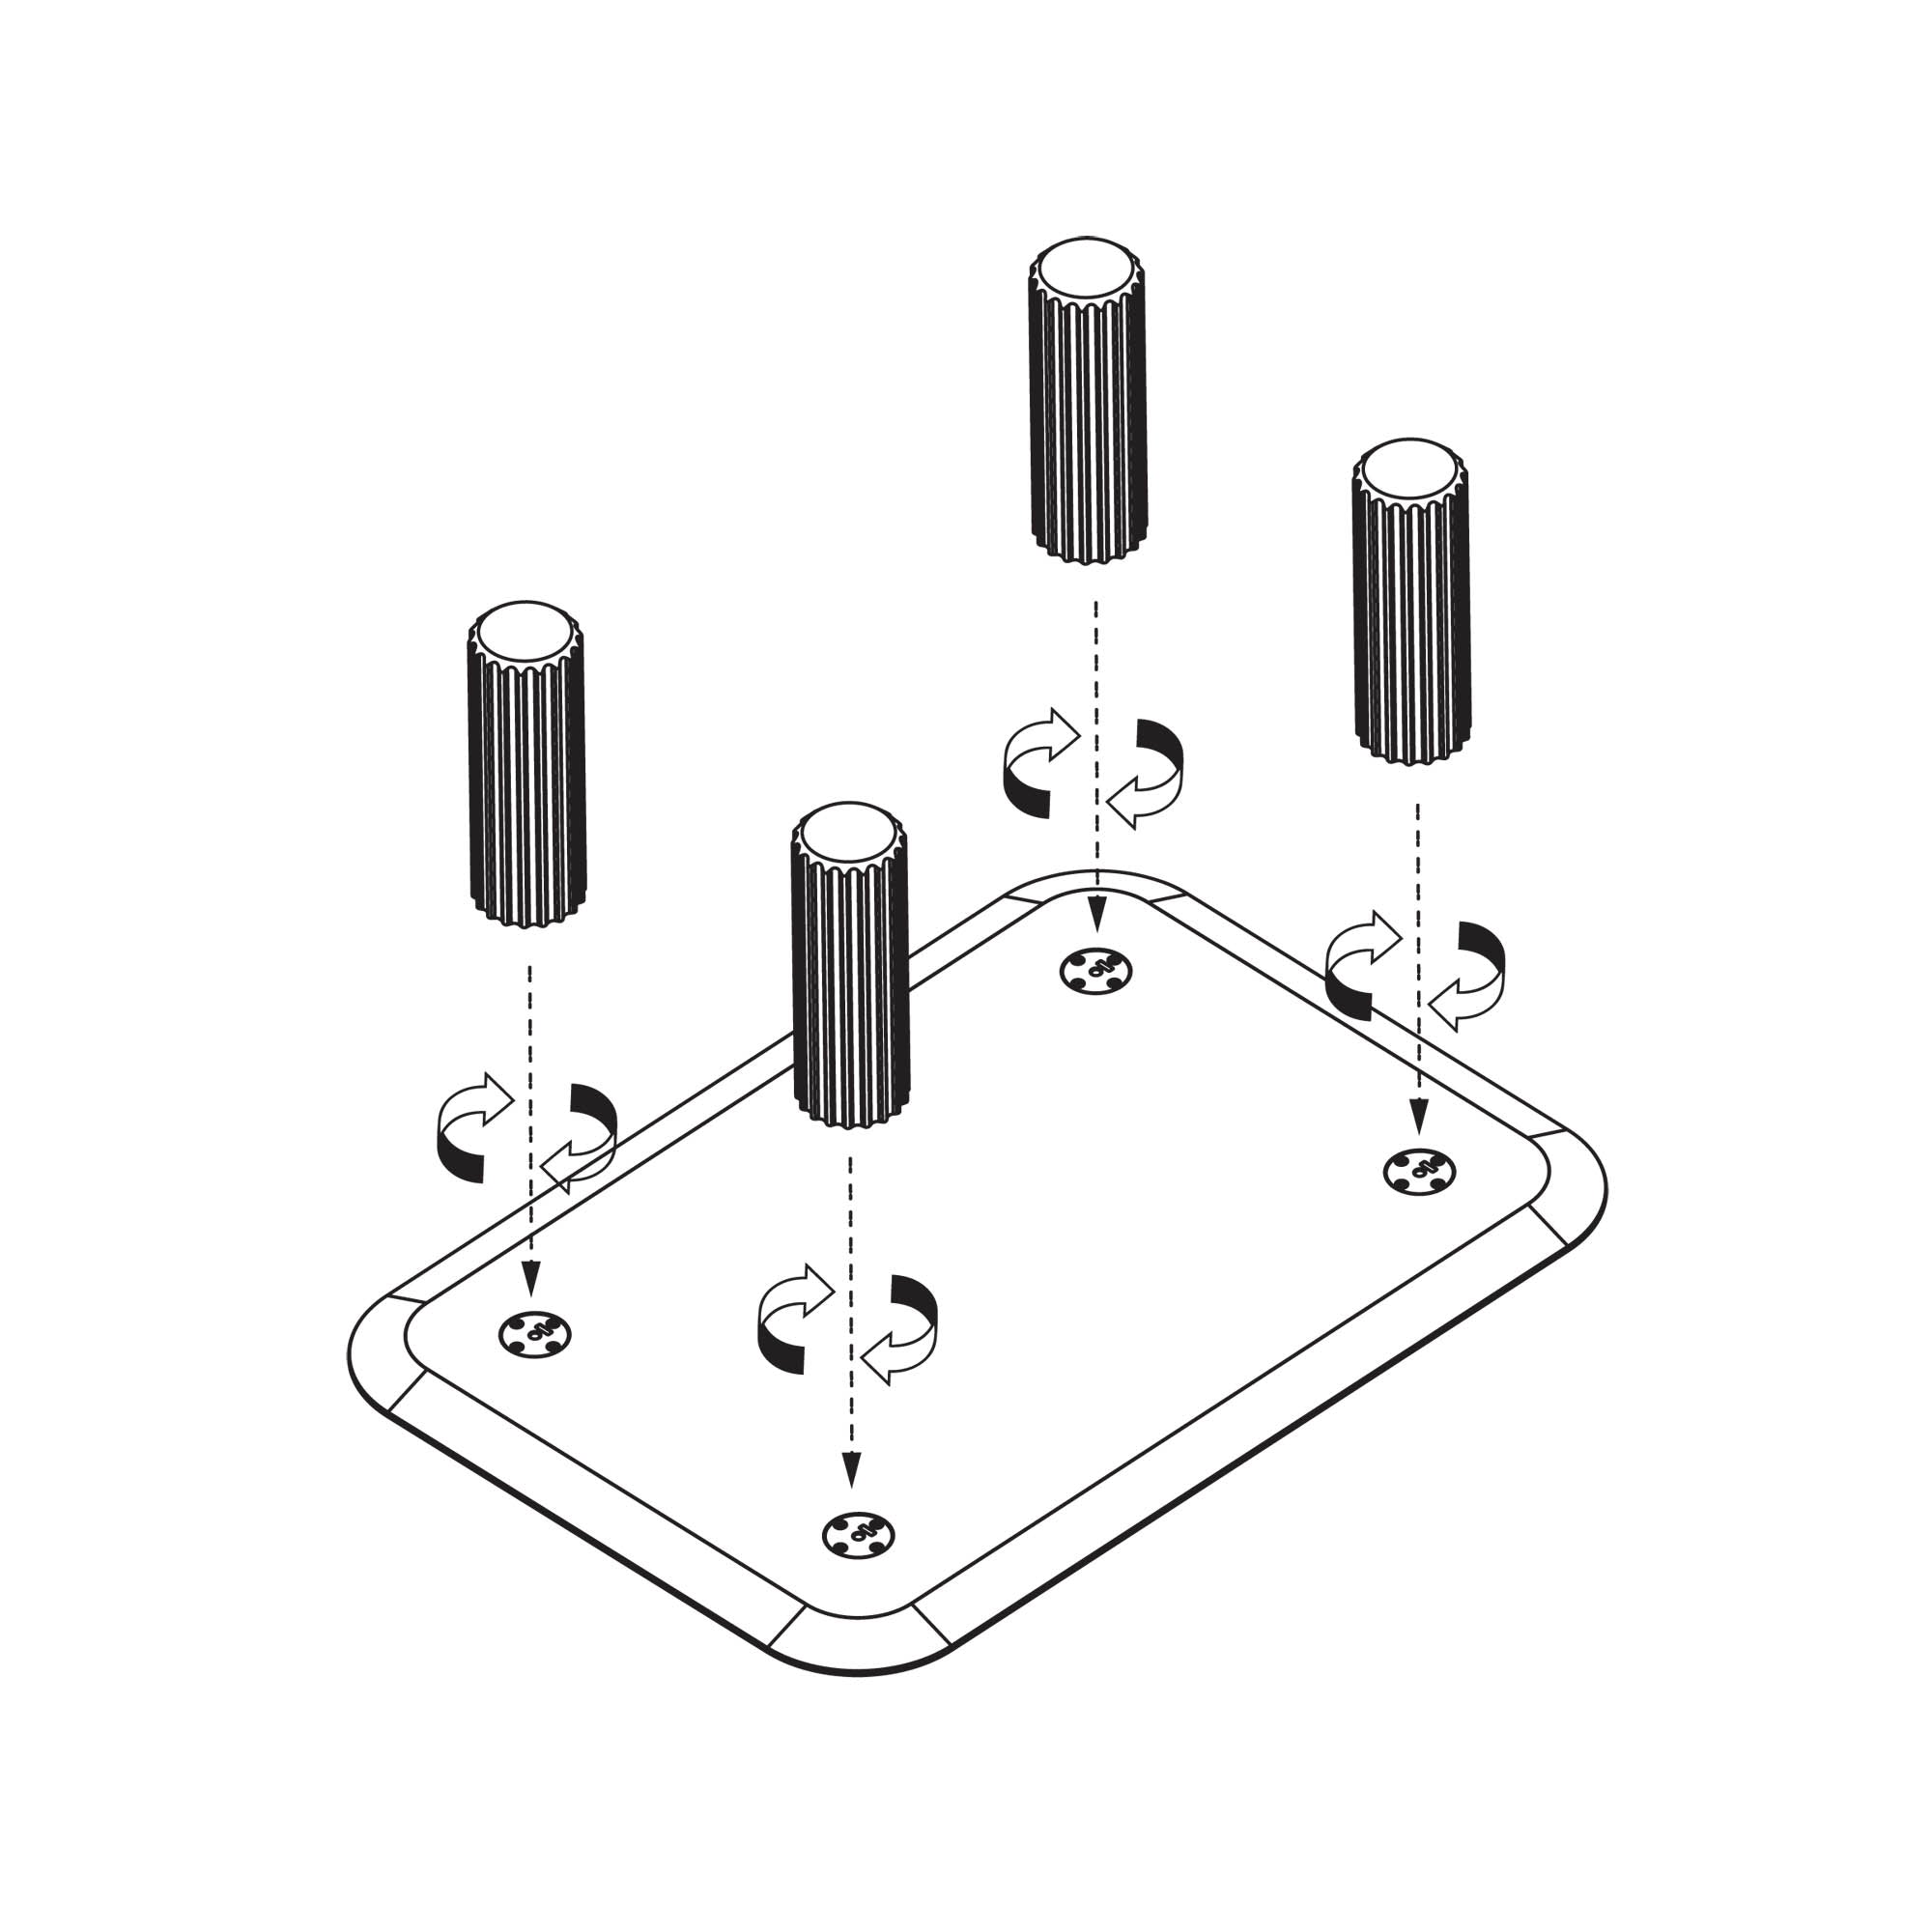
Unpack all parts and place them on a flat surface. Check the quantity of the shipment.
FILAR LOW / STEP 2
We recommend putting something soft under the tabletop to securely screw the legs to it.
FILAR LOW / STEP 3
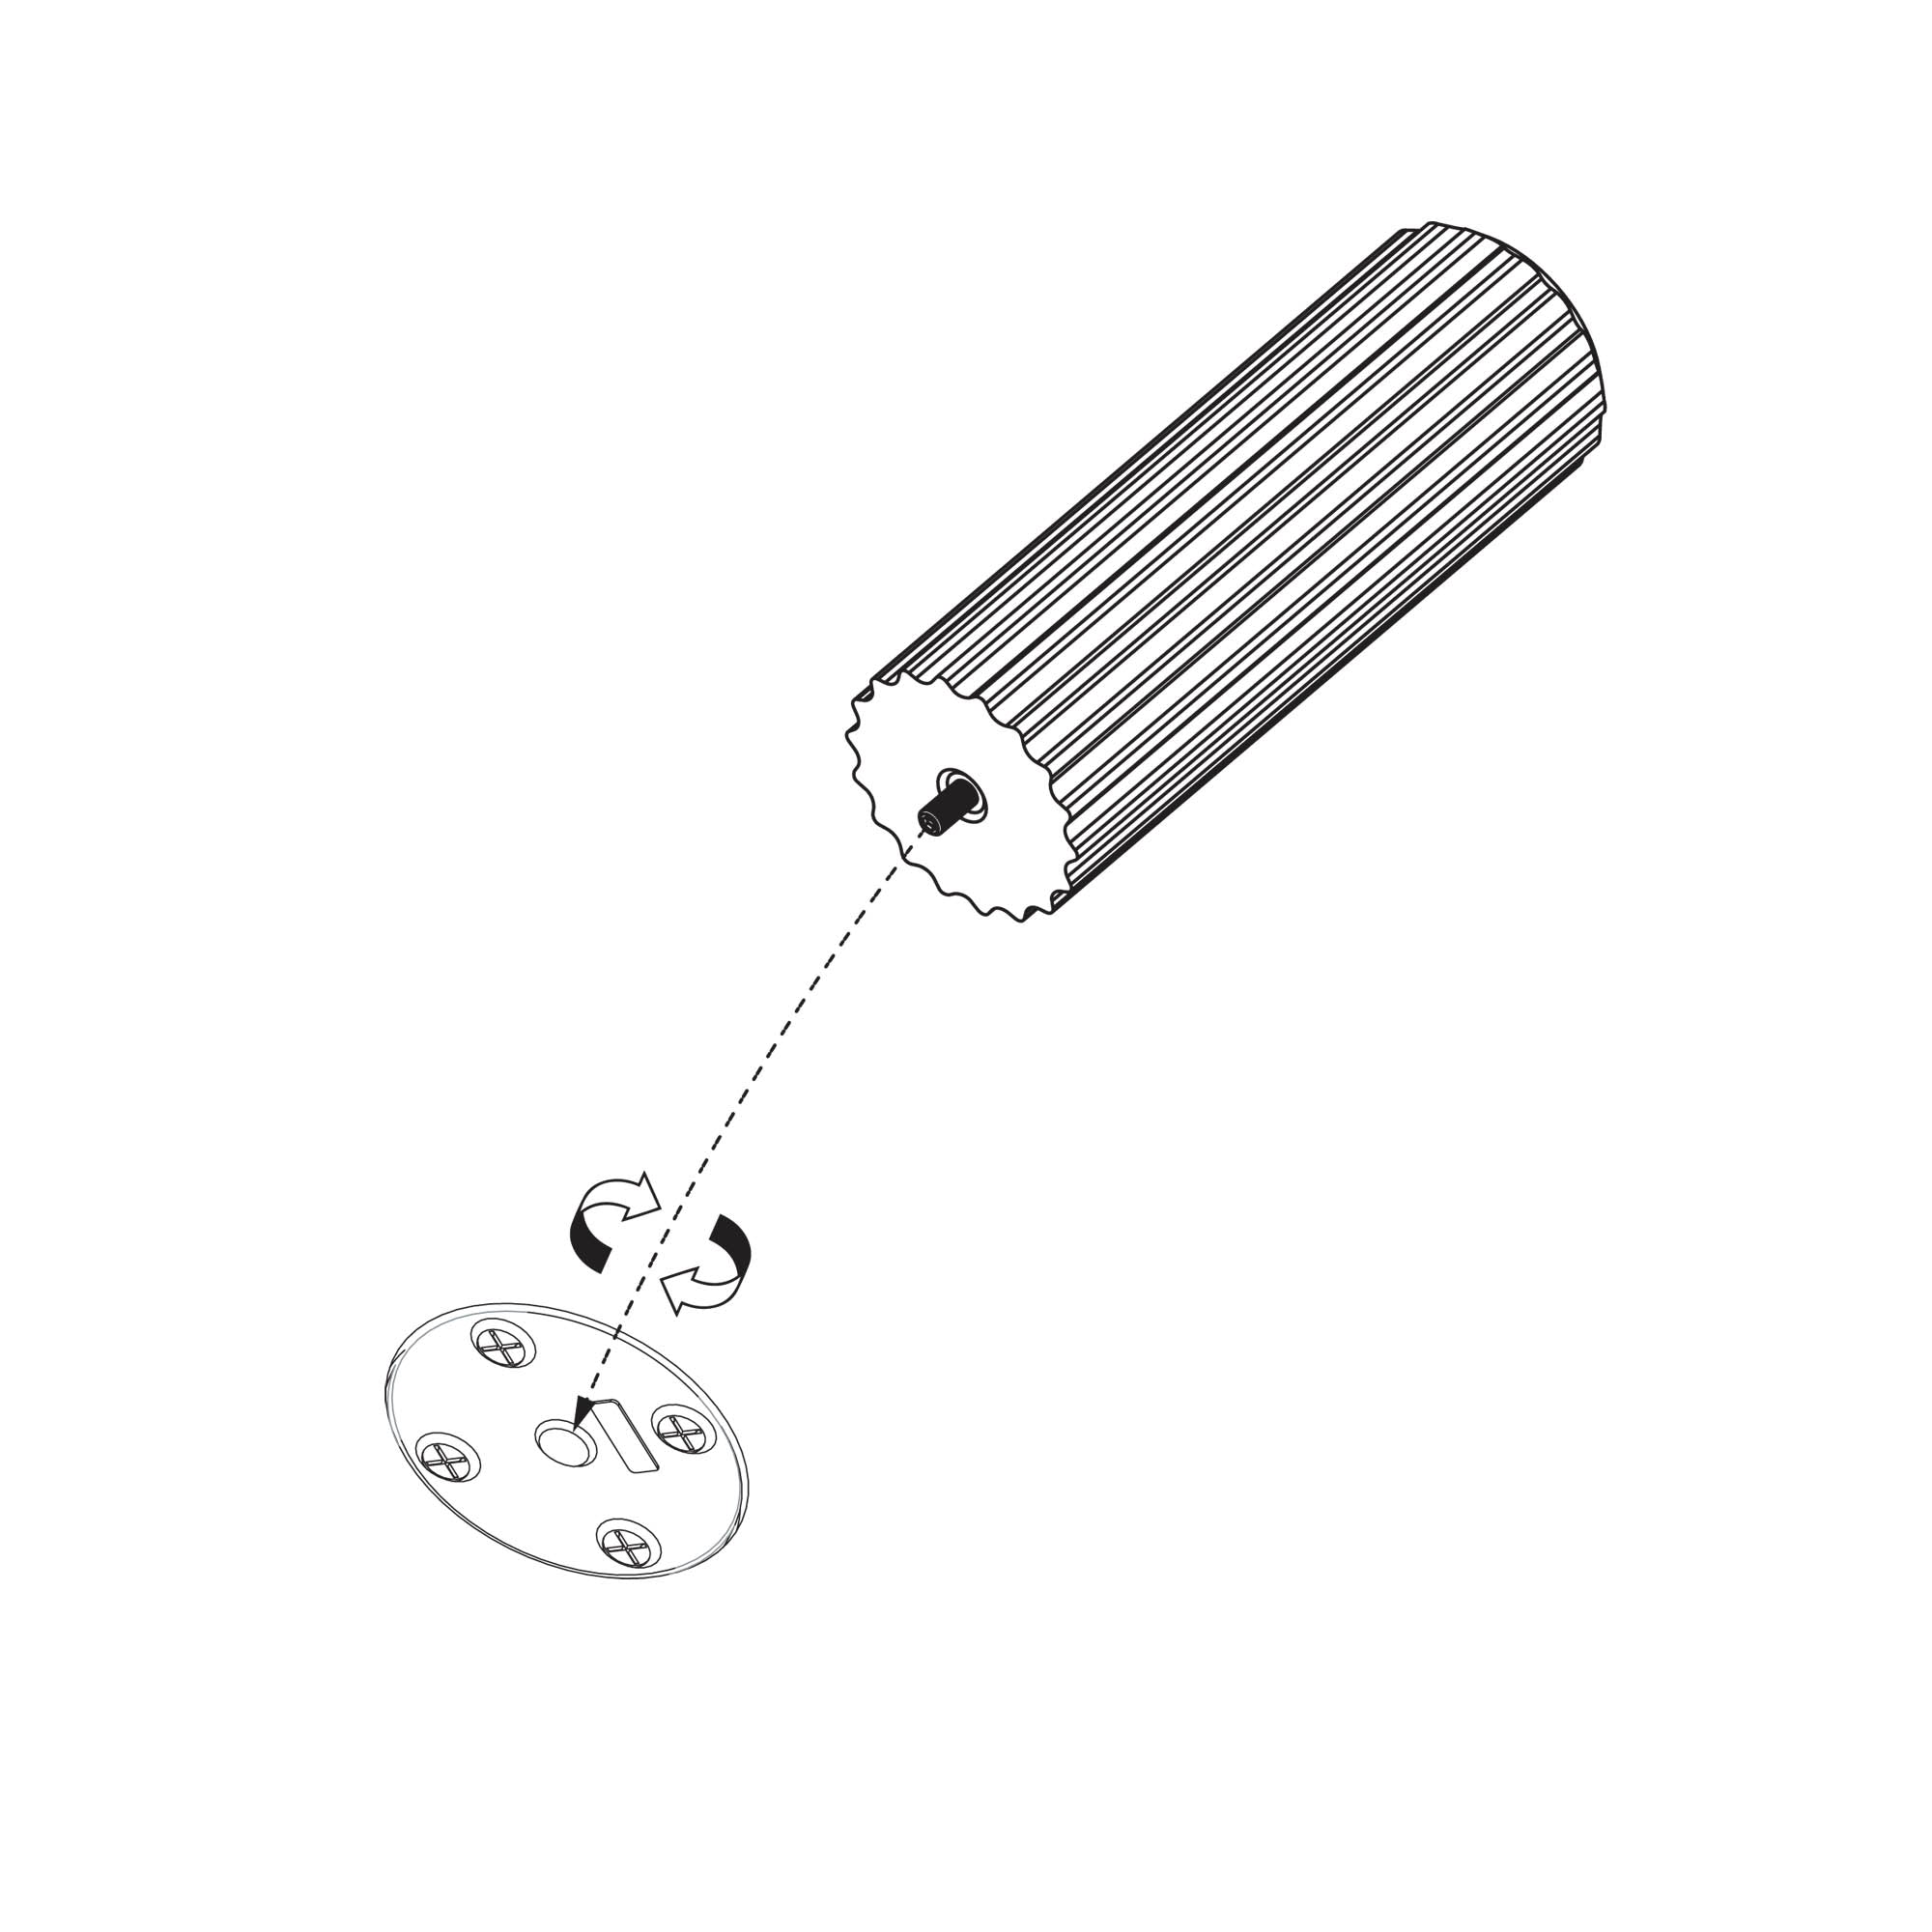
Each leg has a thread with which you can screw the leg to the countertop. Rotate the threaded leg until the leg plane is evenly pressed against the countertop surface. Use moderate force. Make sure that the legs are tightened in a way that prevents it from moving.
FILAR LOW / STEP 4
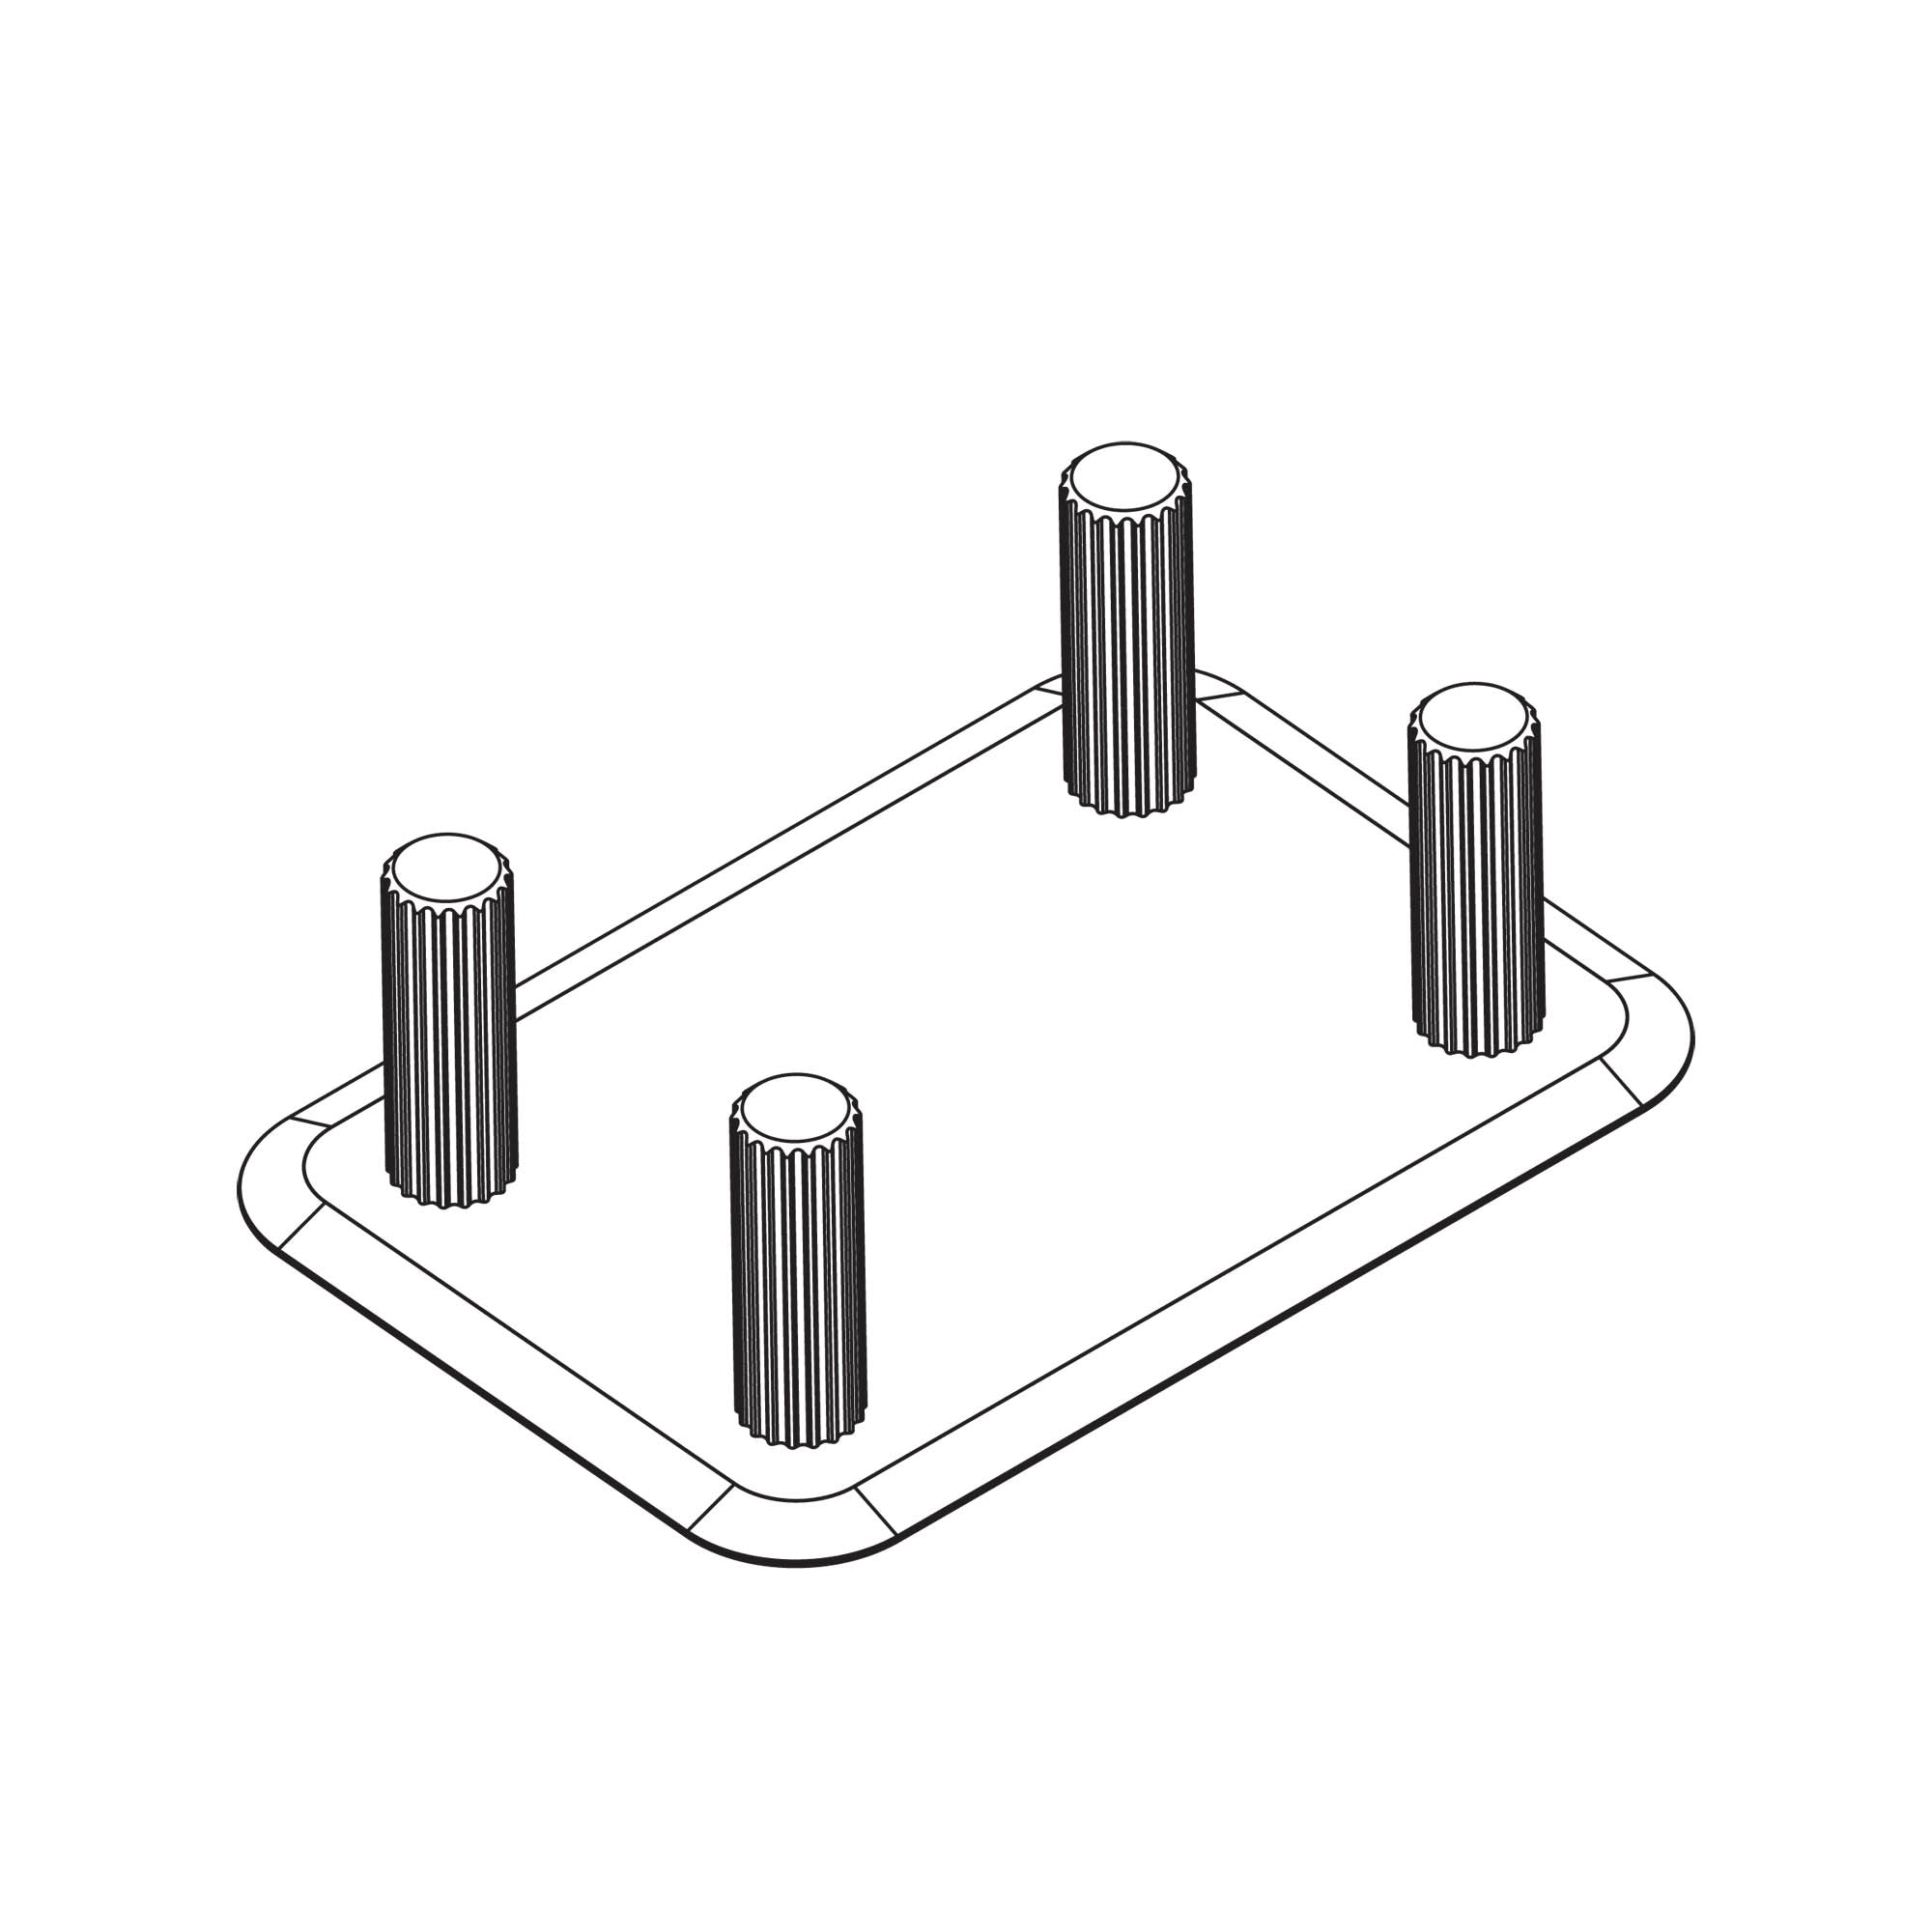
Check whether the legs are perpendicular to the plane of the countertop. If they are, the table is ready for use and can be turned.
FILAR LOW / STEP 5
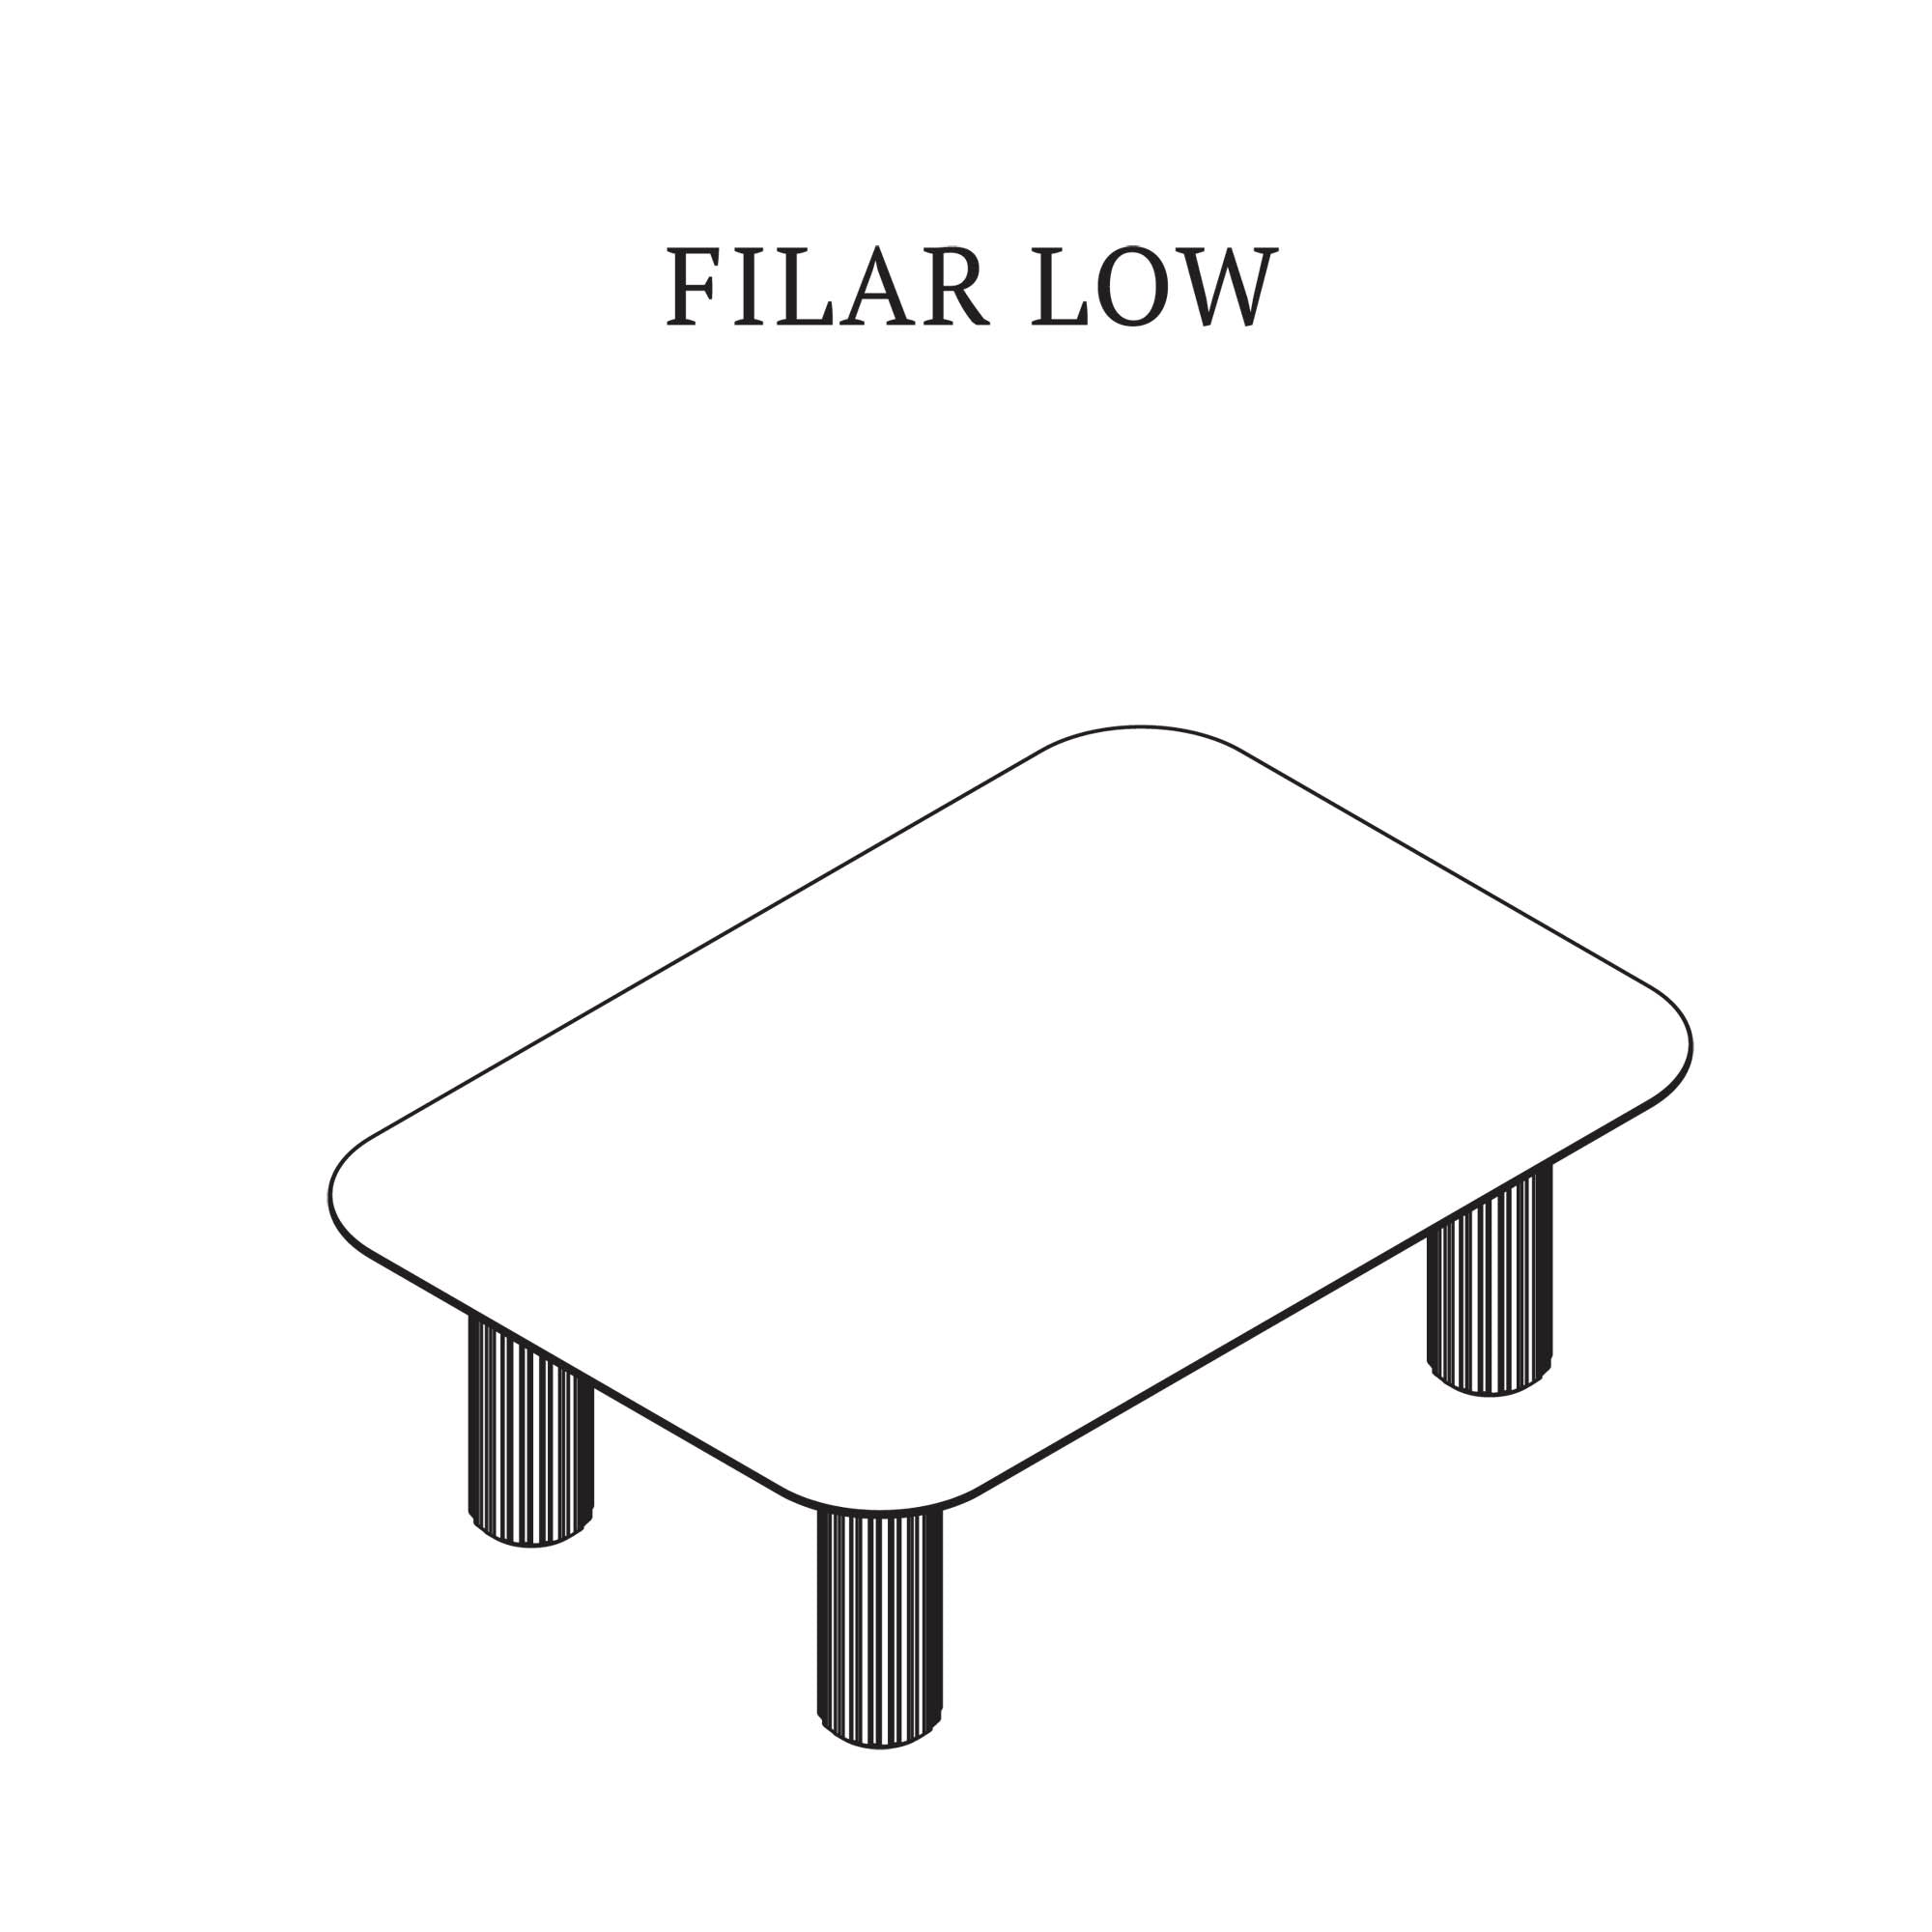
Thank you for choosing our products. More information on the use and care of our furniture can be found at: Care and Use

FILAR Low
VIEW