


Manual
CROSSET
Follow the instructions below. The Crosset shelf you want to mount requires a few steps that you can easily perform. Ask someone to help because the assembly requires the cooperation of two people. It's more fun together.
START
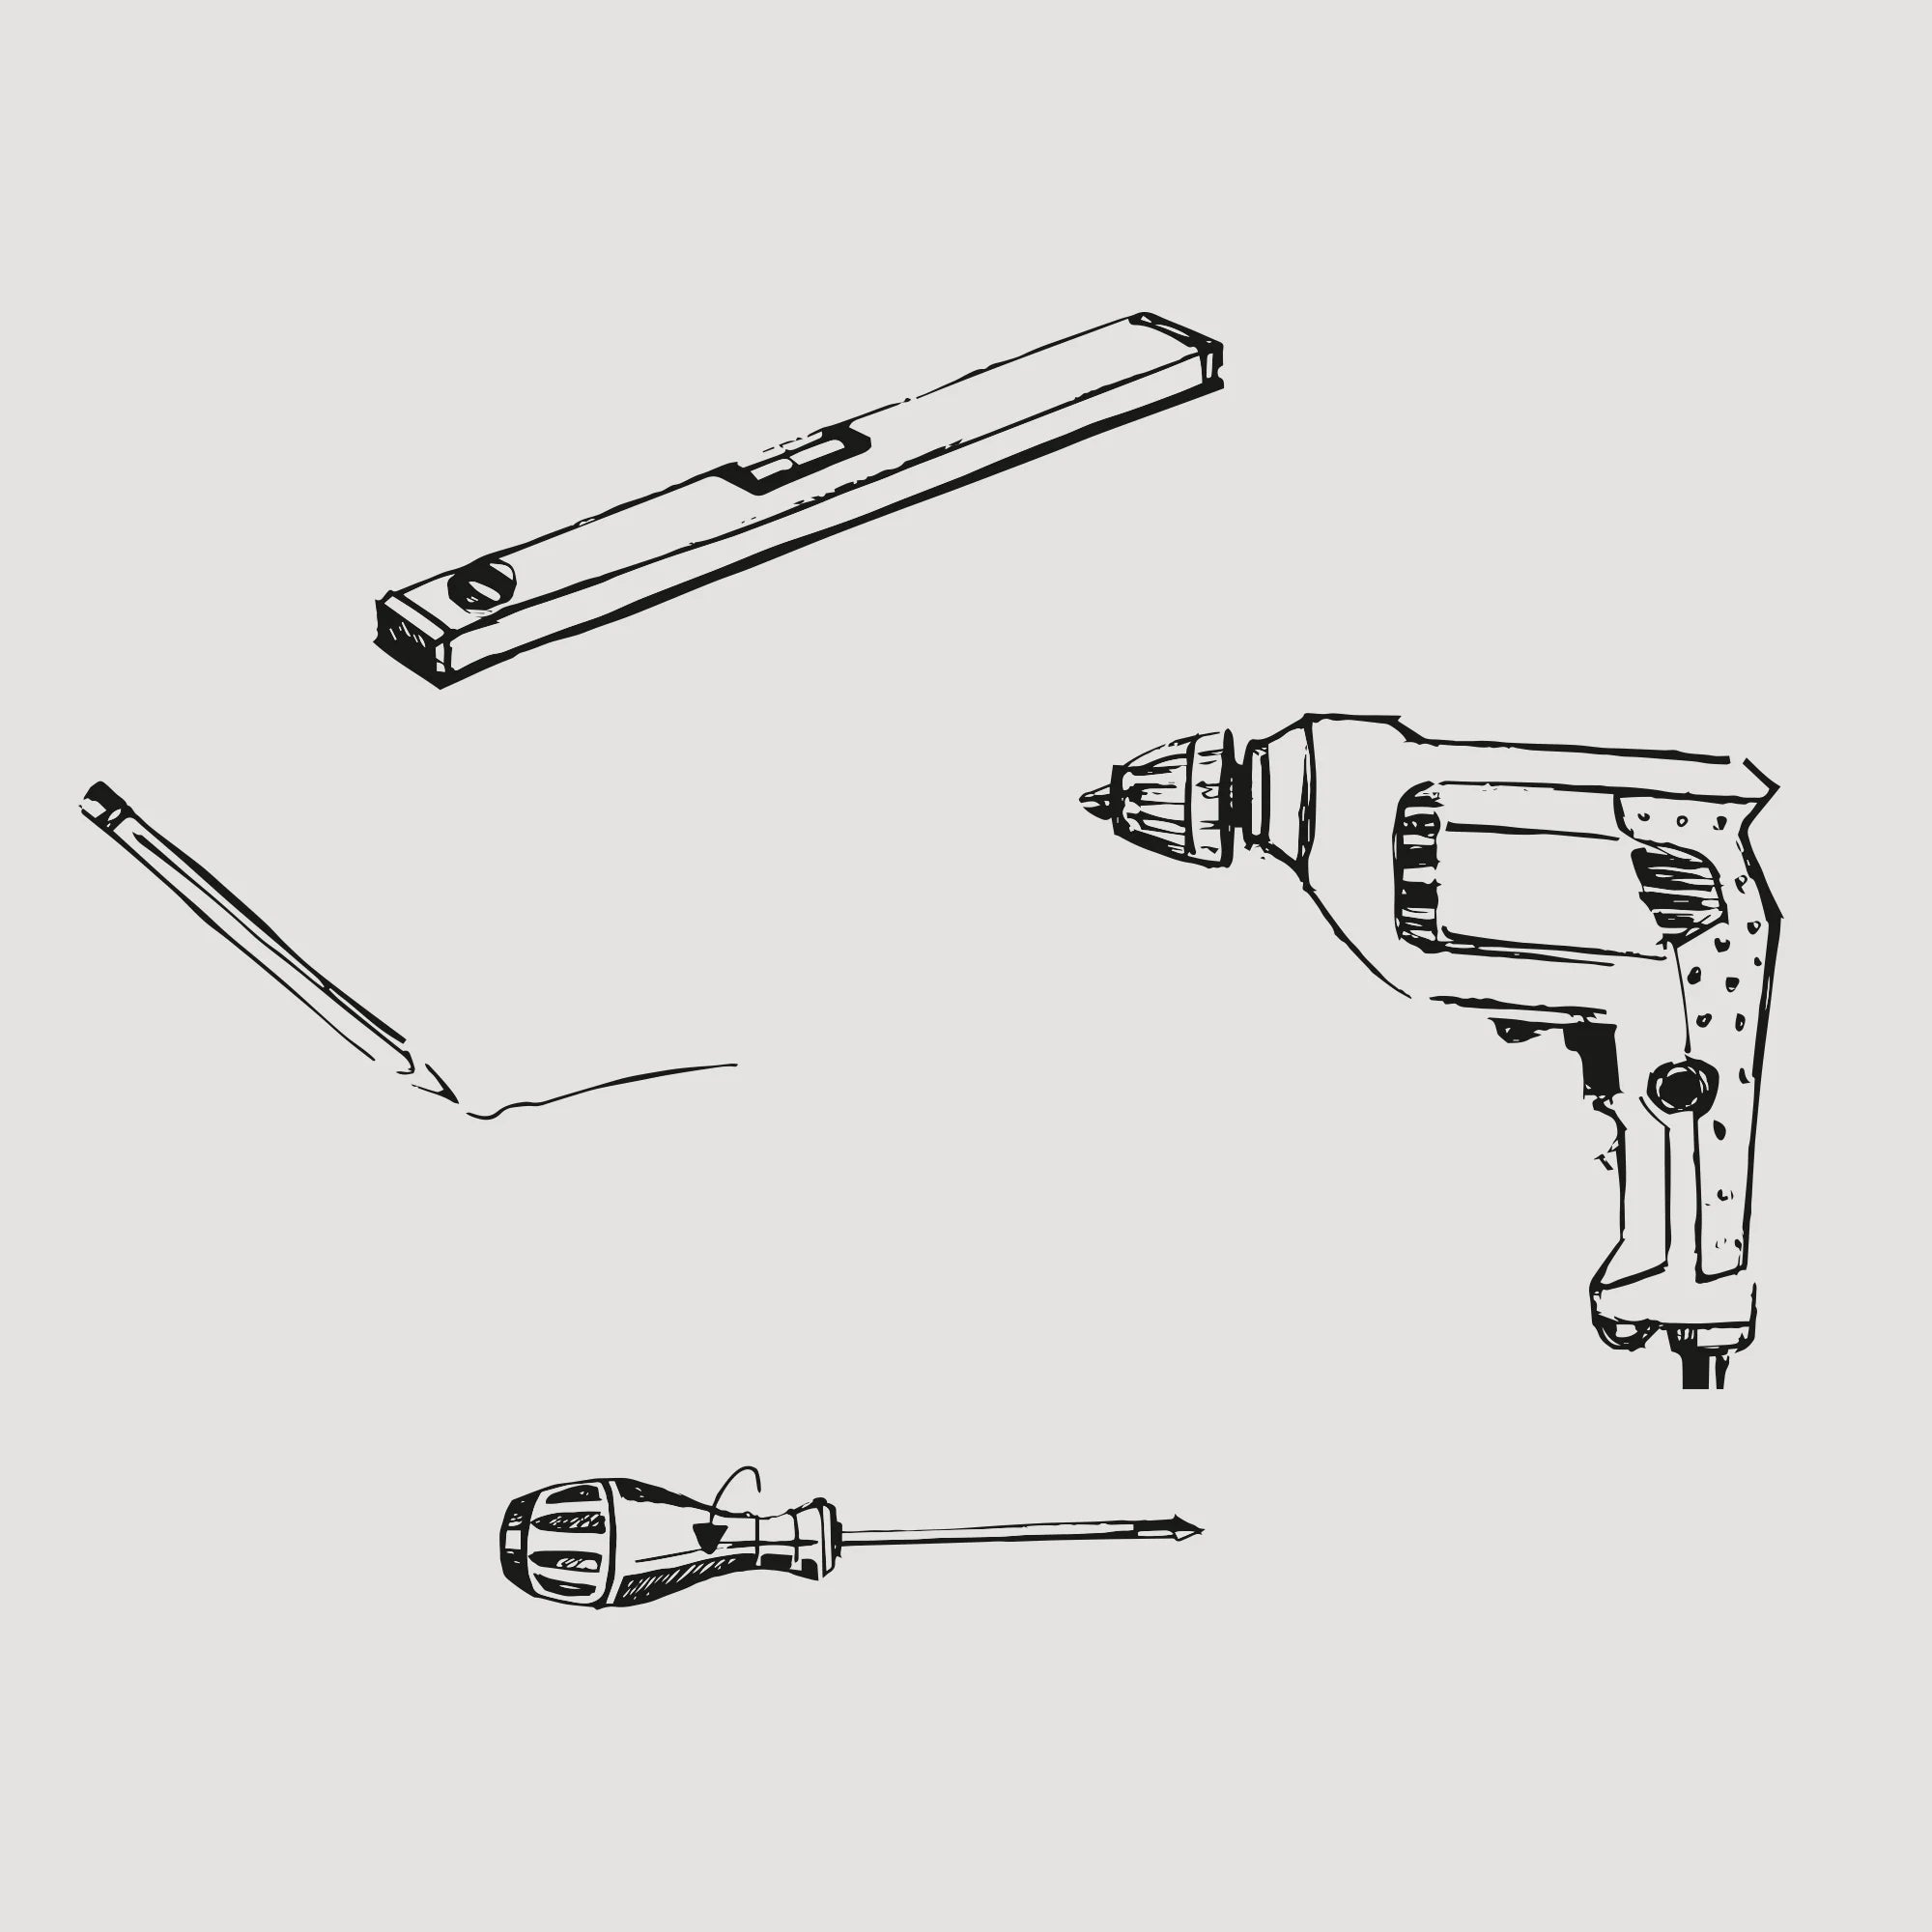
Prepare the tools to assemble the CROSSET shelf. To mount the shelf efficiently, you will need: a spirit level (1), a drill with a drill bit No. 6 or a drill driver (2), a screwdriver (3) and a pencil (4).
STEP 1
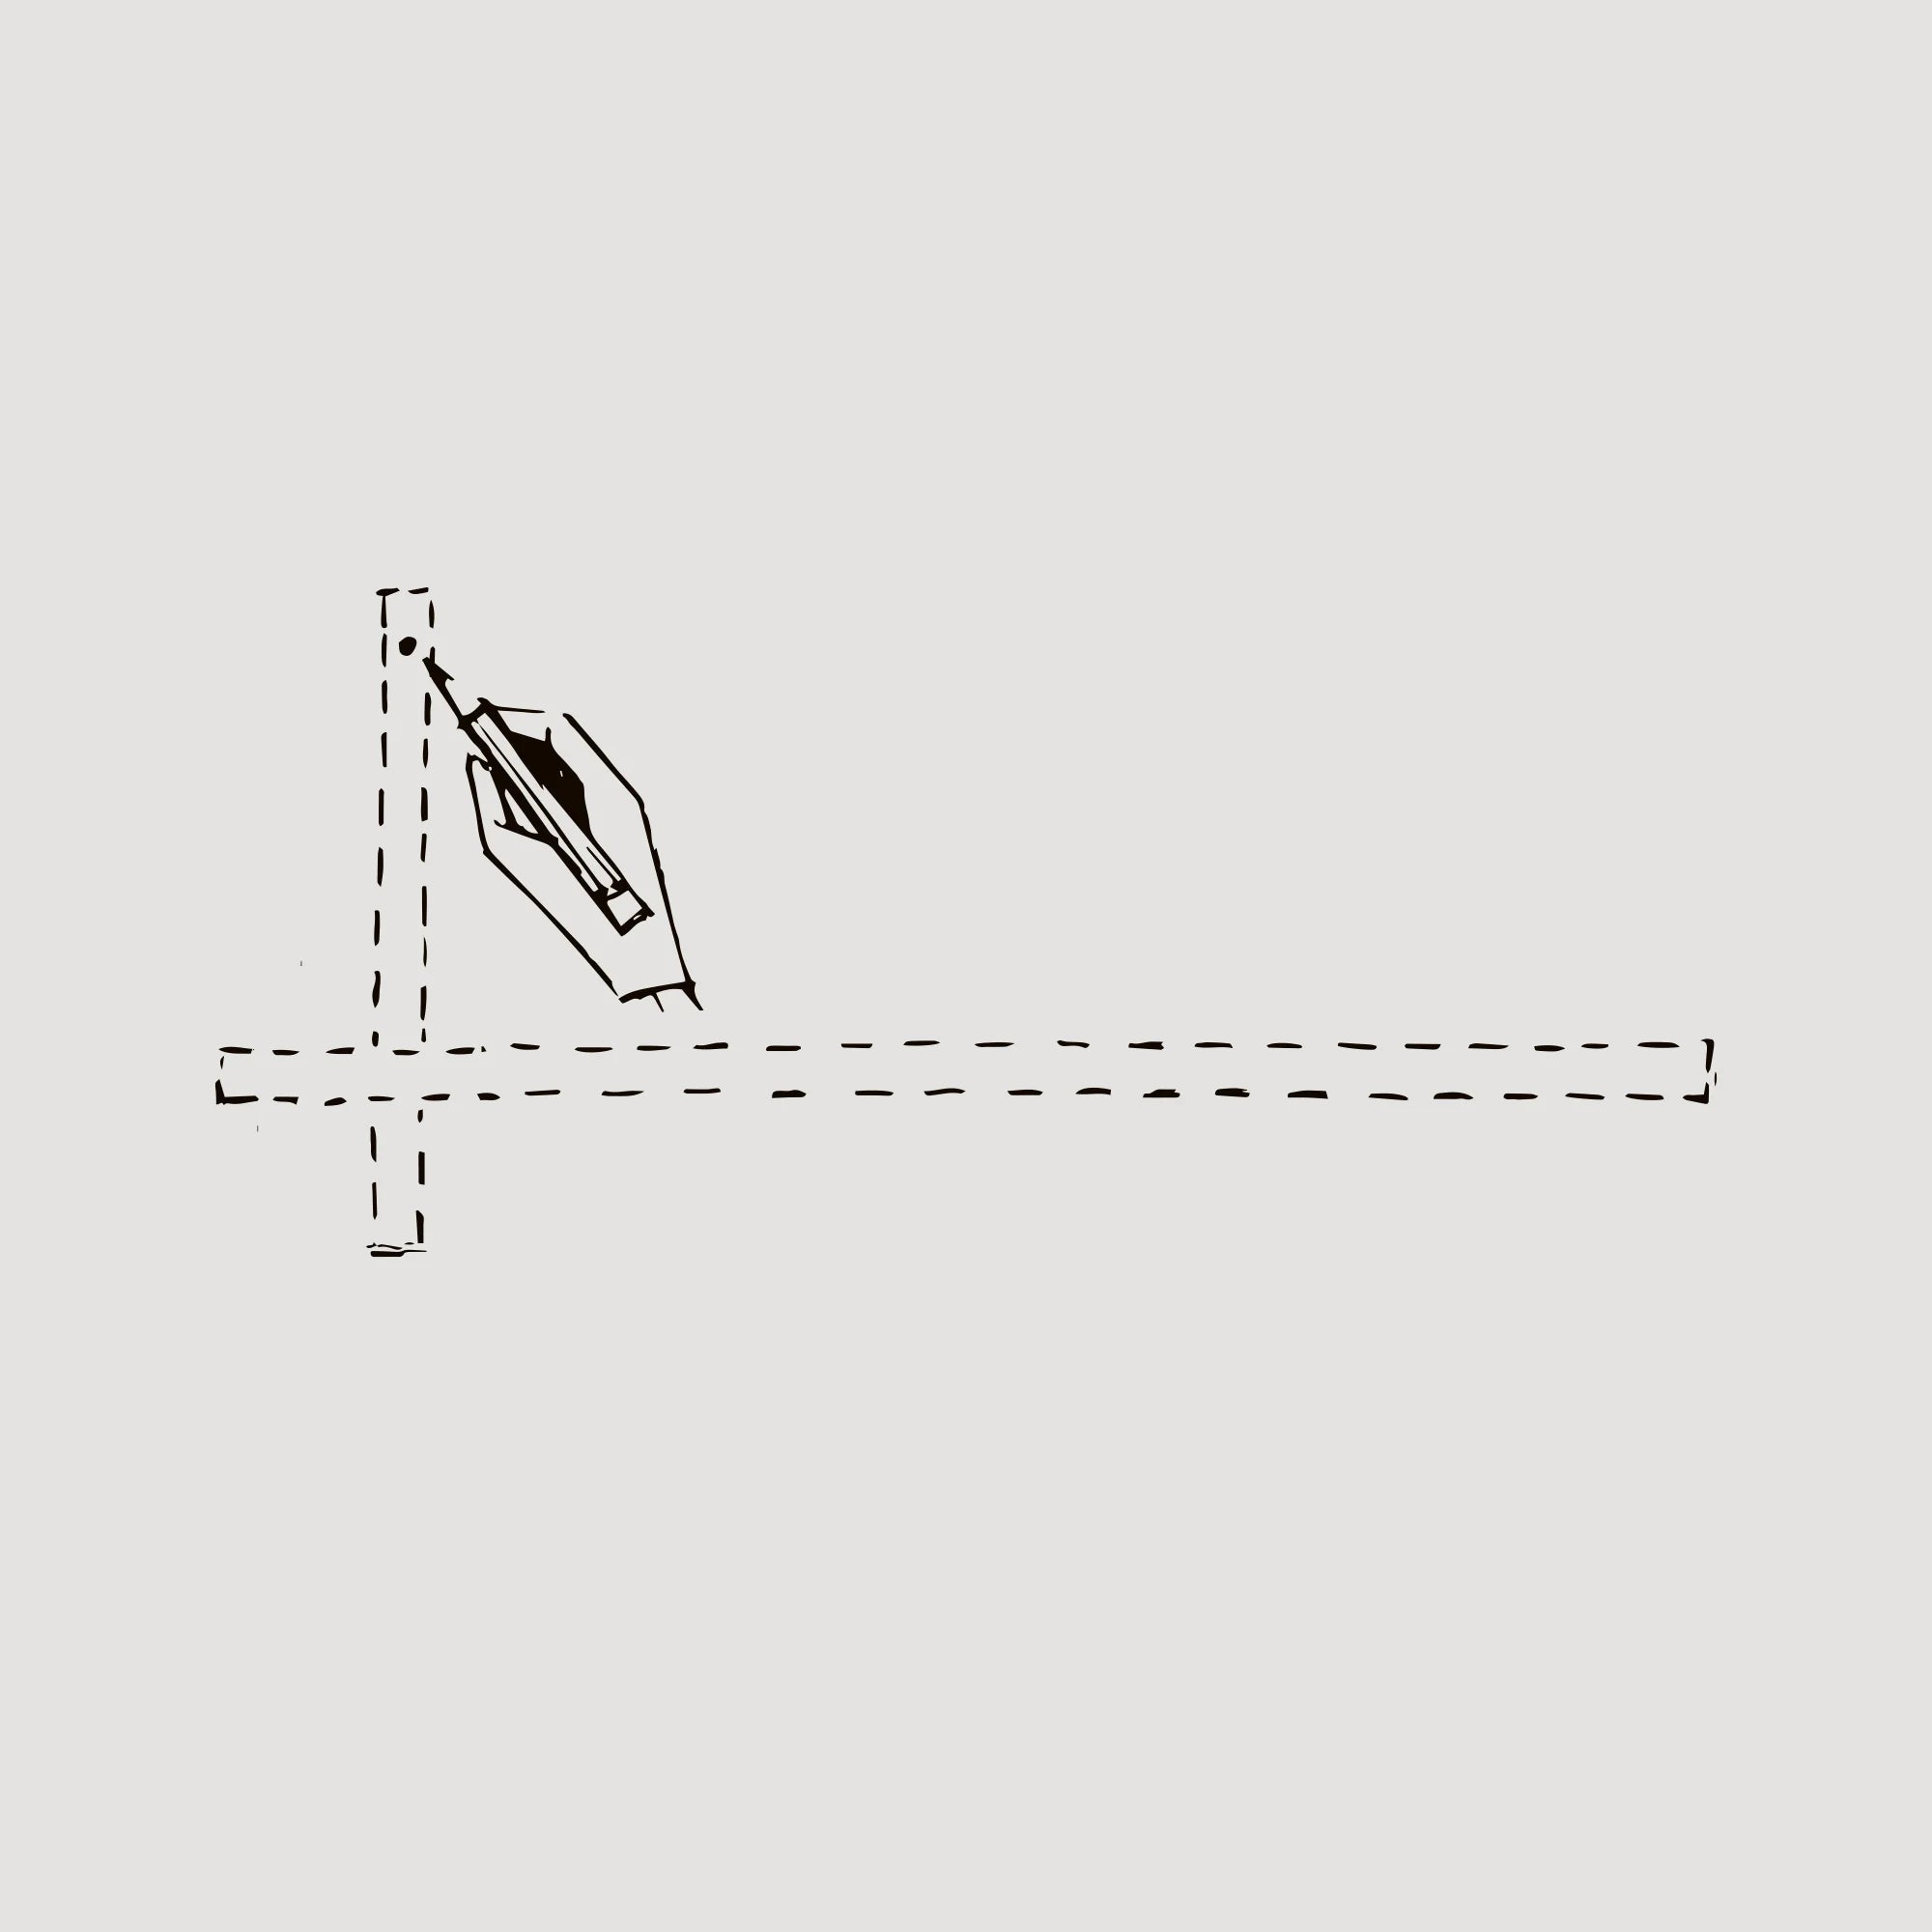
Choose a place to mount the rack. Check if the wall is even. Use a pencil to mark the point on the wall to fix the vertical, shorter element.
STEP 2
Next, mark the places where the first pin will be attached with a drill. We start with the vertical element.
STEP 3
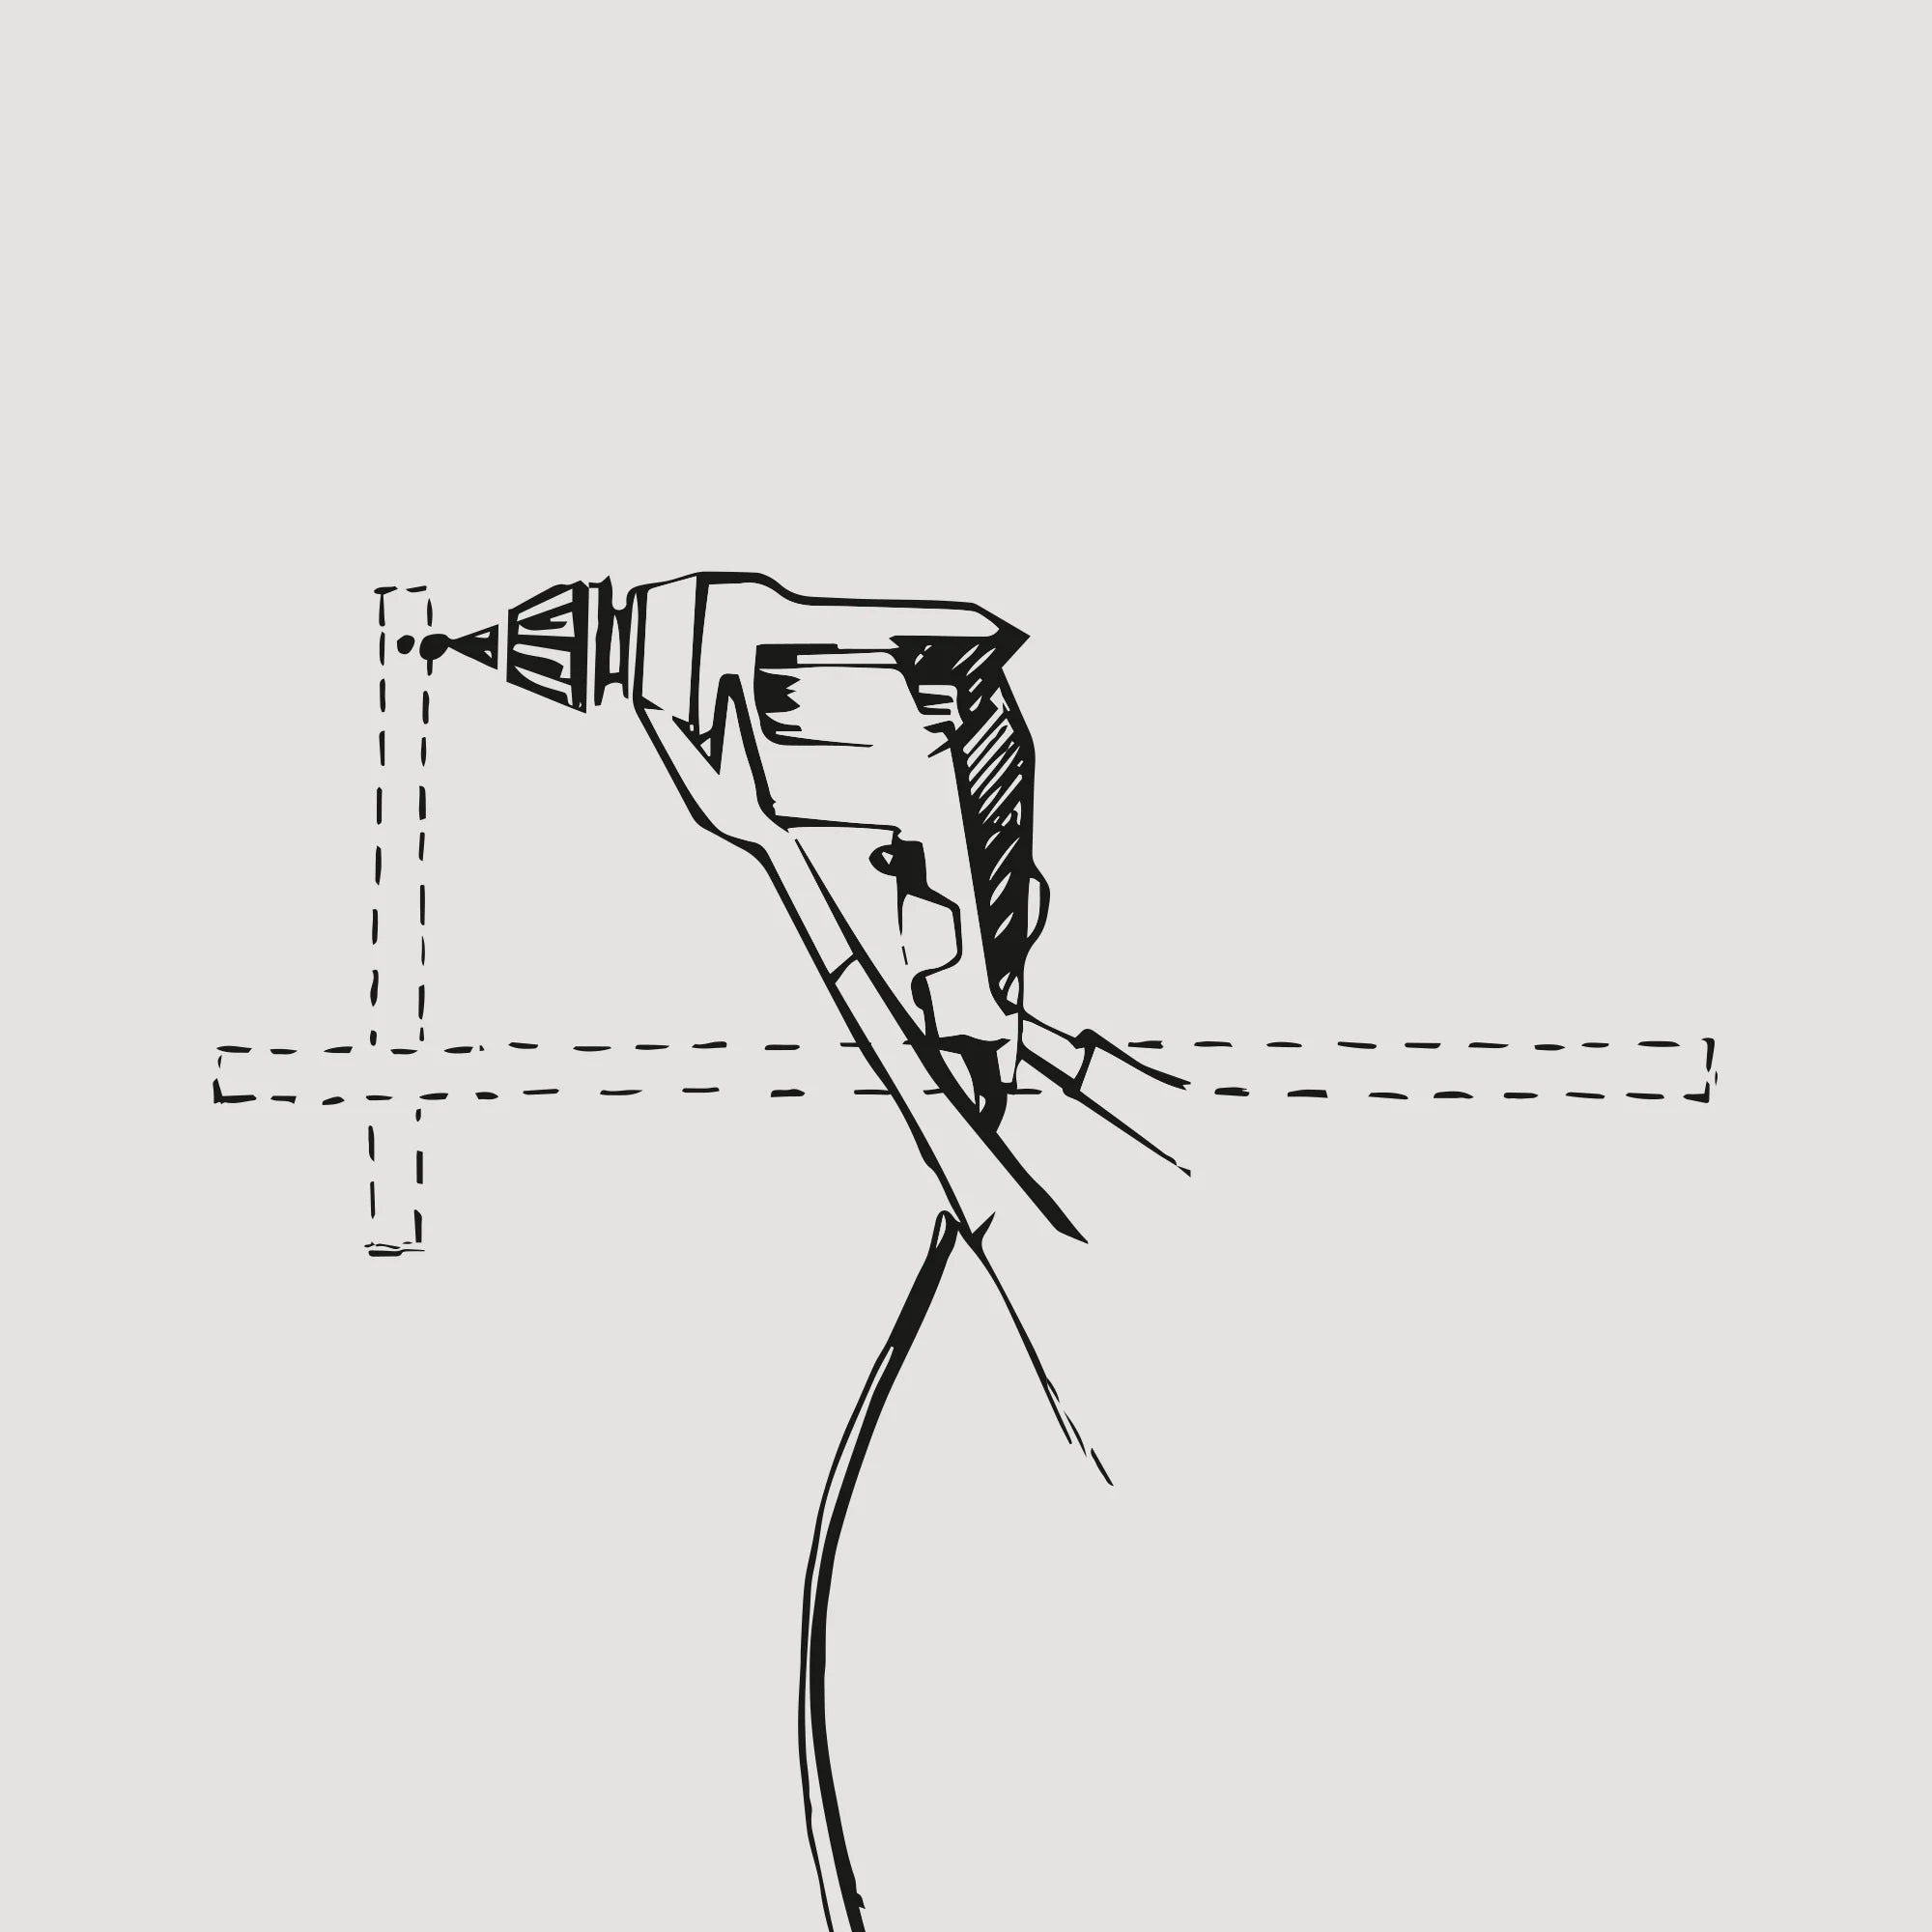
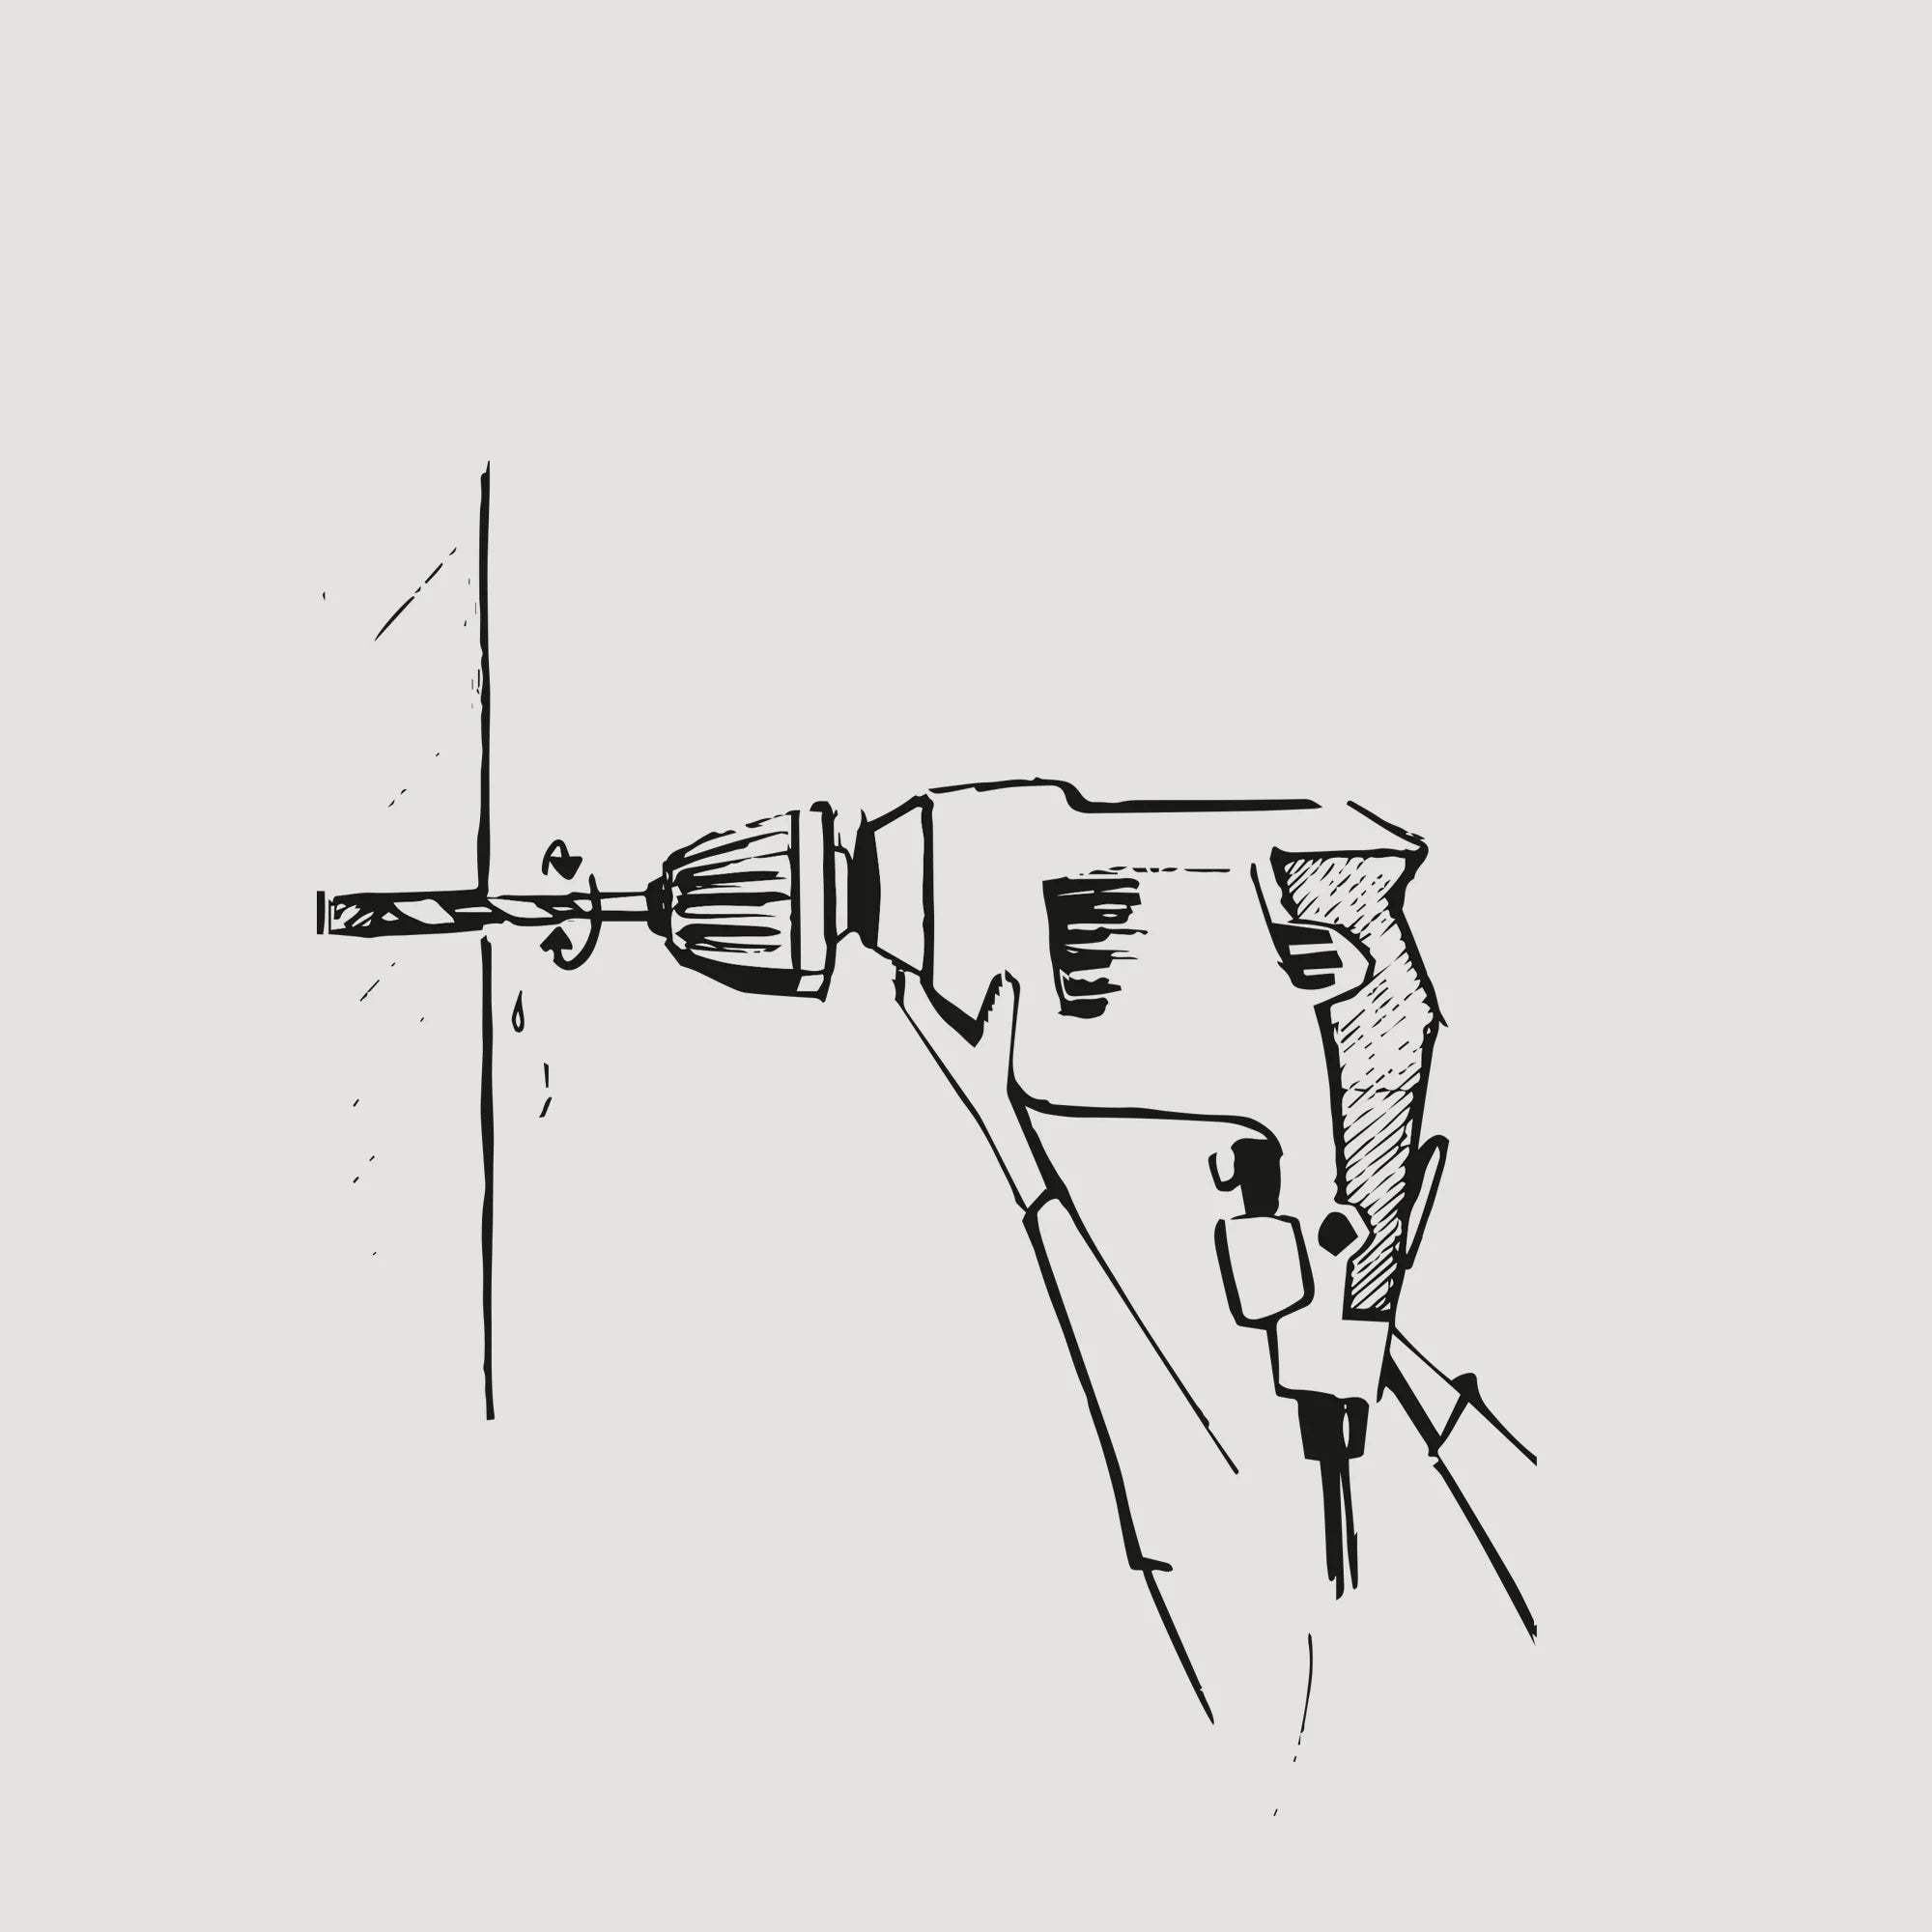
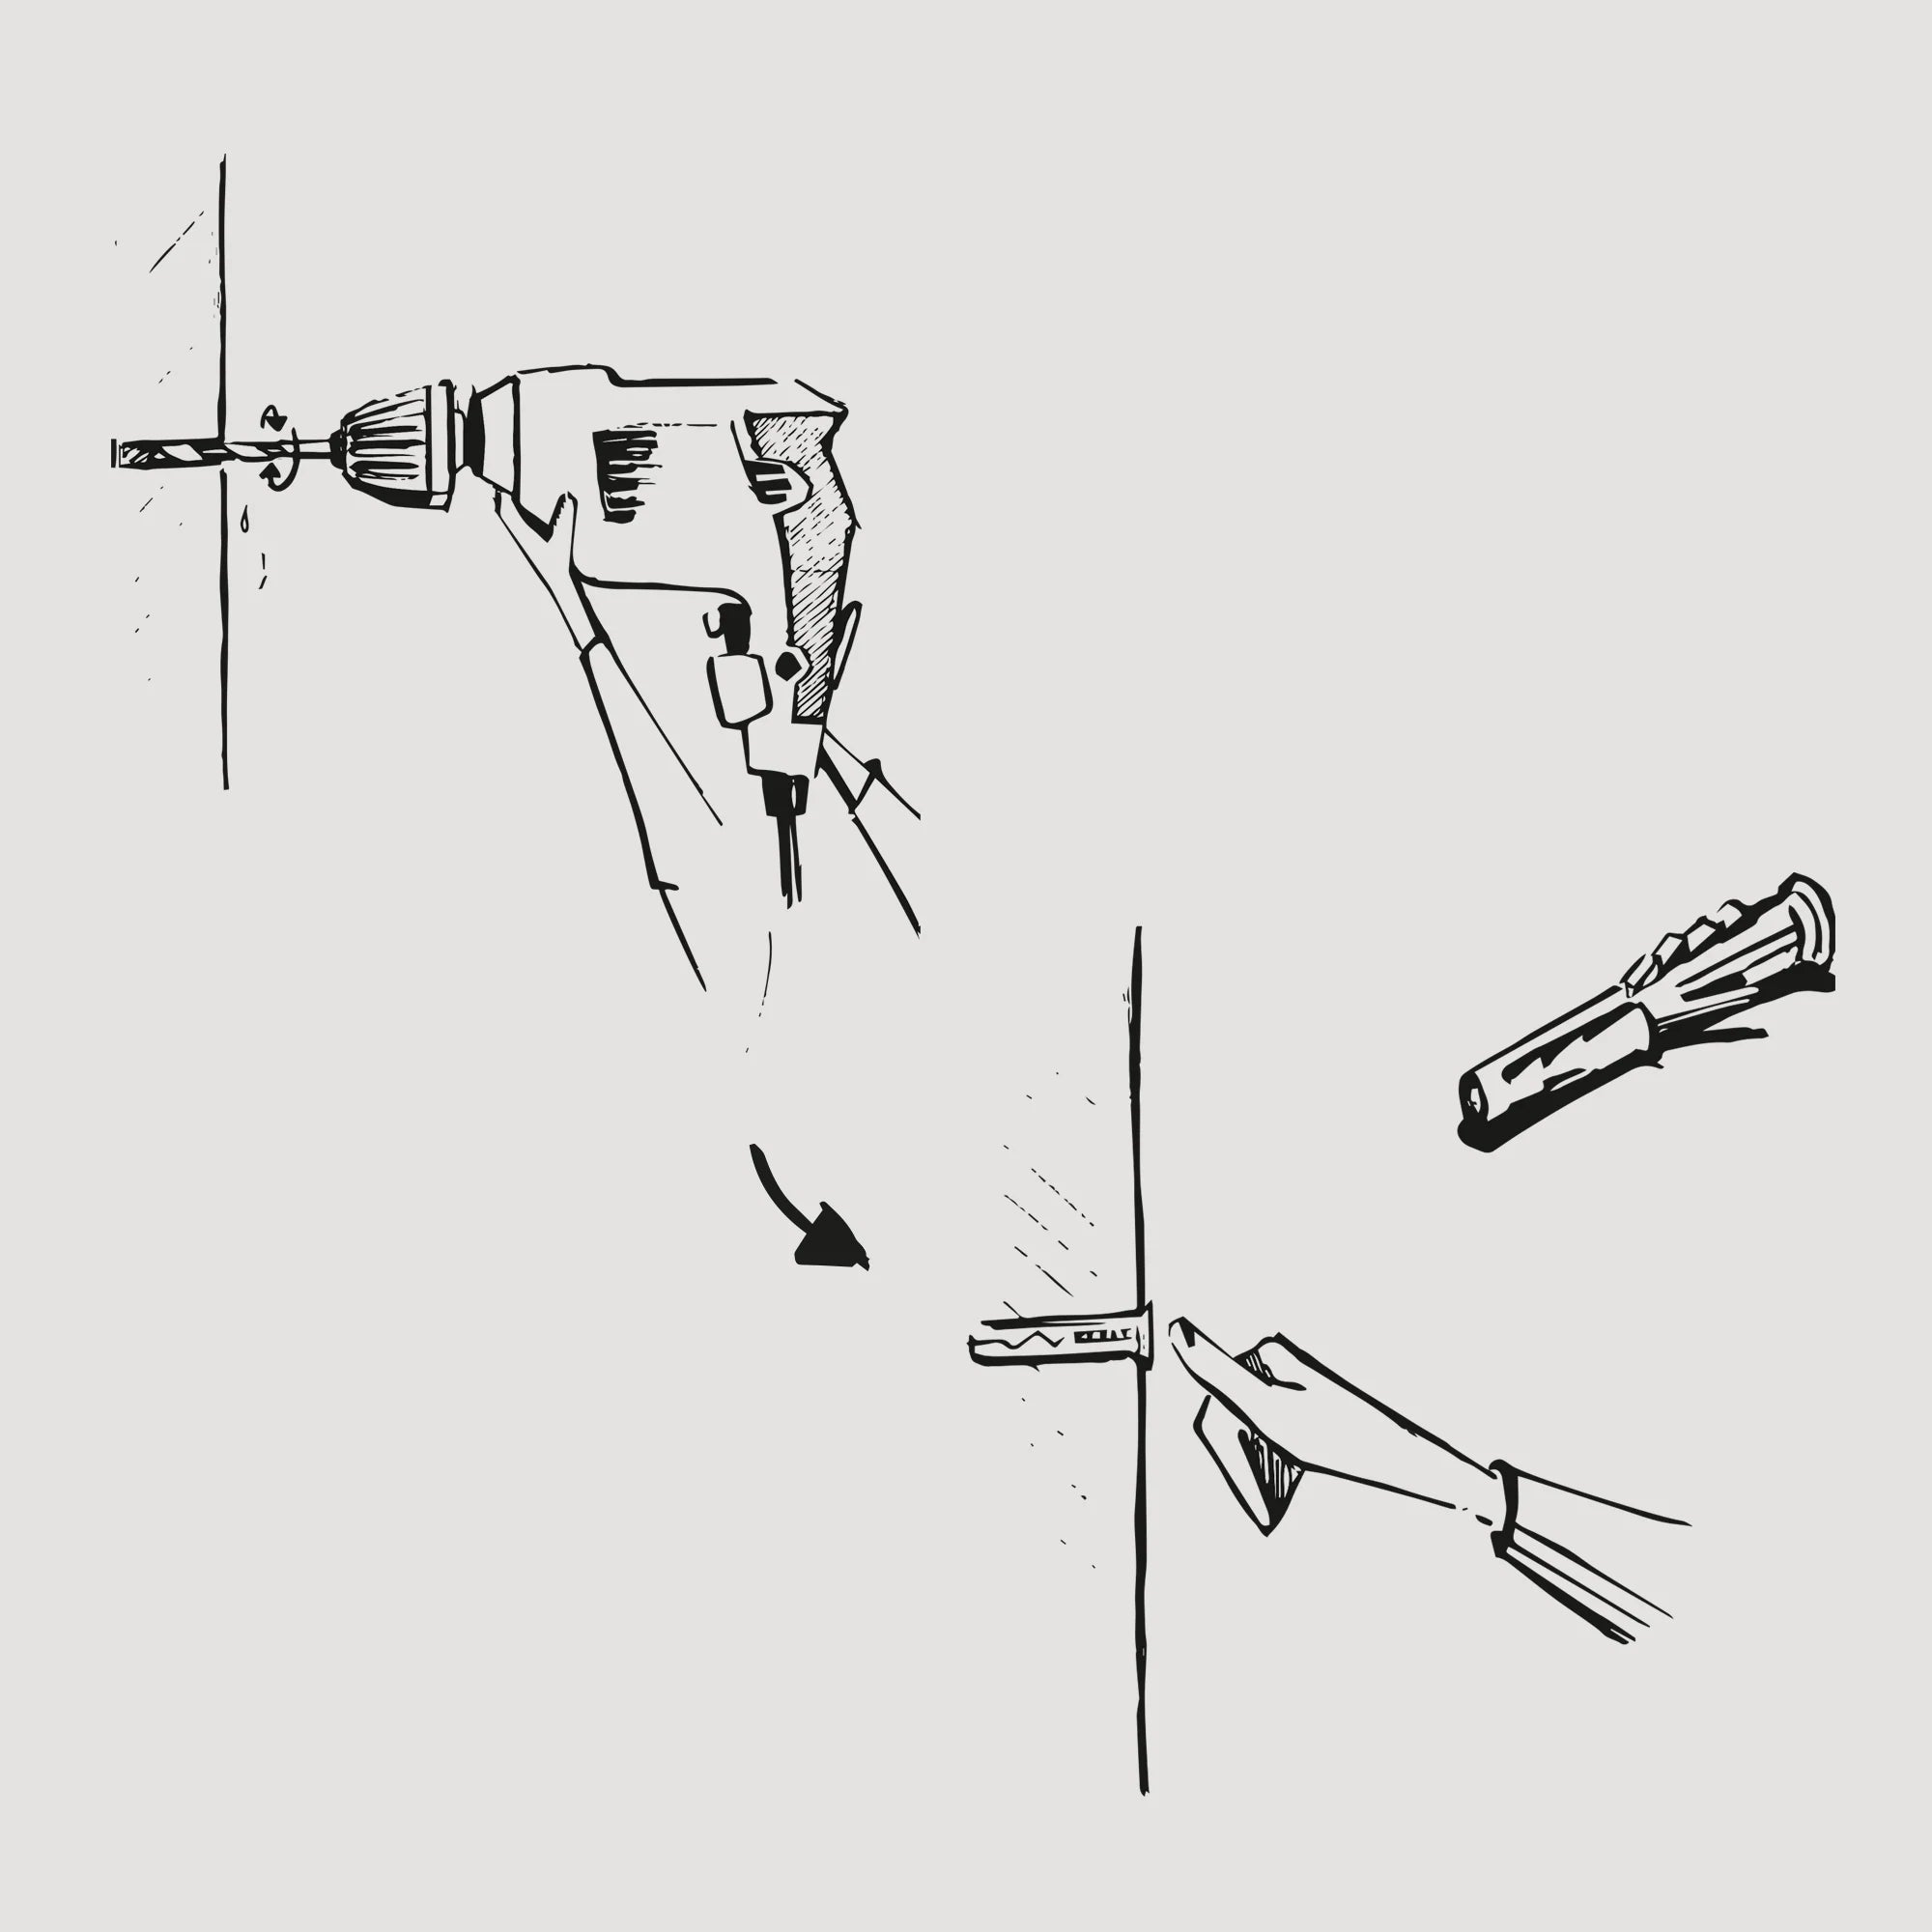
Drill a hole in the wall to the full depth of the plug (perpendicular to the wall with a drill bit with a diameter of 6 mm).
STEP 4
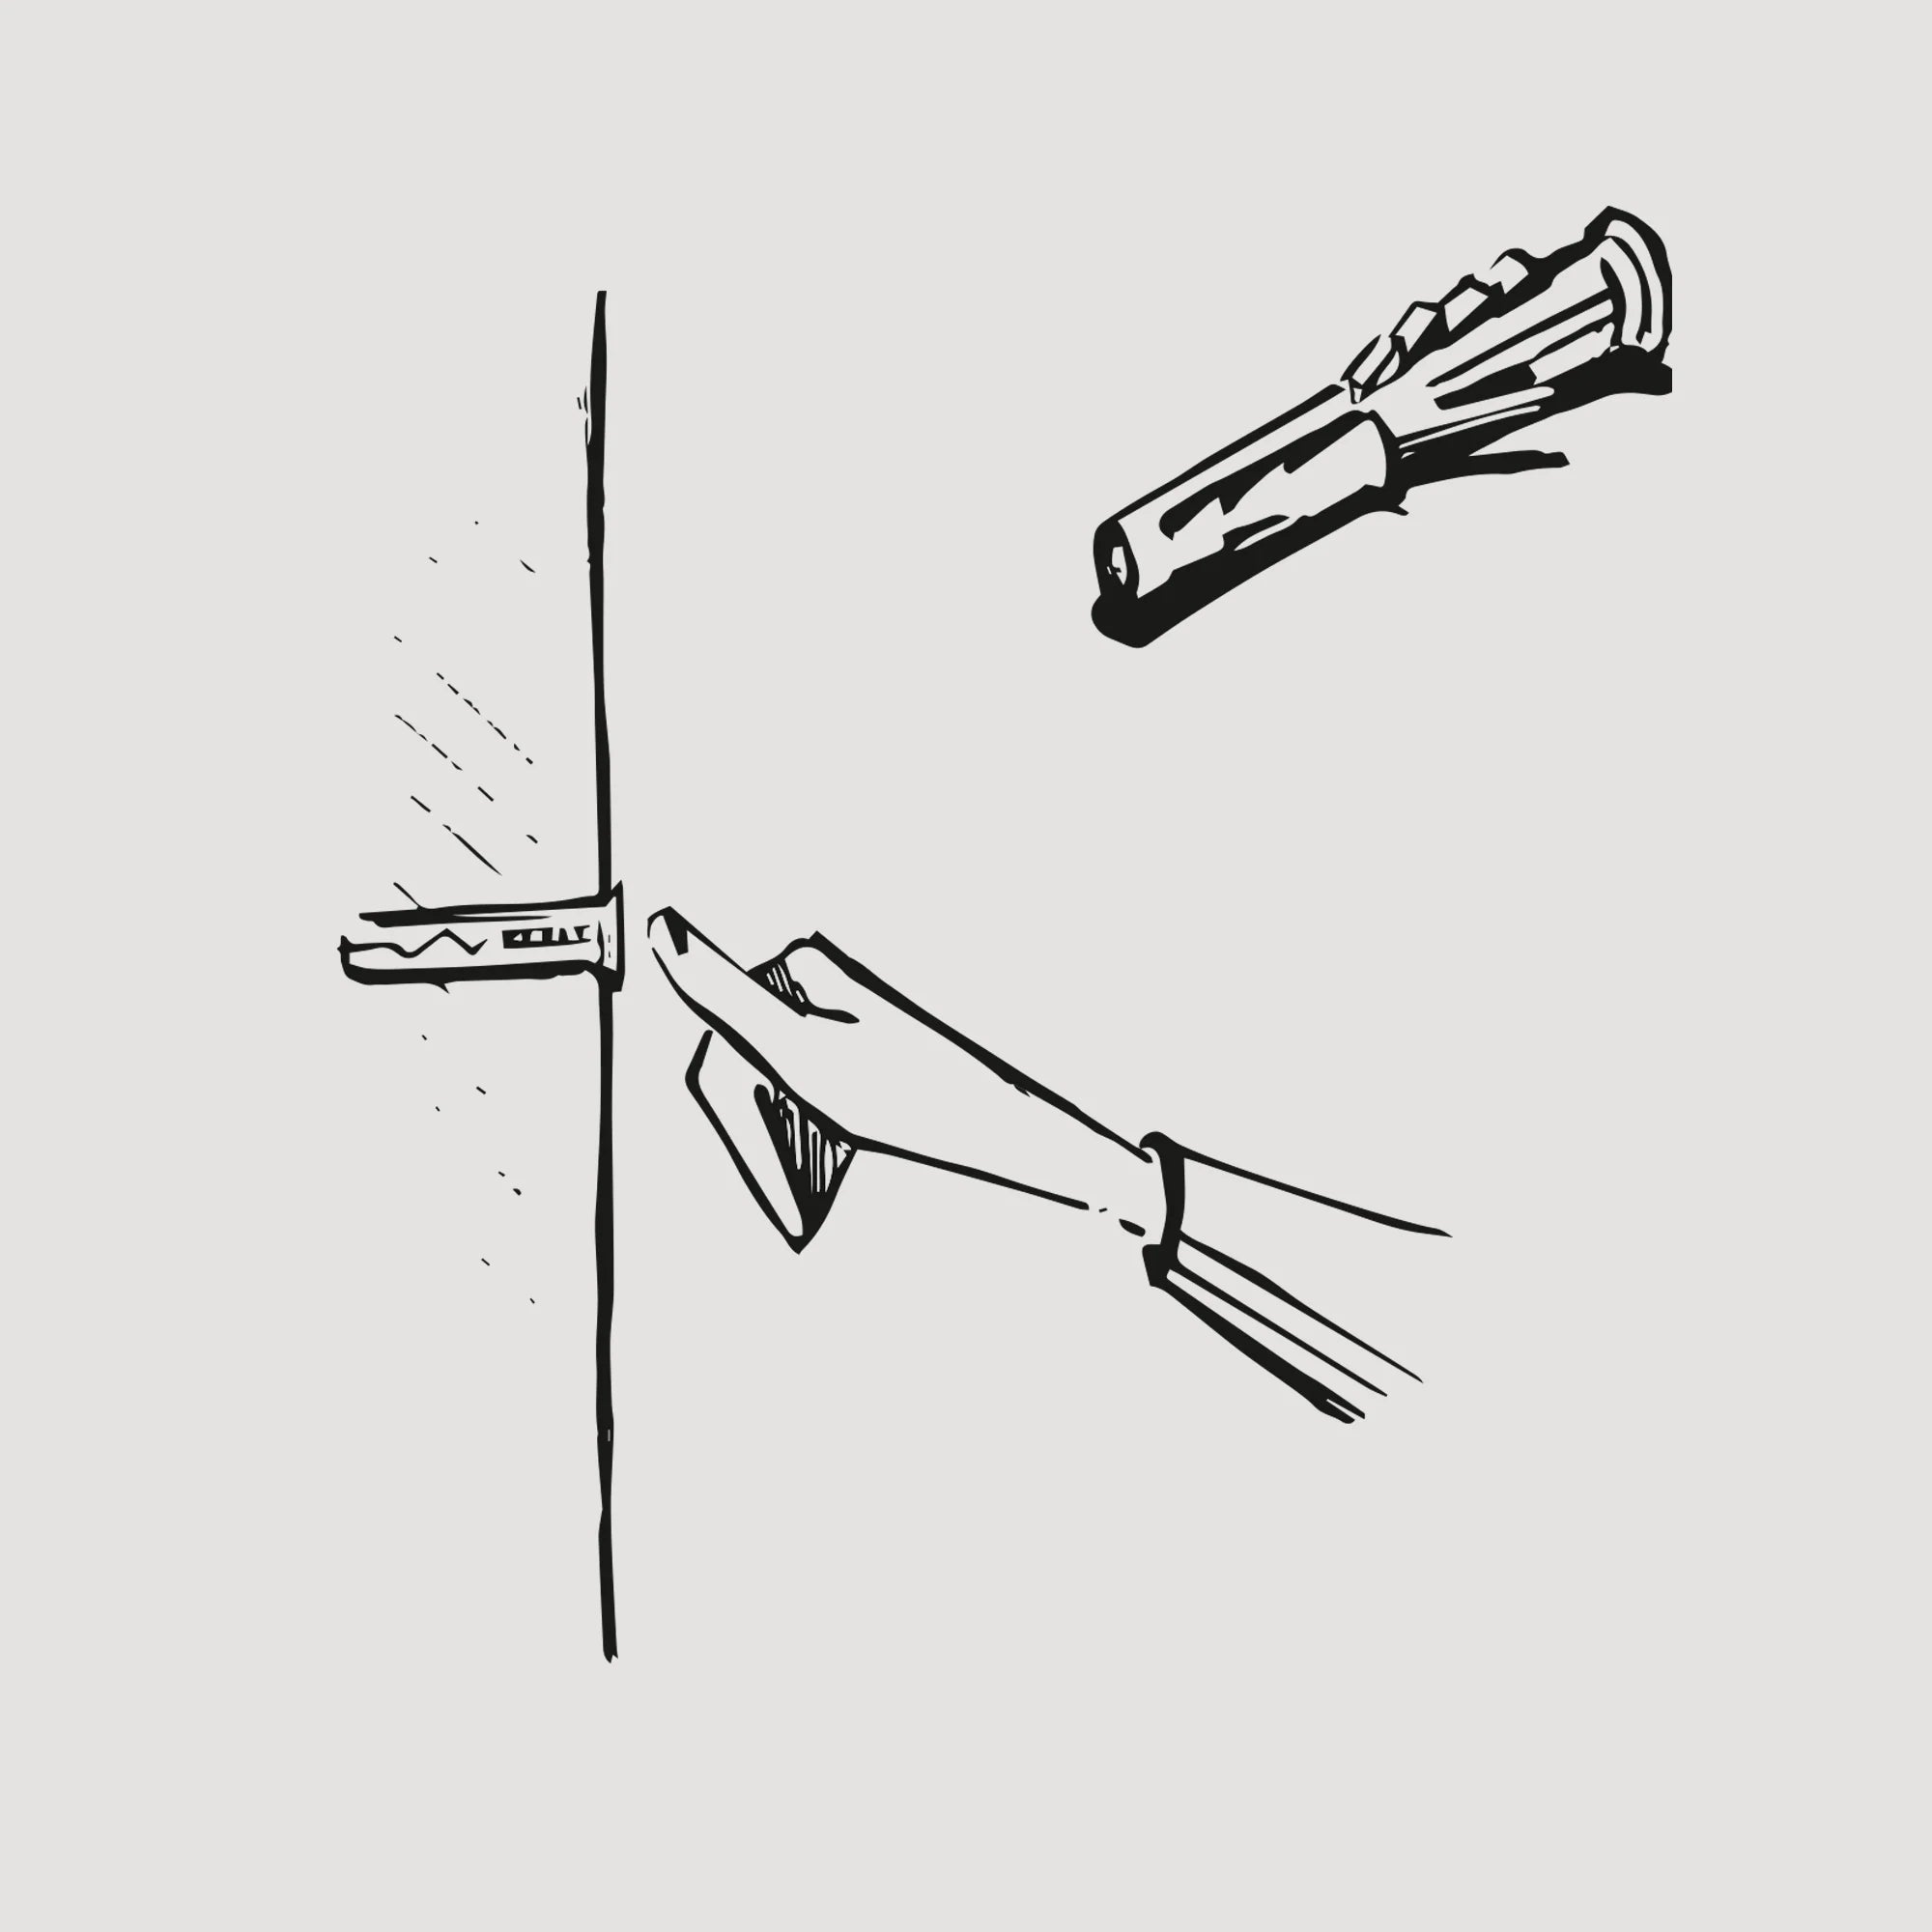
After drilling the top hole, insert the mounting pin into it. Set it so that its flange is flush with the wall.
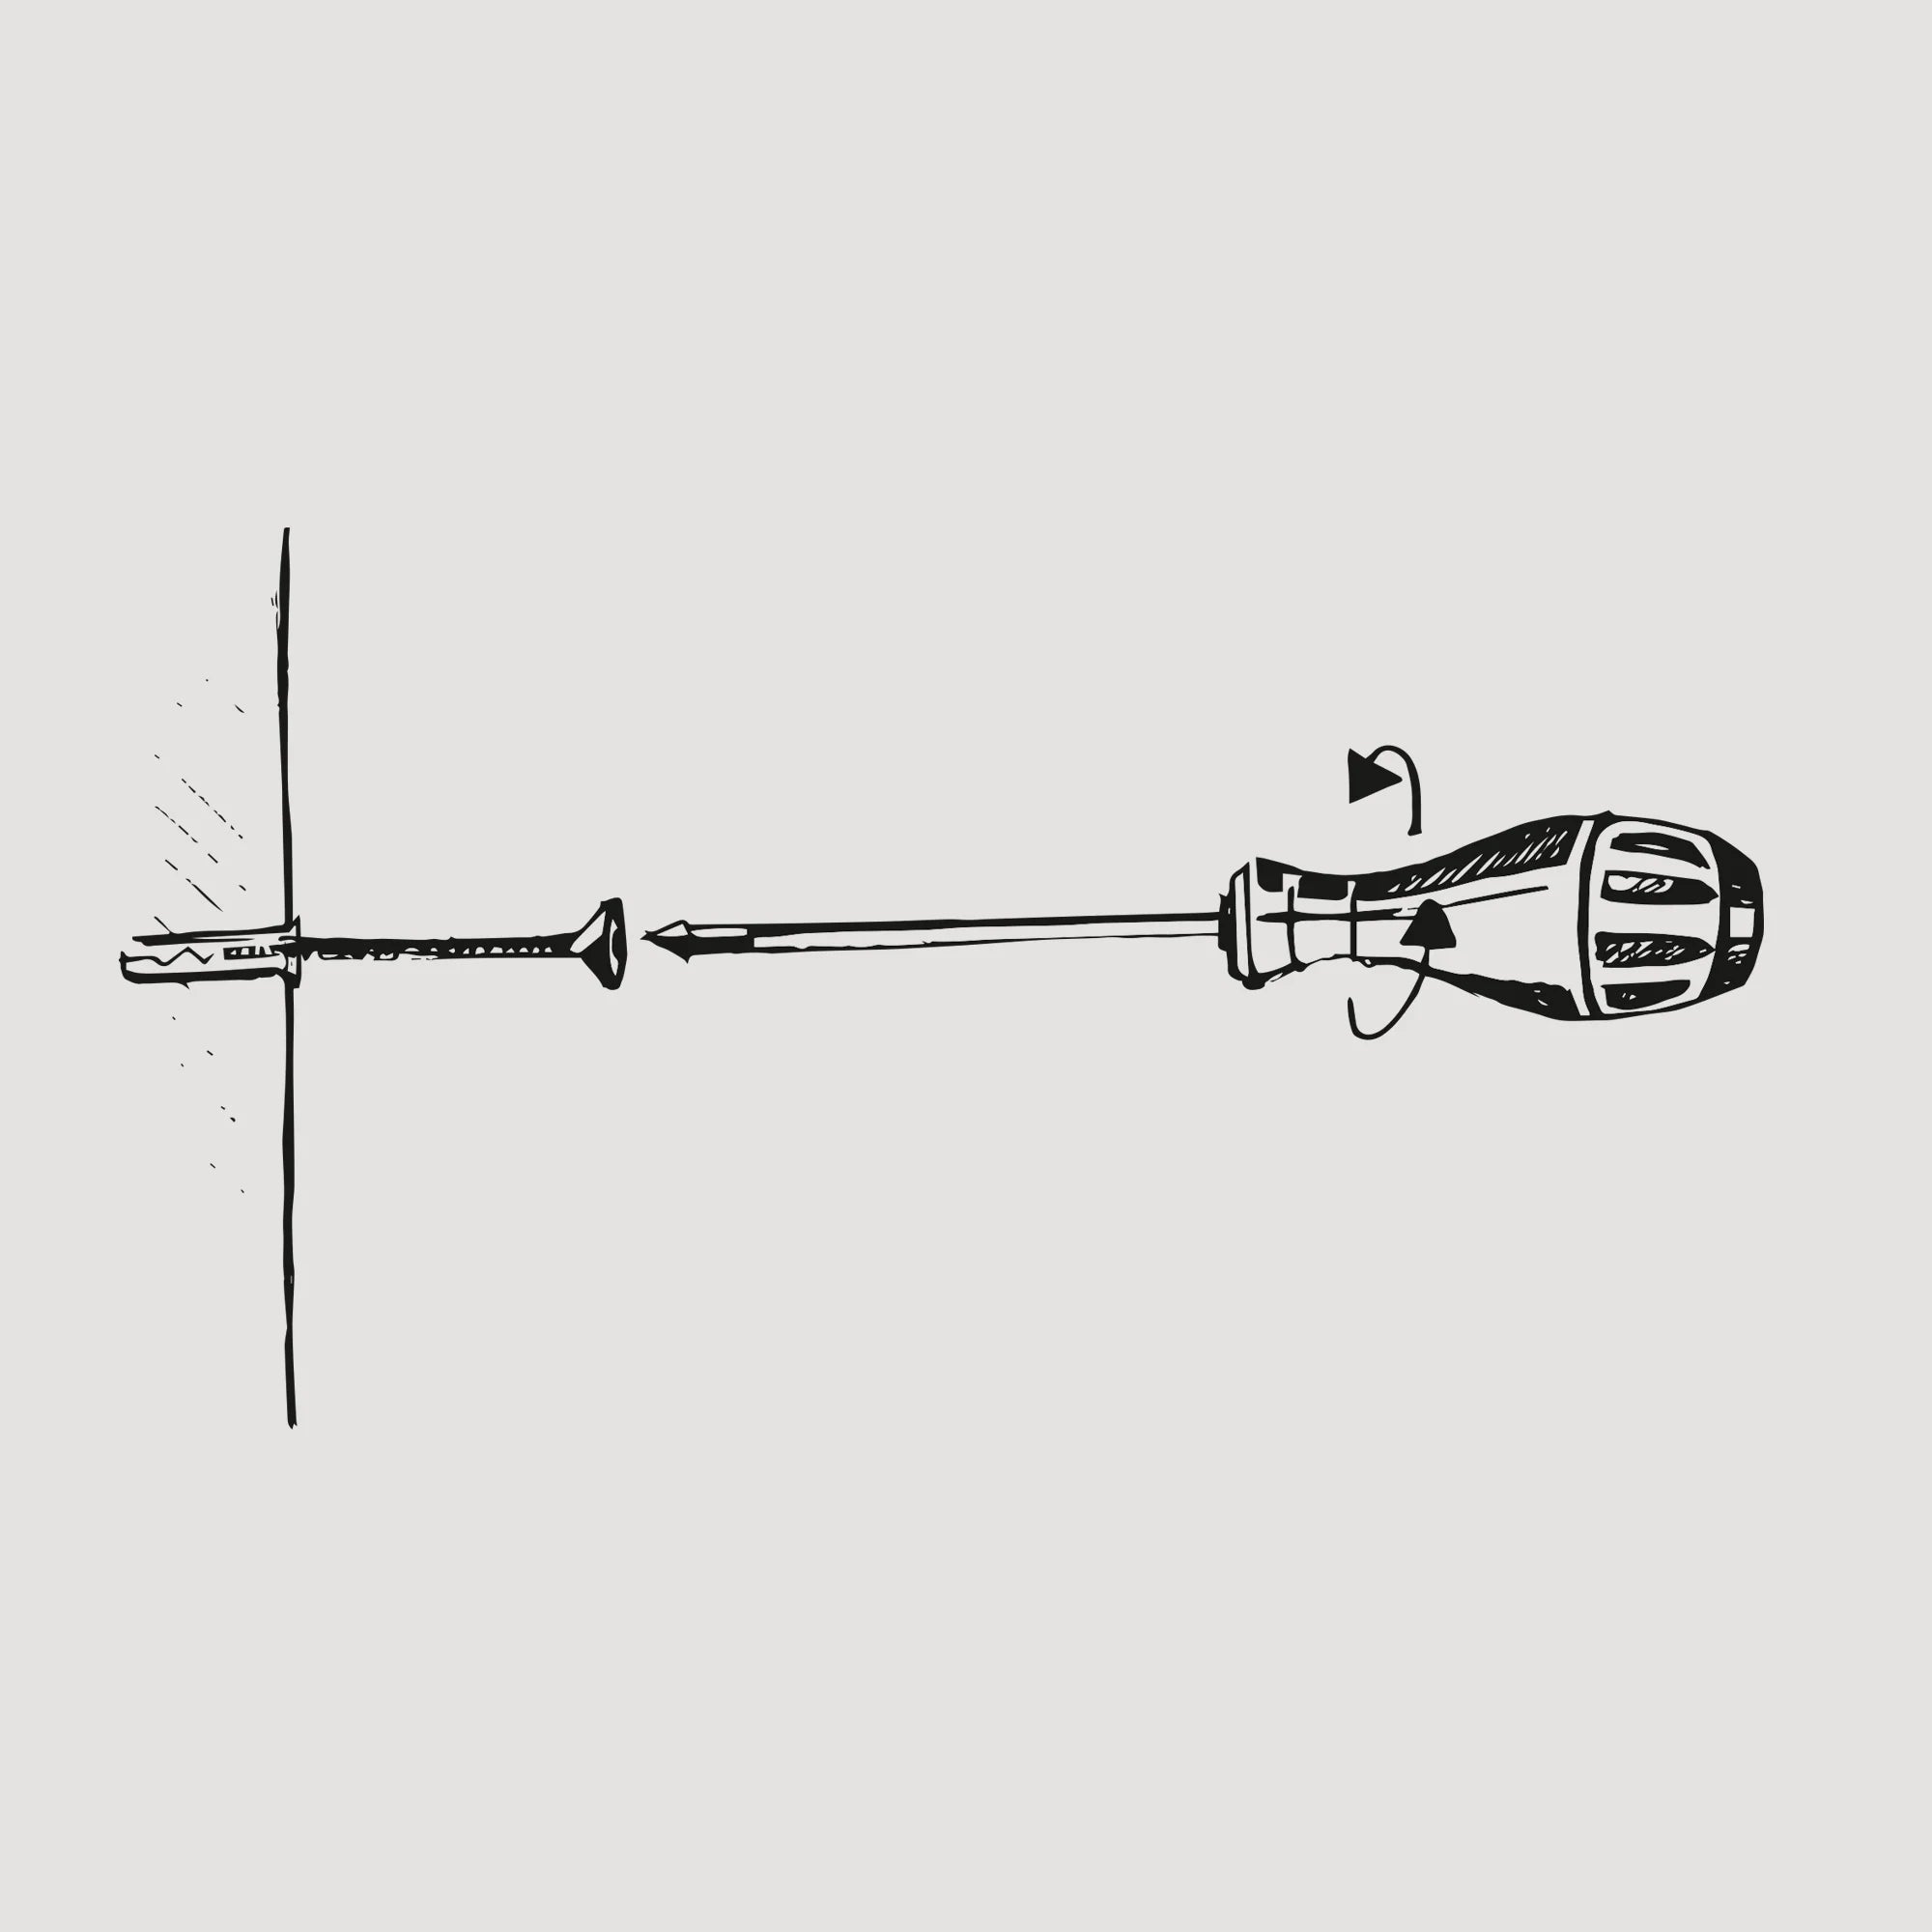
STEP 6
The screw should be screwed into the pin with a screwdriver or screwdriver so that it protrudes slightly. The pin in the wall after screwing in the screw should be fixed.
STEP 6
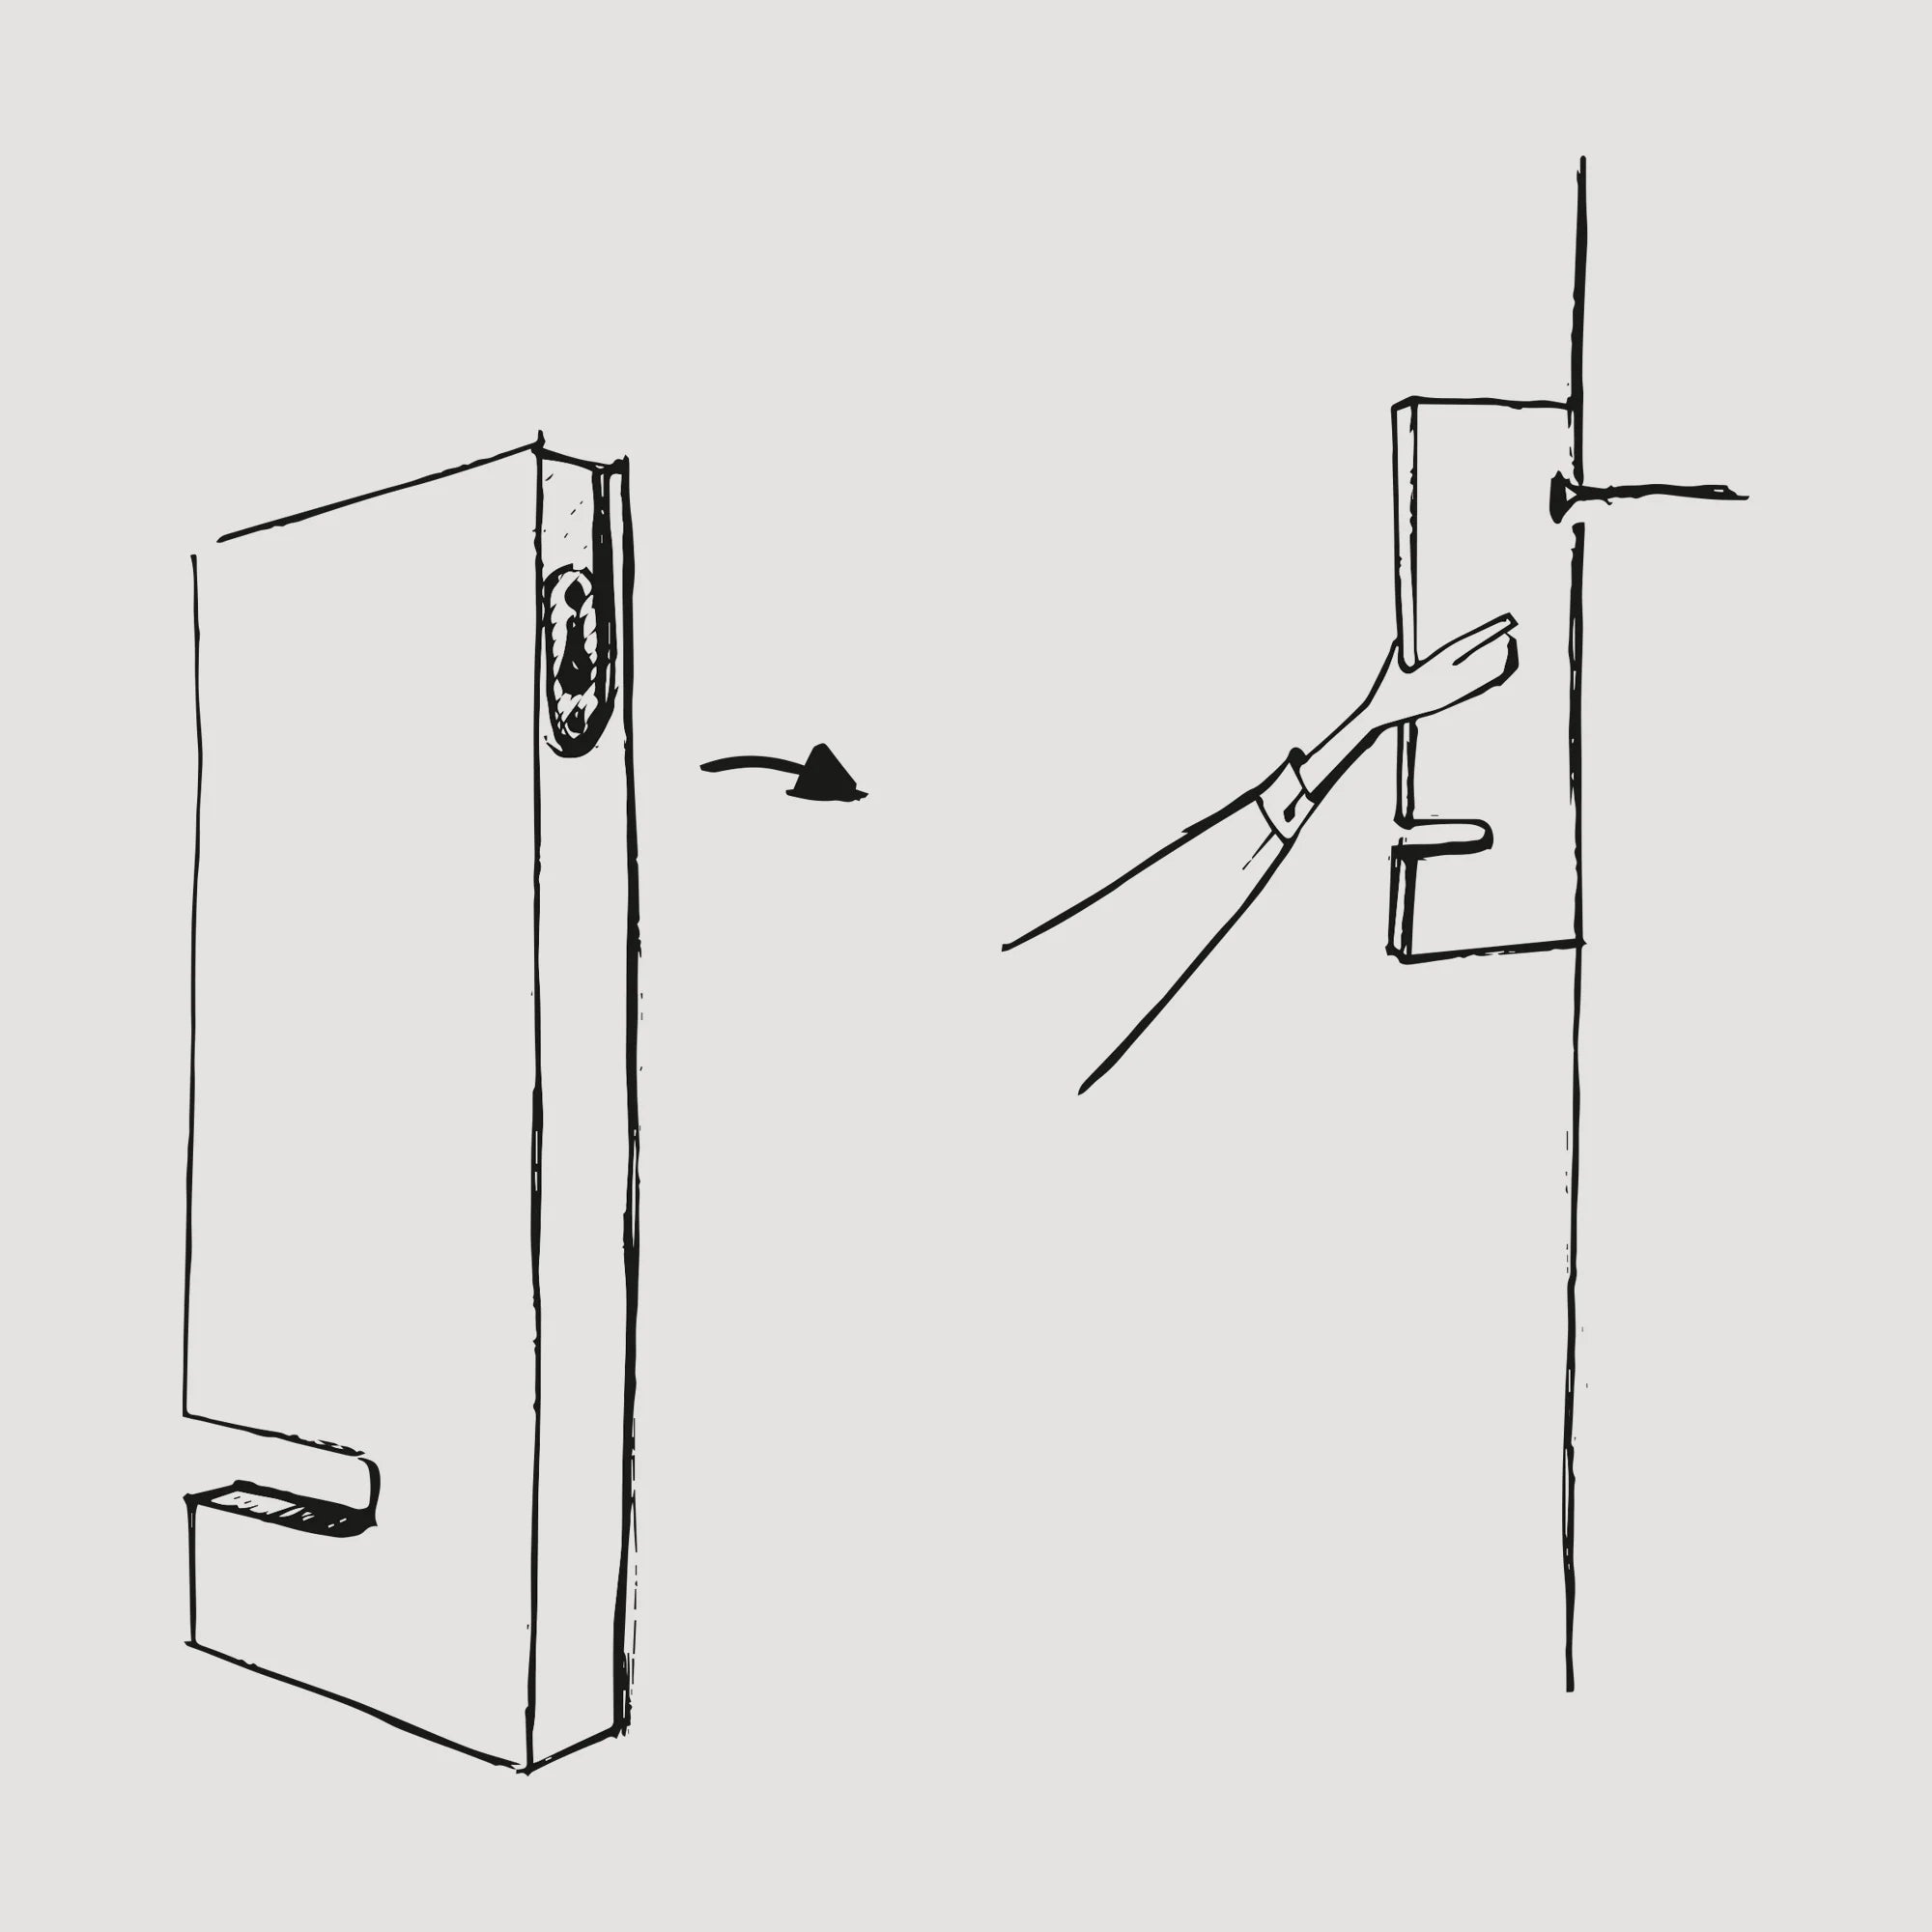
Hang the vertical element of the shelf on the protruding screw and check its verticality.
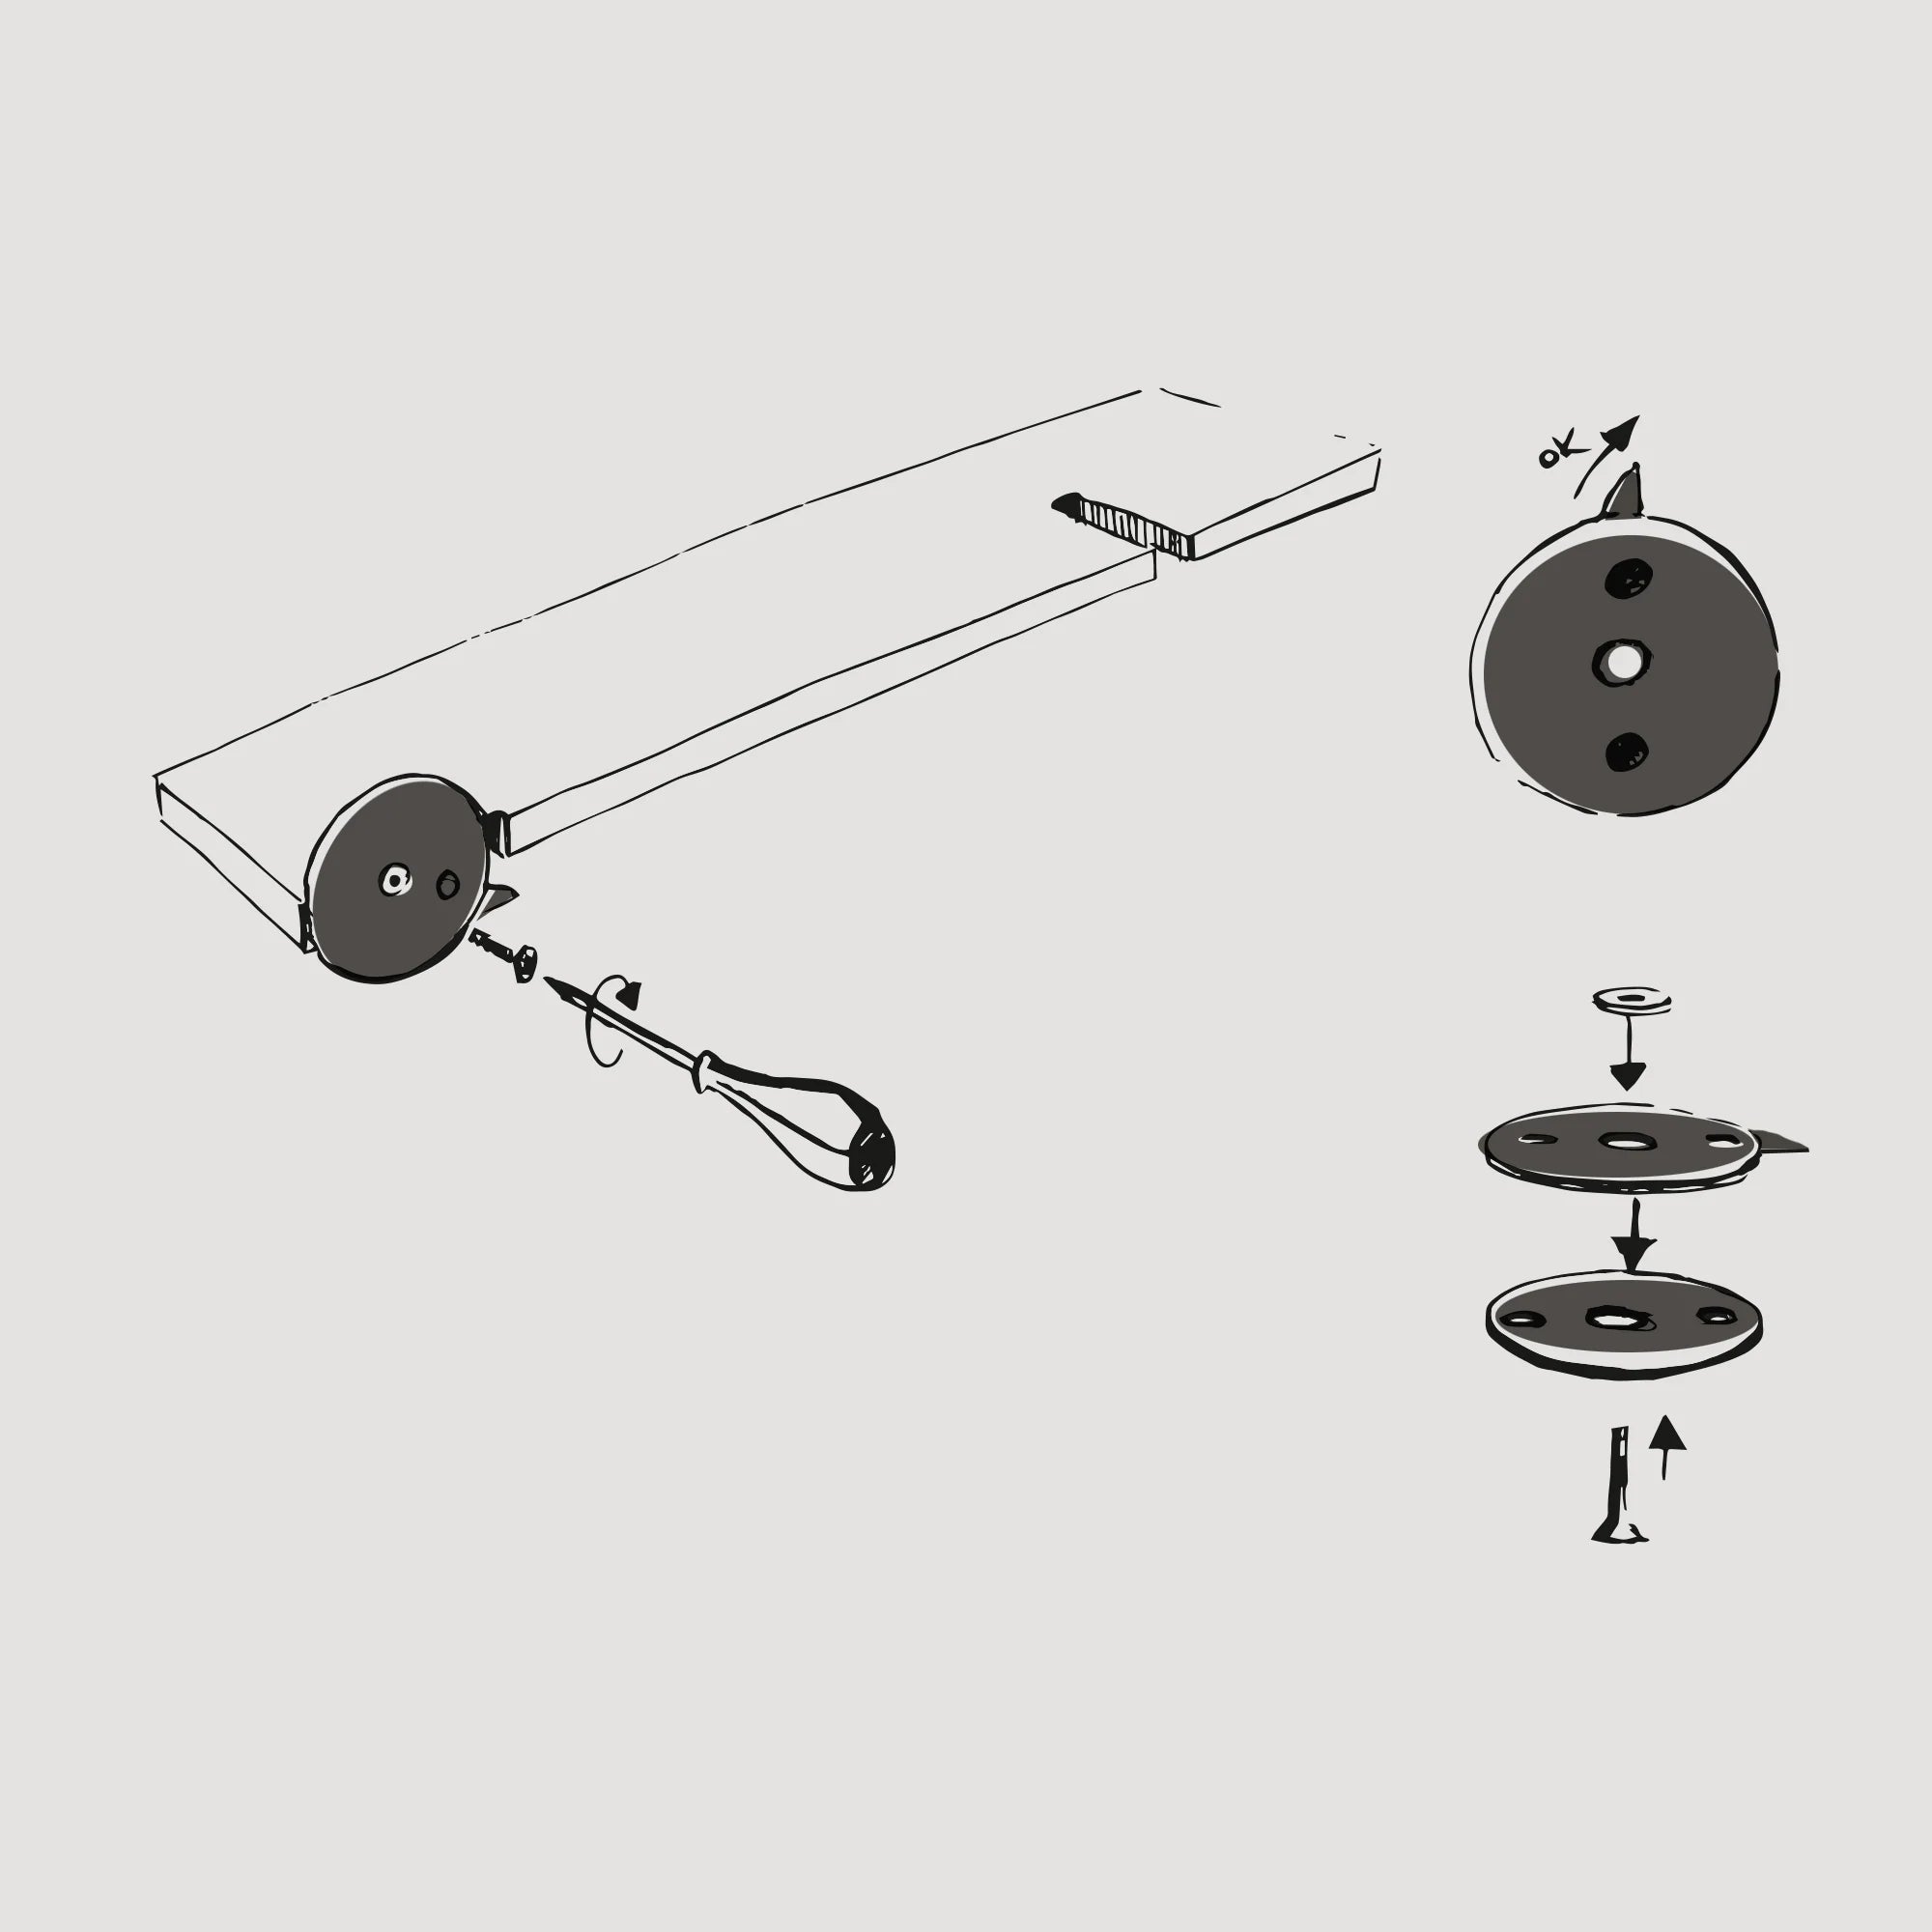
STEP 7
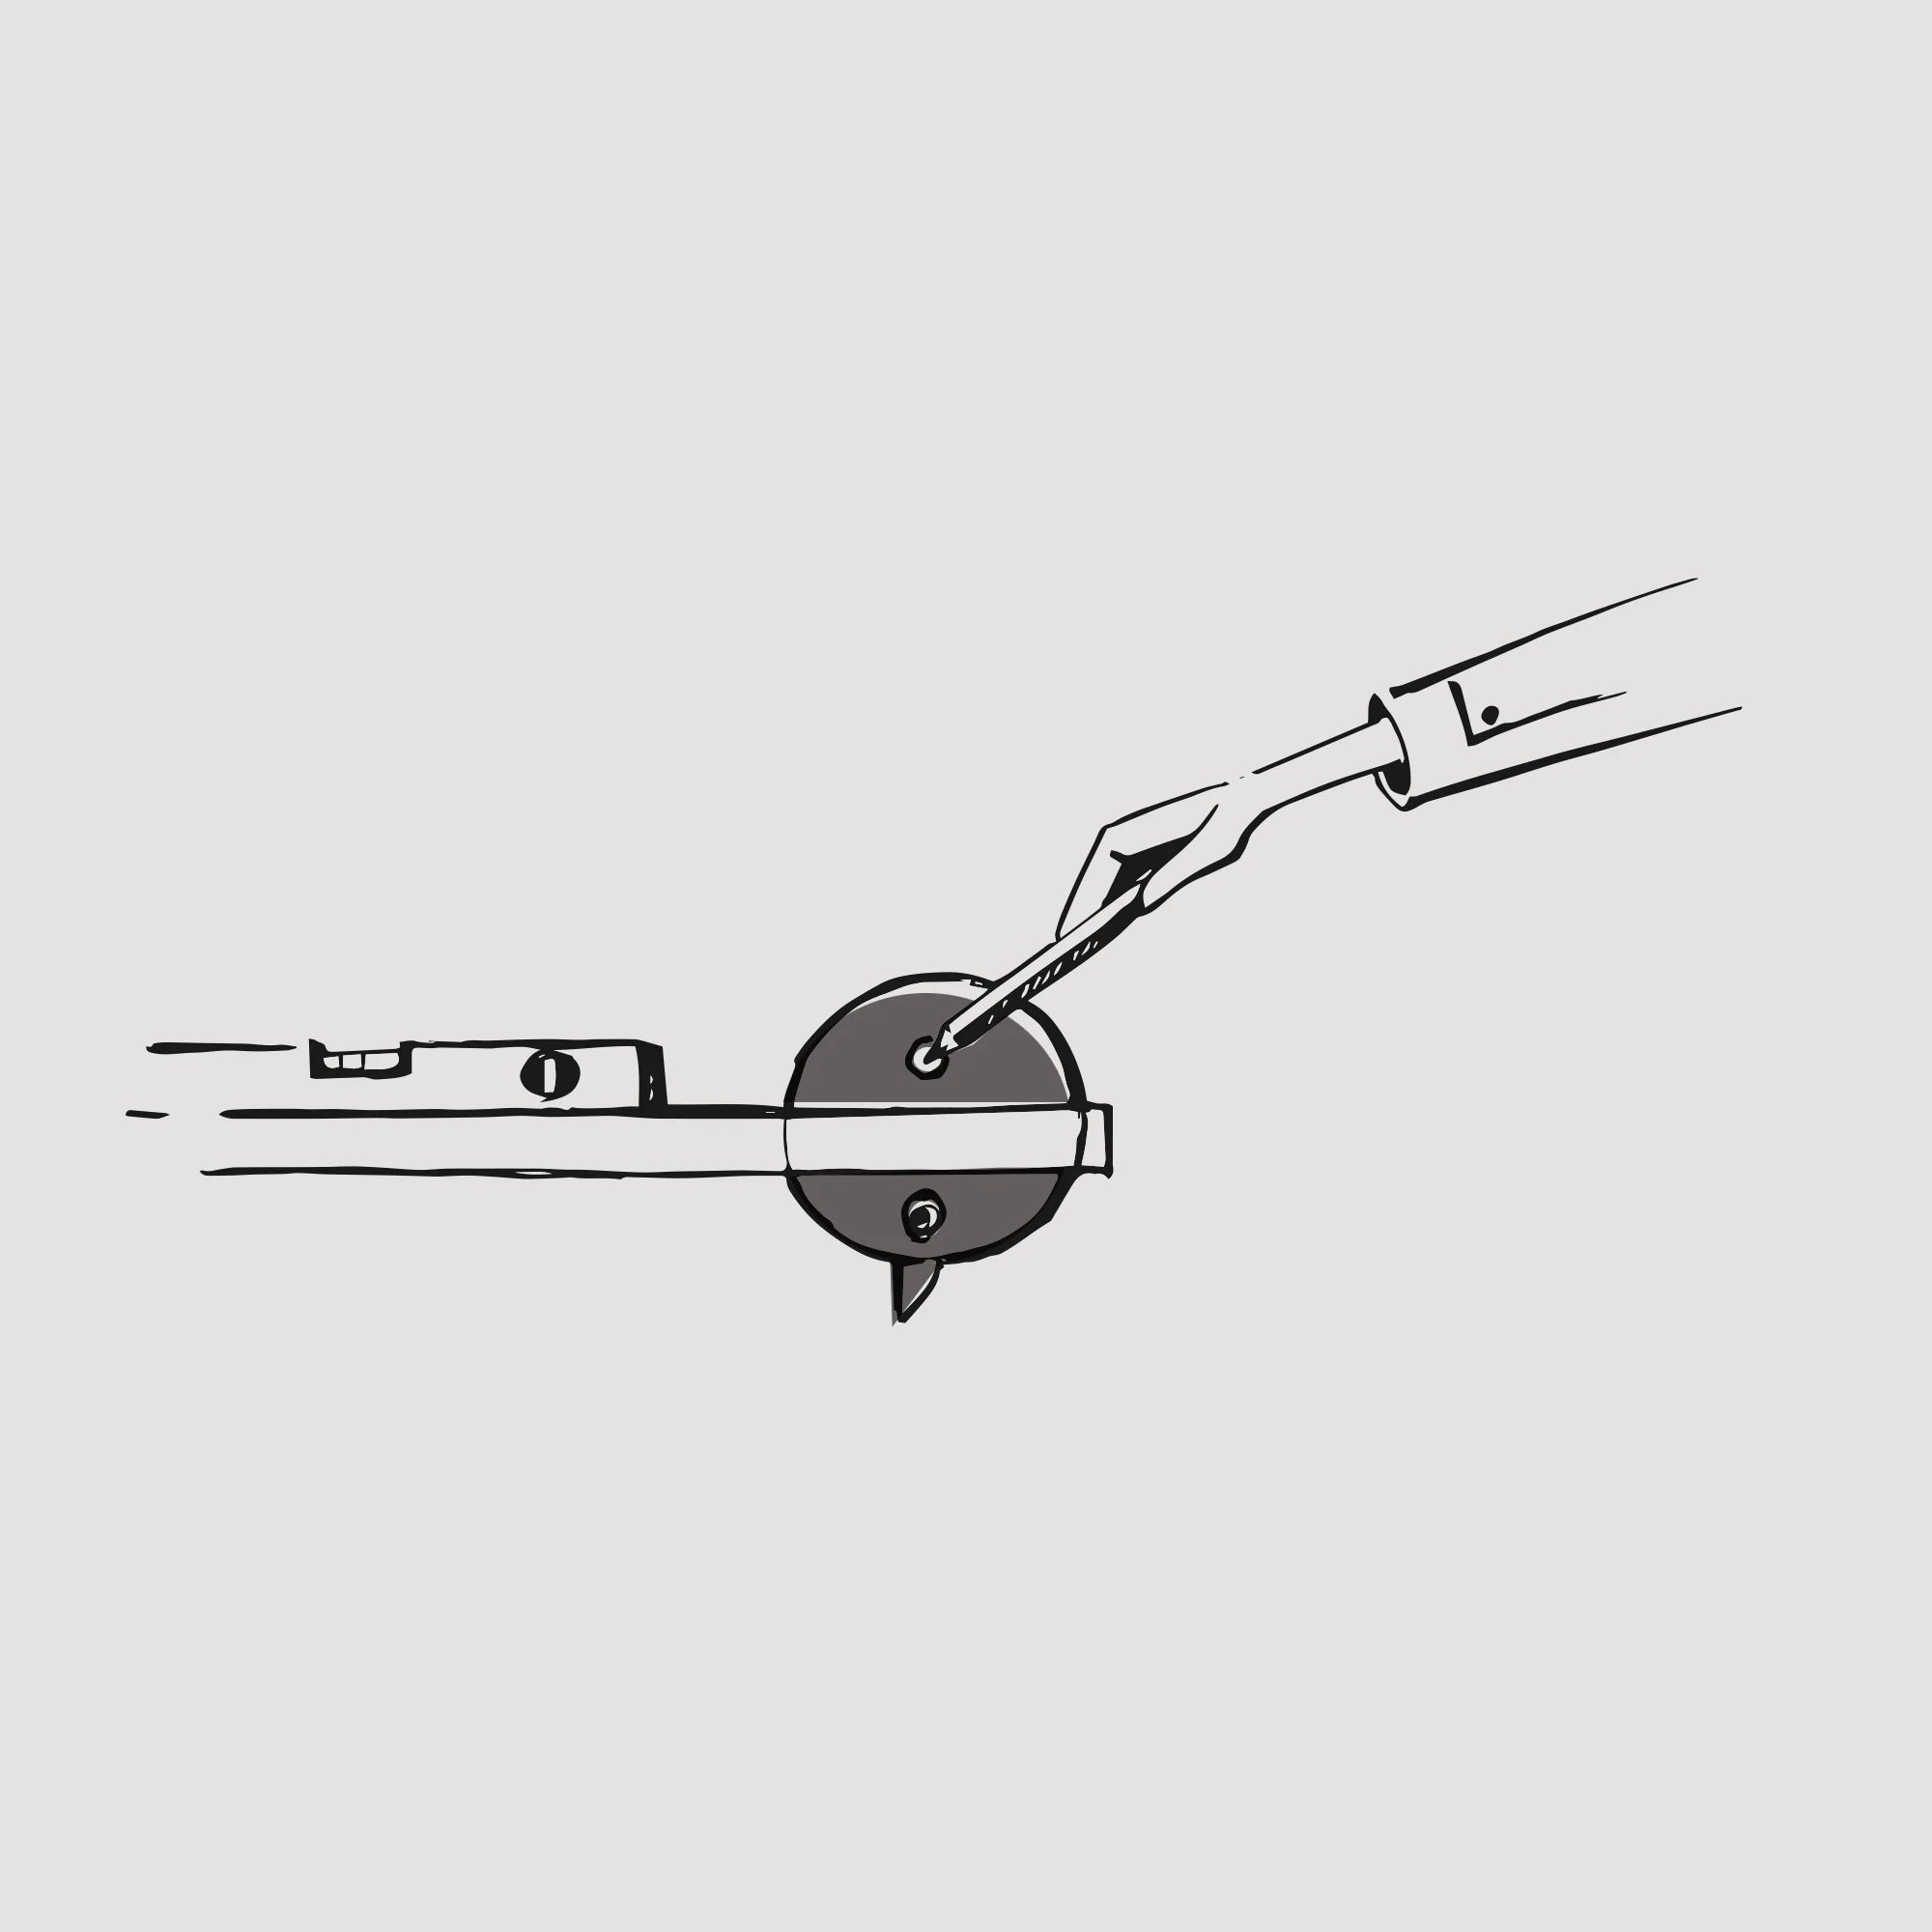
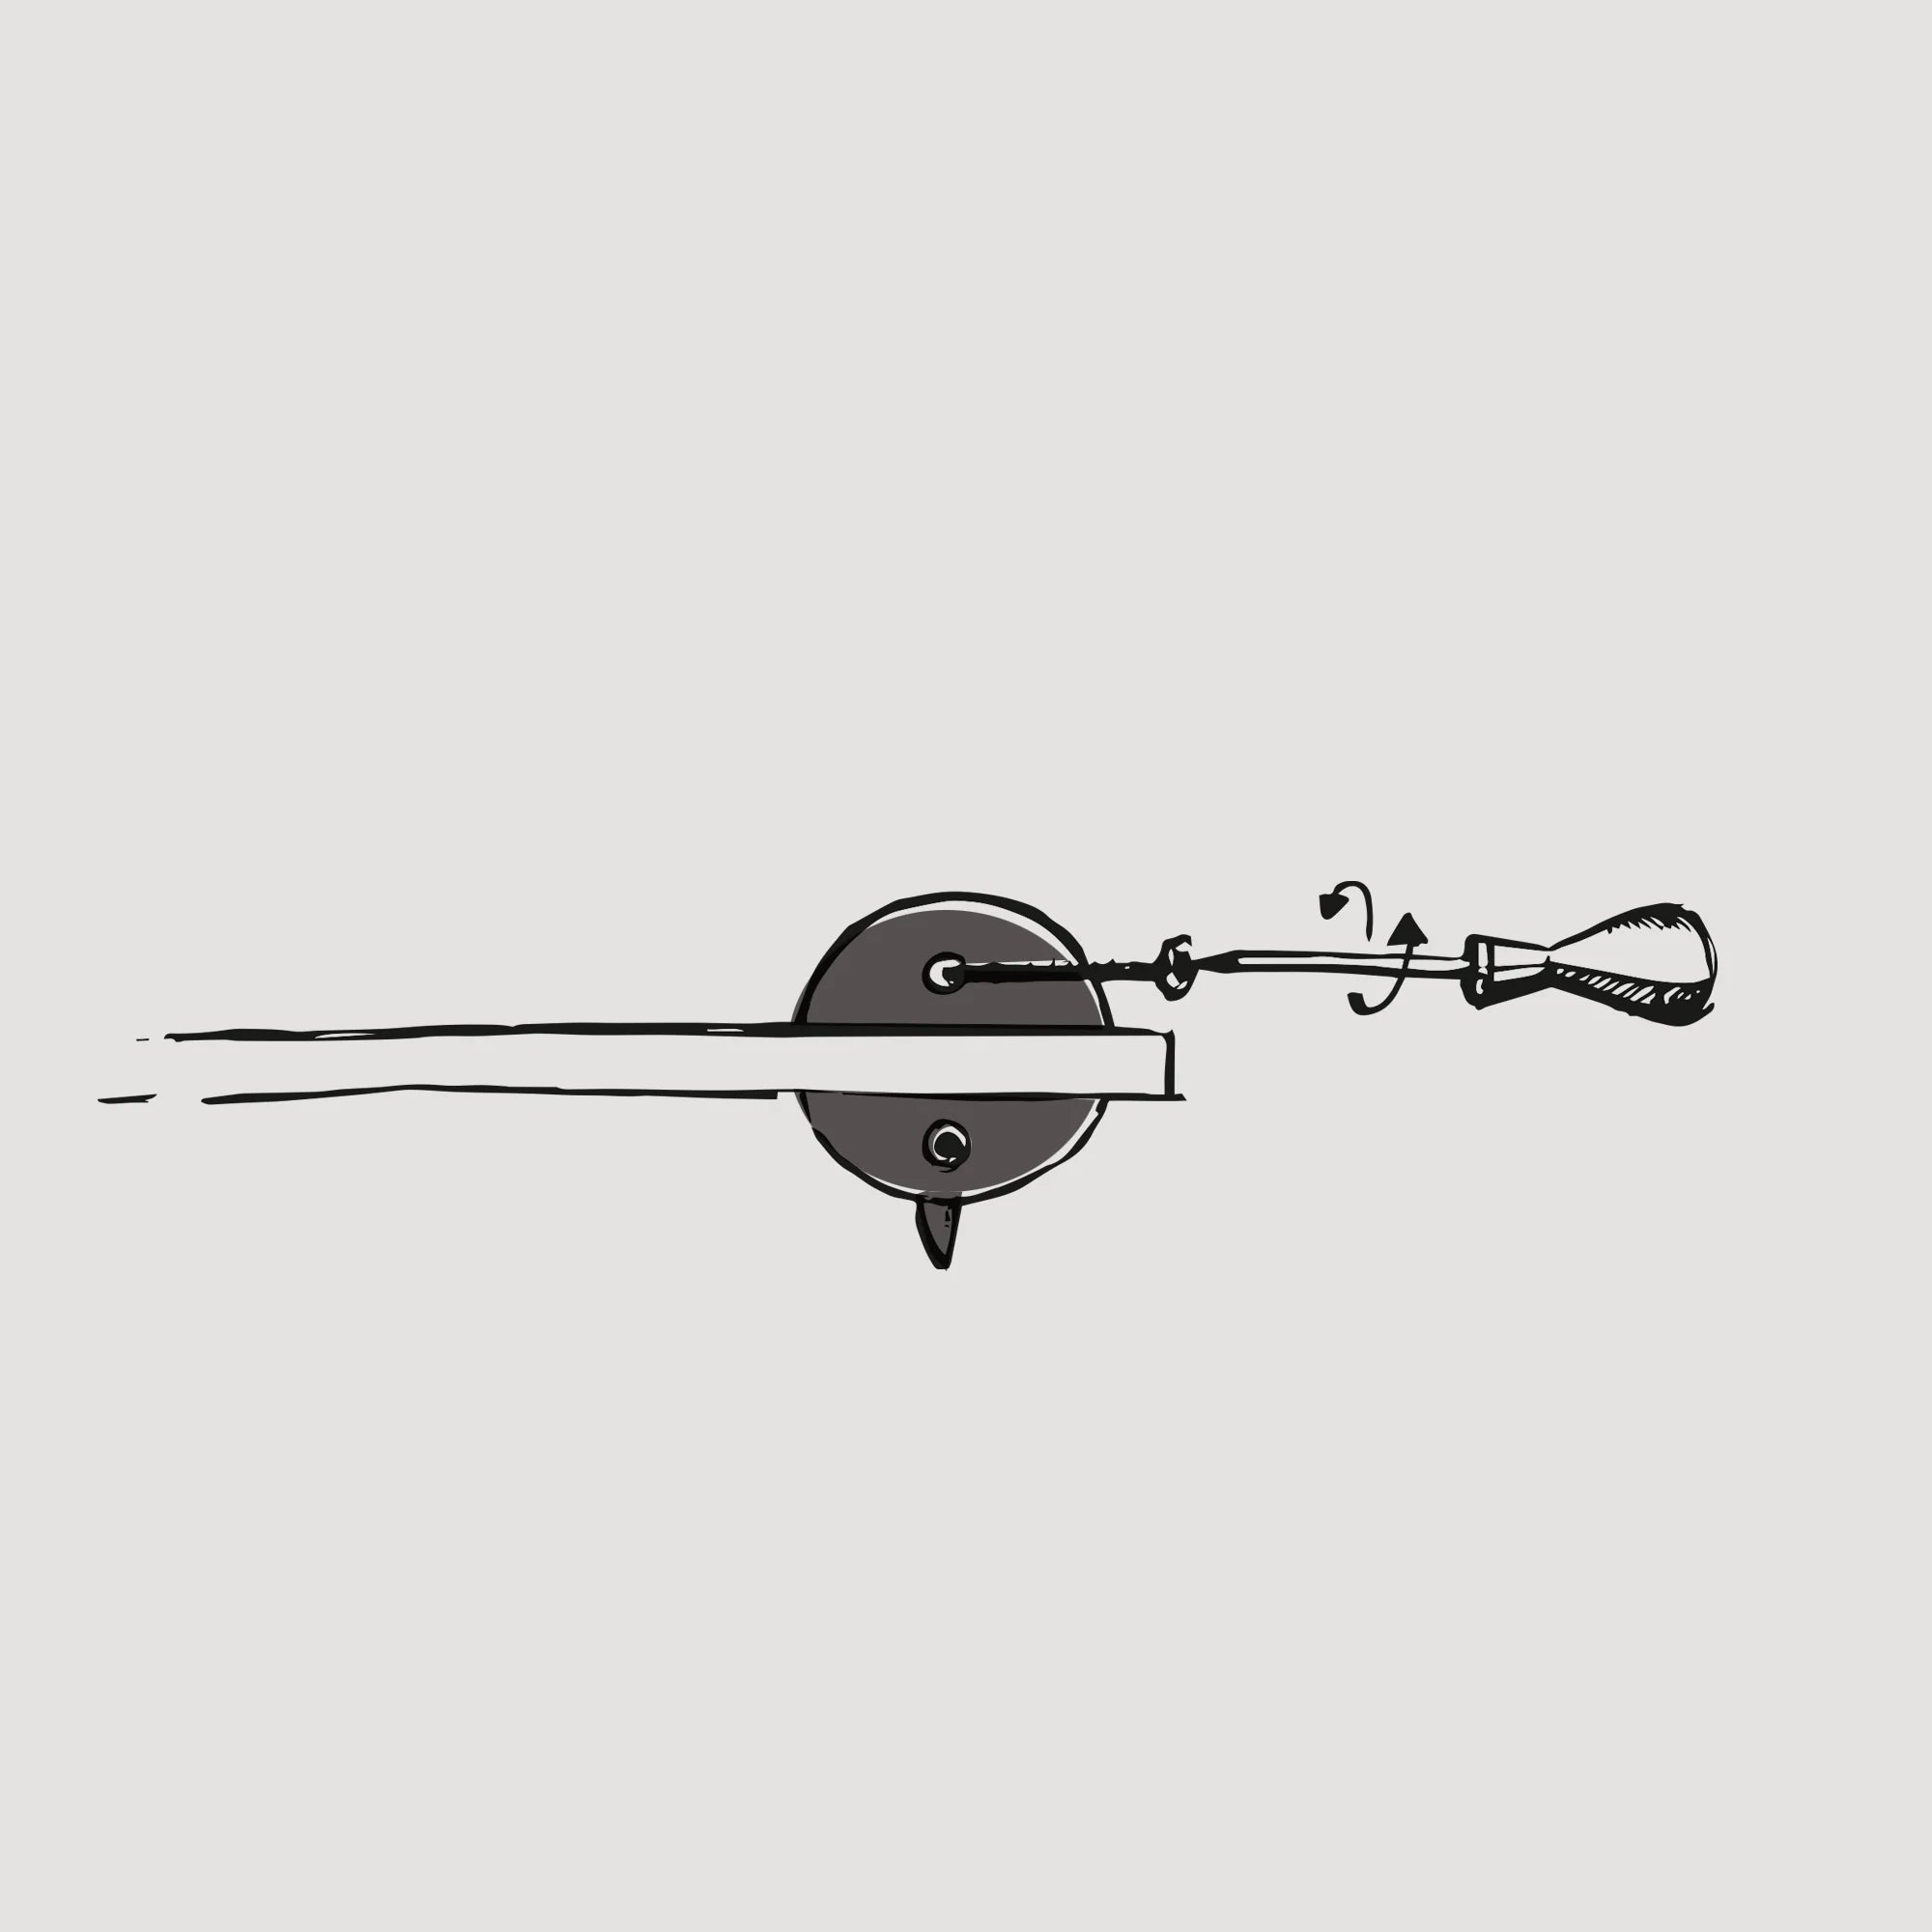
In the mounting kit you will find two mounting wheels with a screw. Stack them on top of each other as shown in the picture, so that the toothed disk is on top and points to the right side (see picture). Then fix the elements to the horizontal part of the shelf, using a screwdriver. Brass washers should be placed on the bolt, which constitute the required distance.
STEP 8
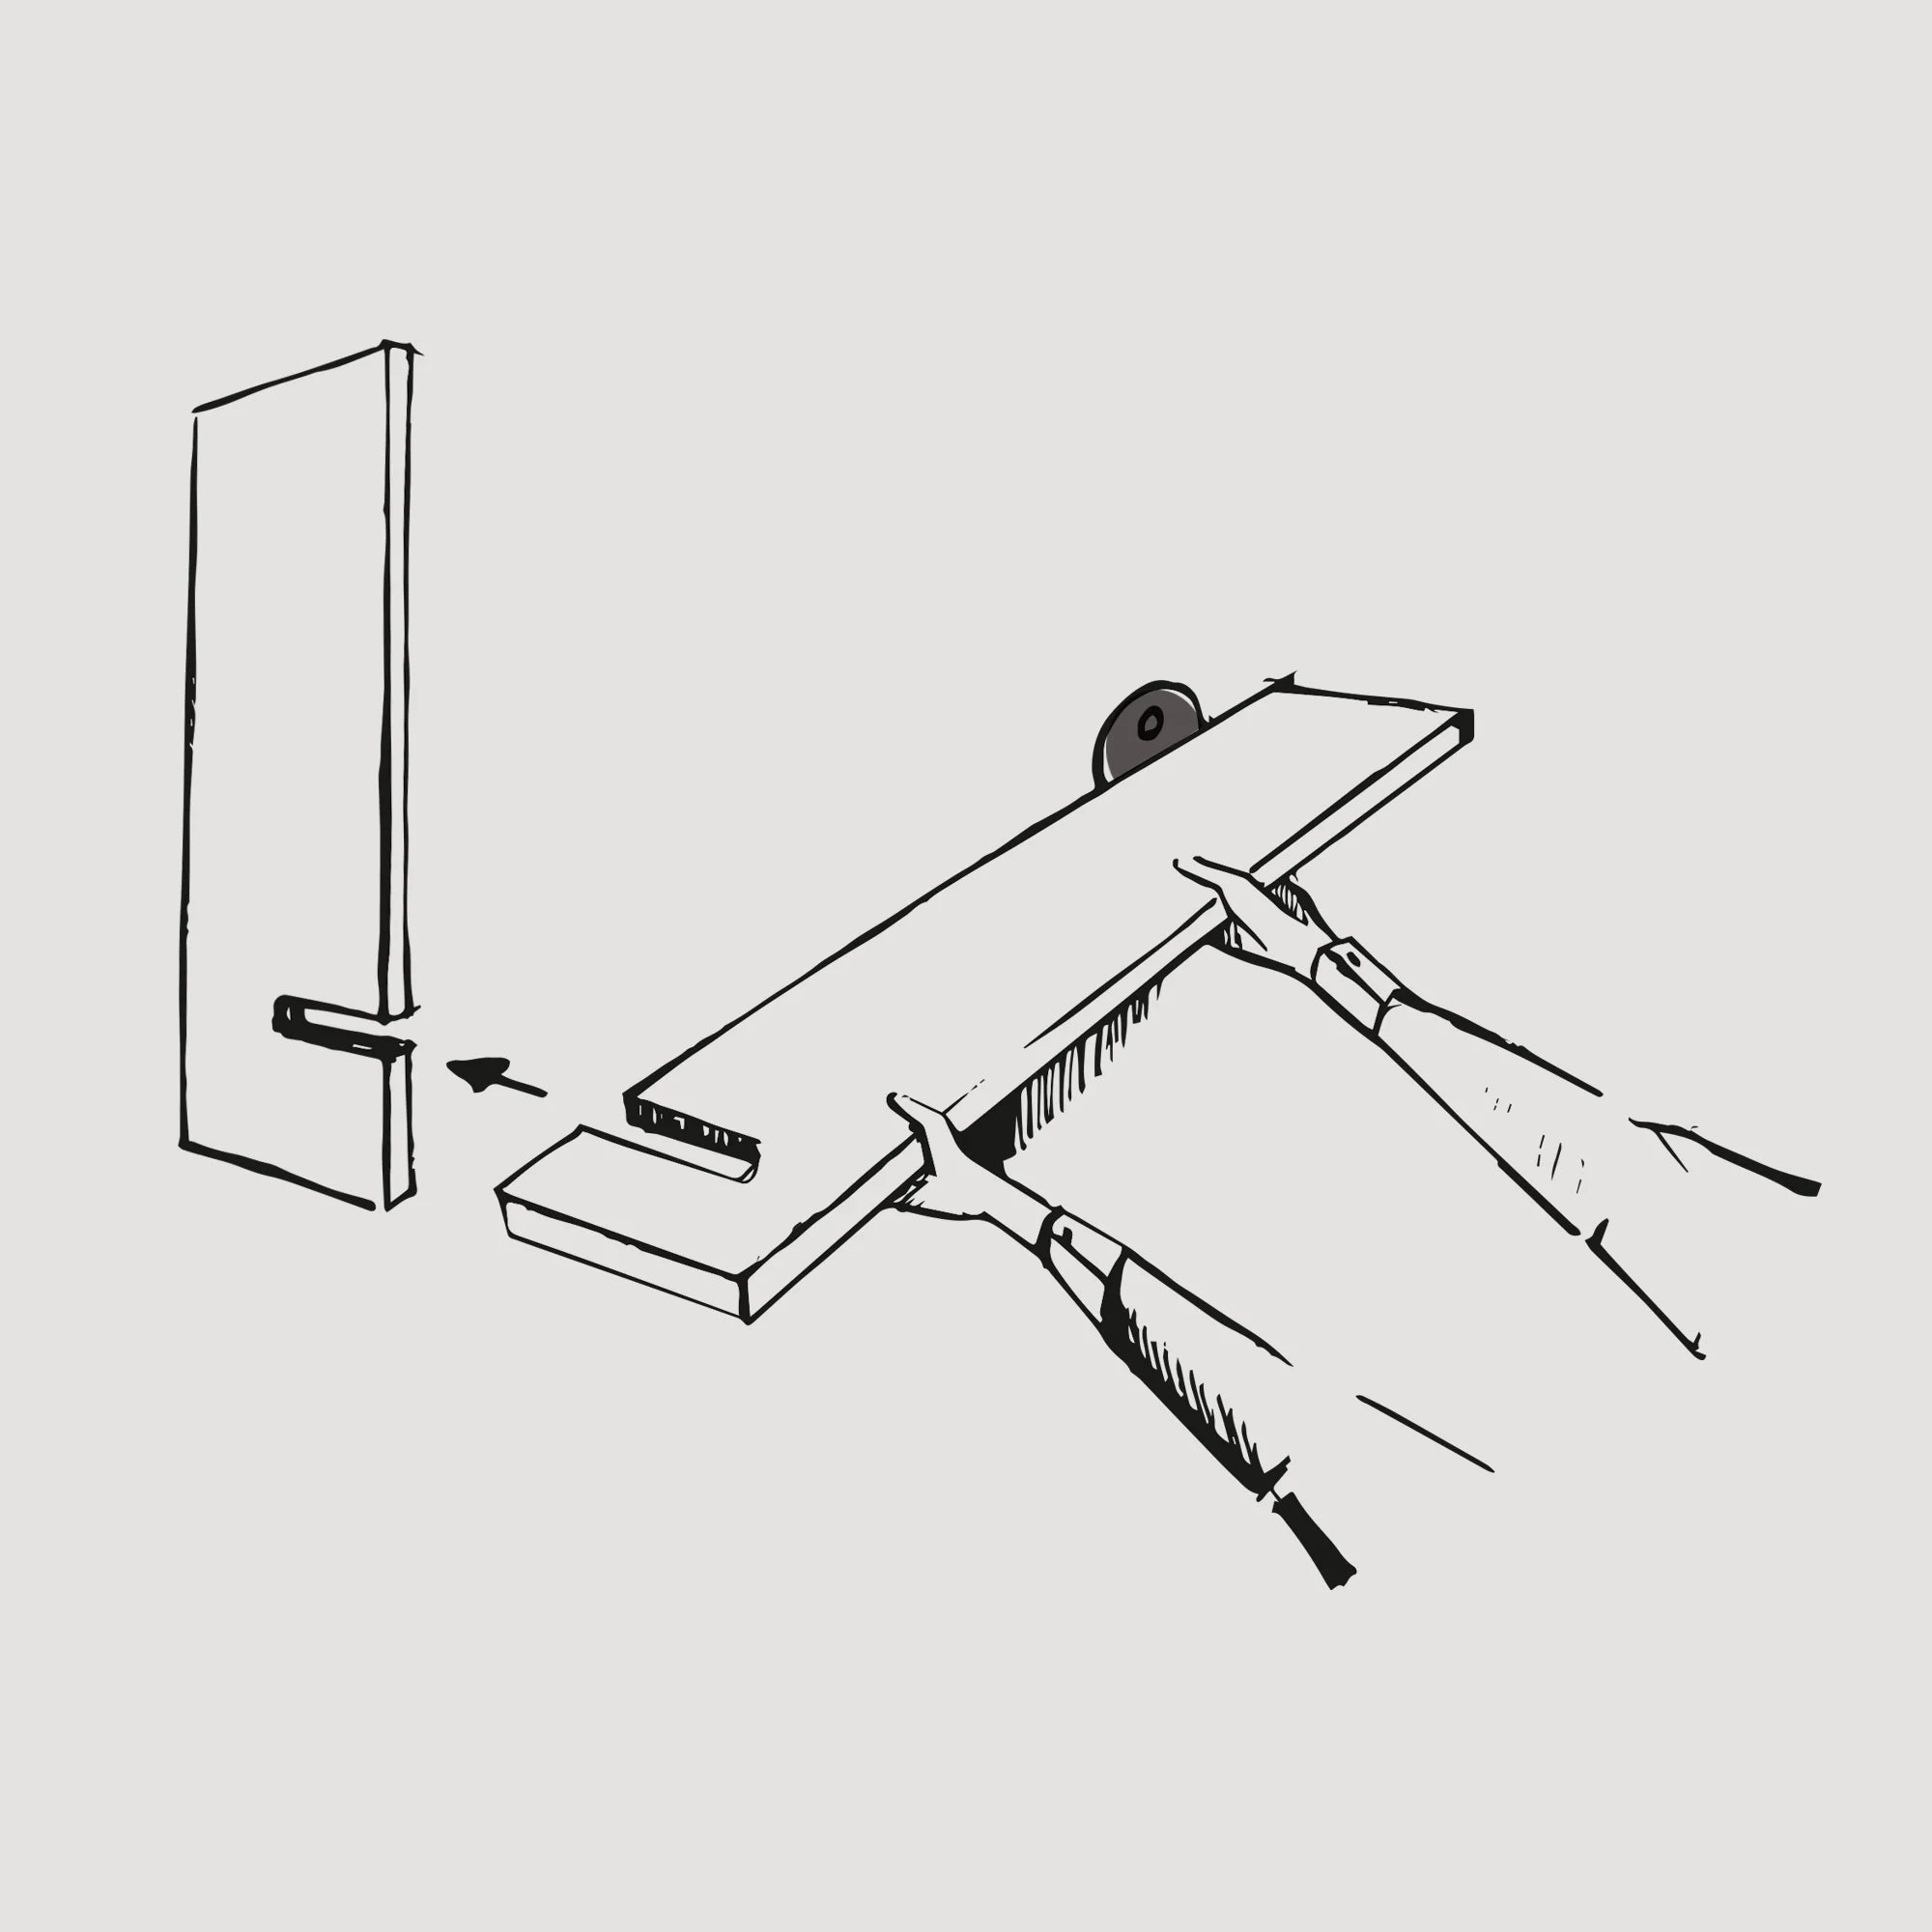
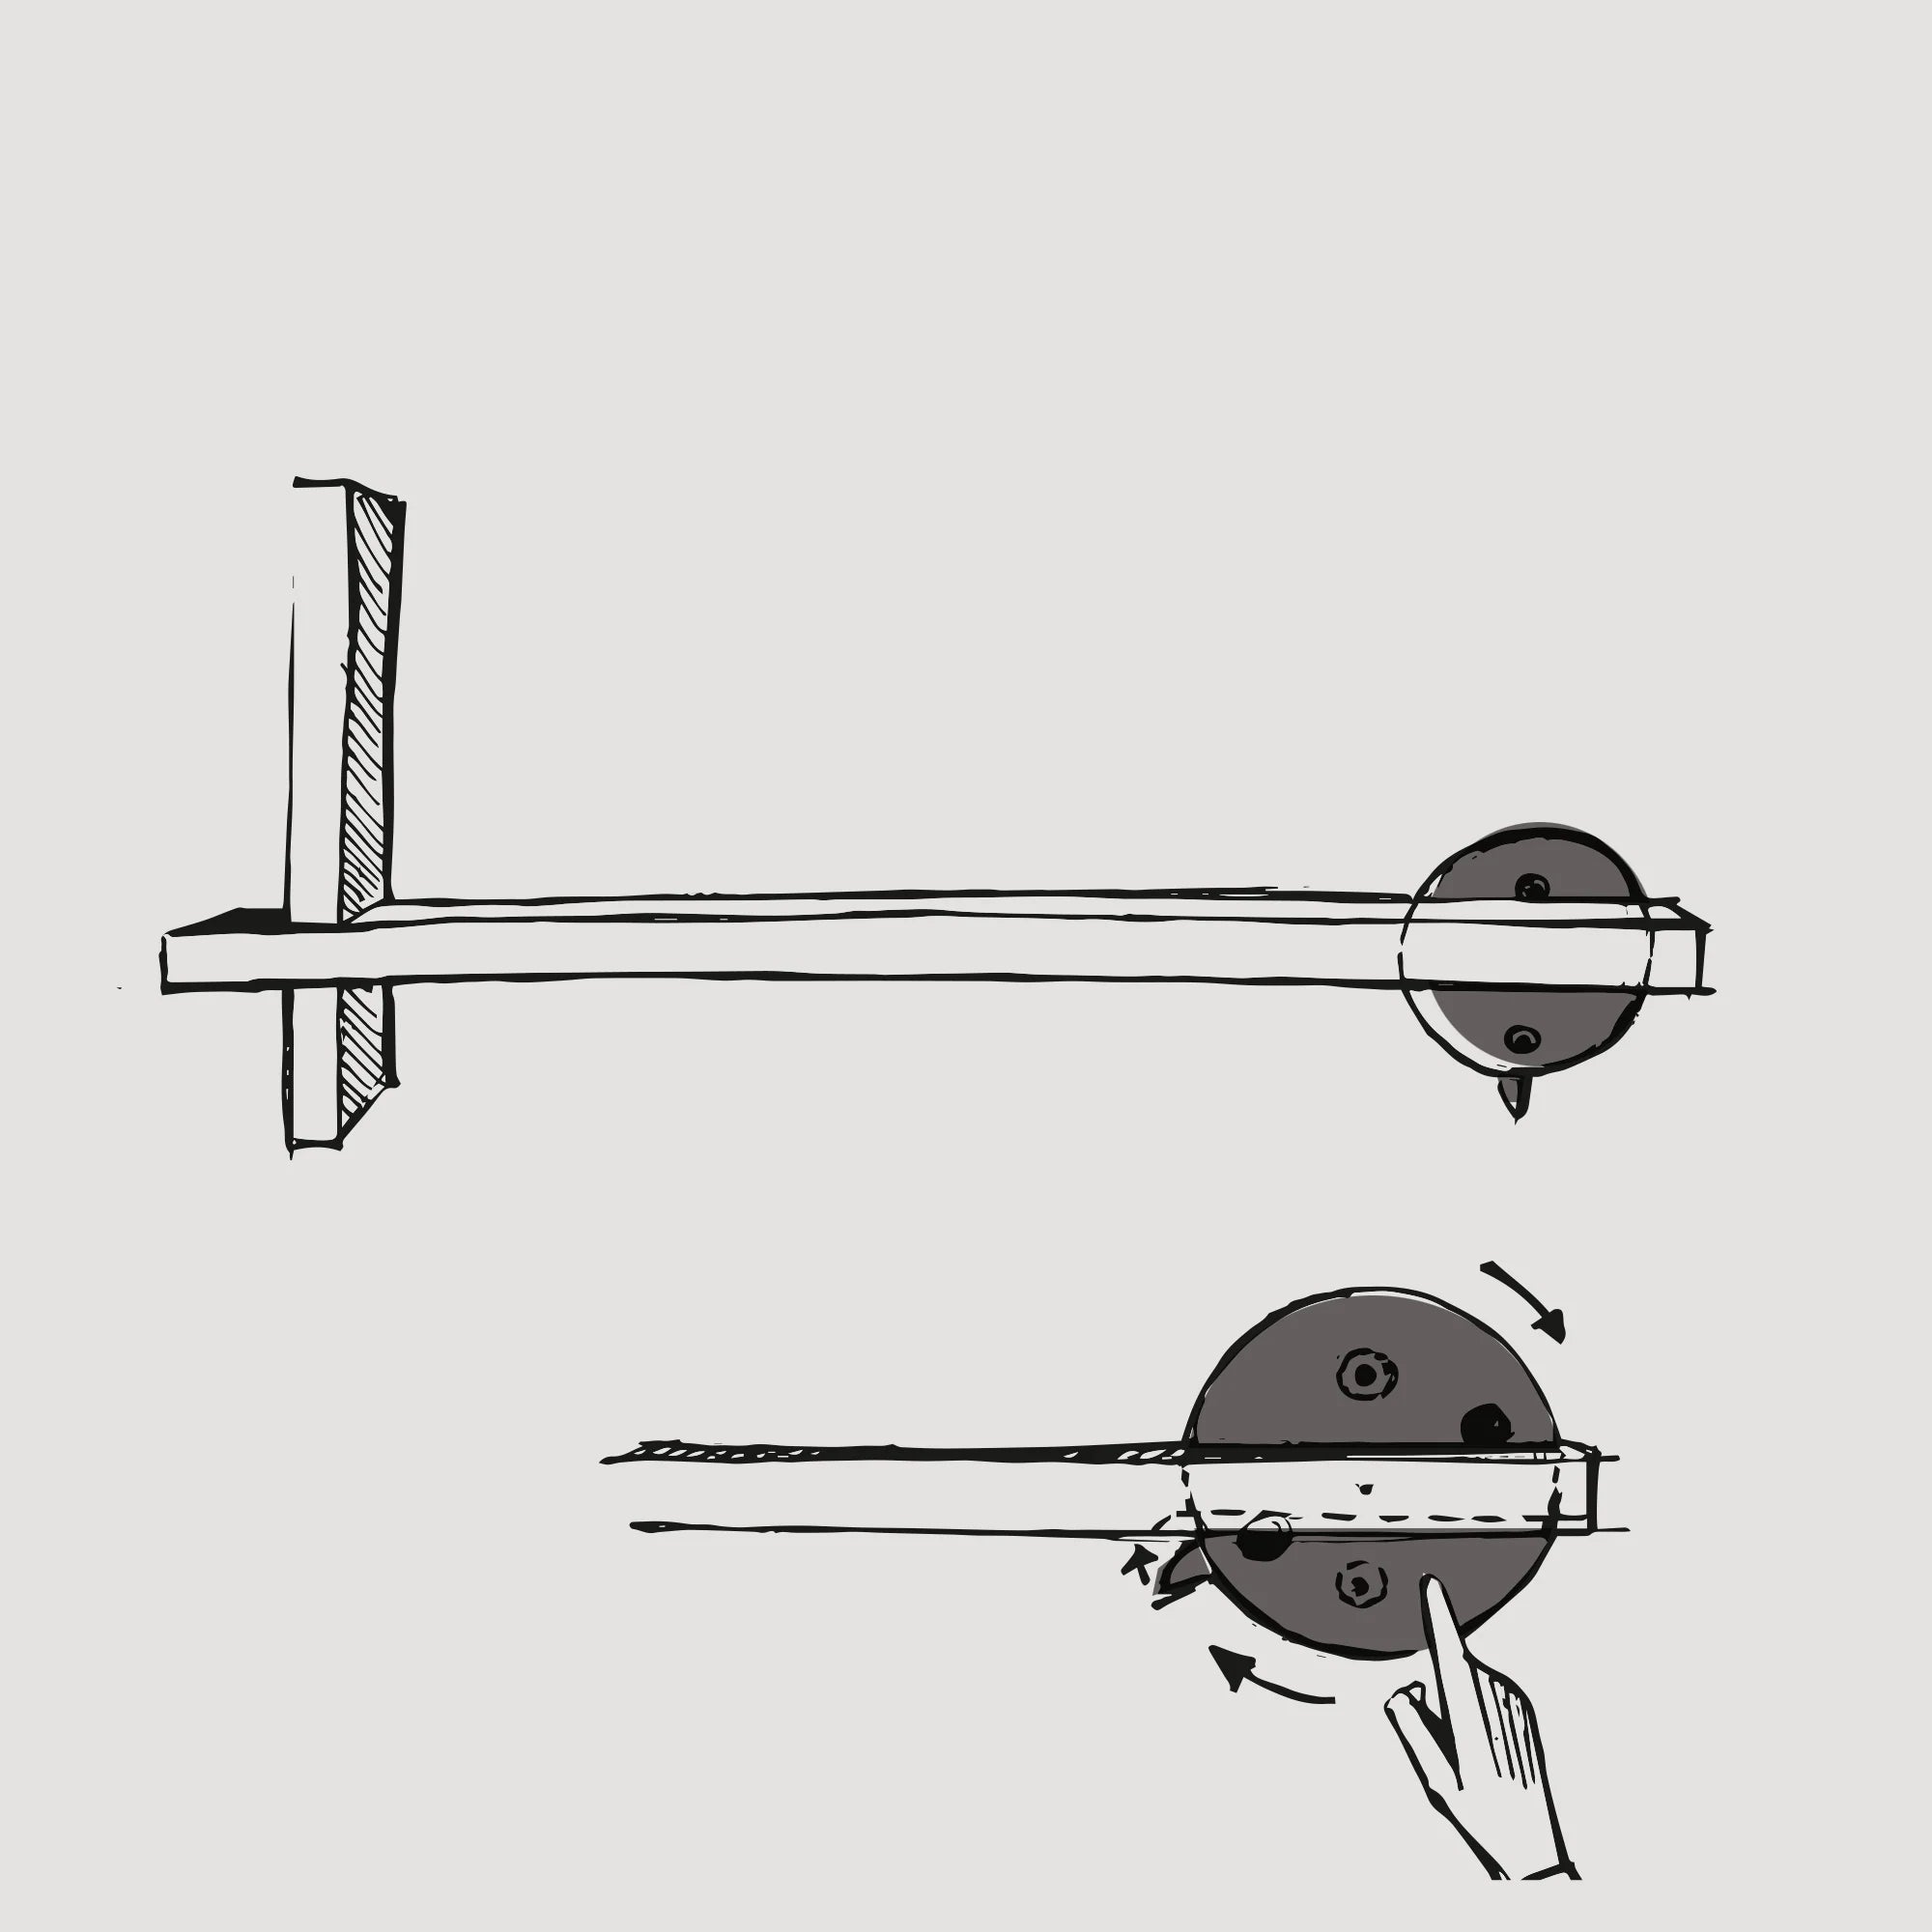
Then connect the longer horizontal element with the mounted circular elements to the vertical element hanging on the wall. Insert the notch of the shelf into the notch on the vertical element.
STEP 9
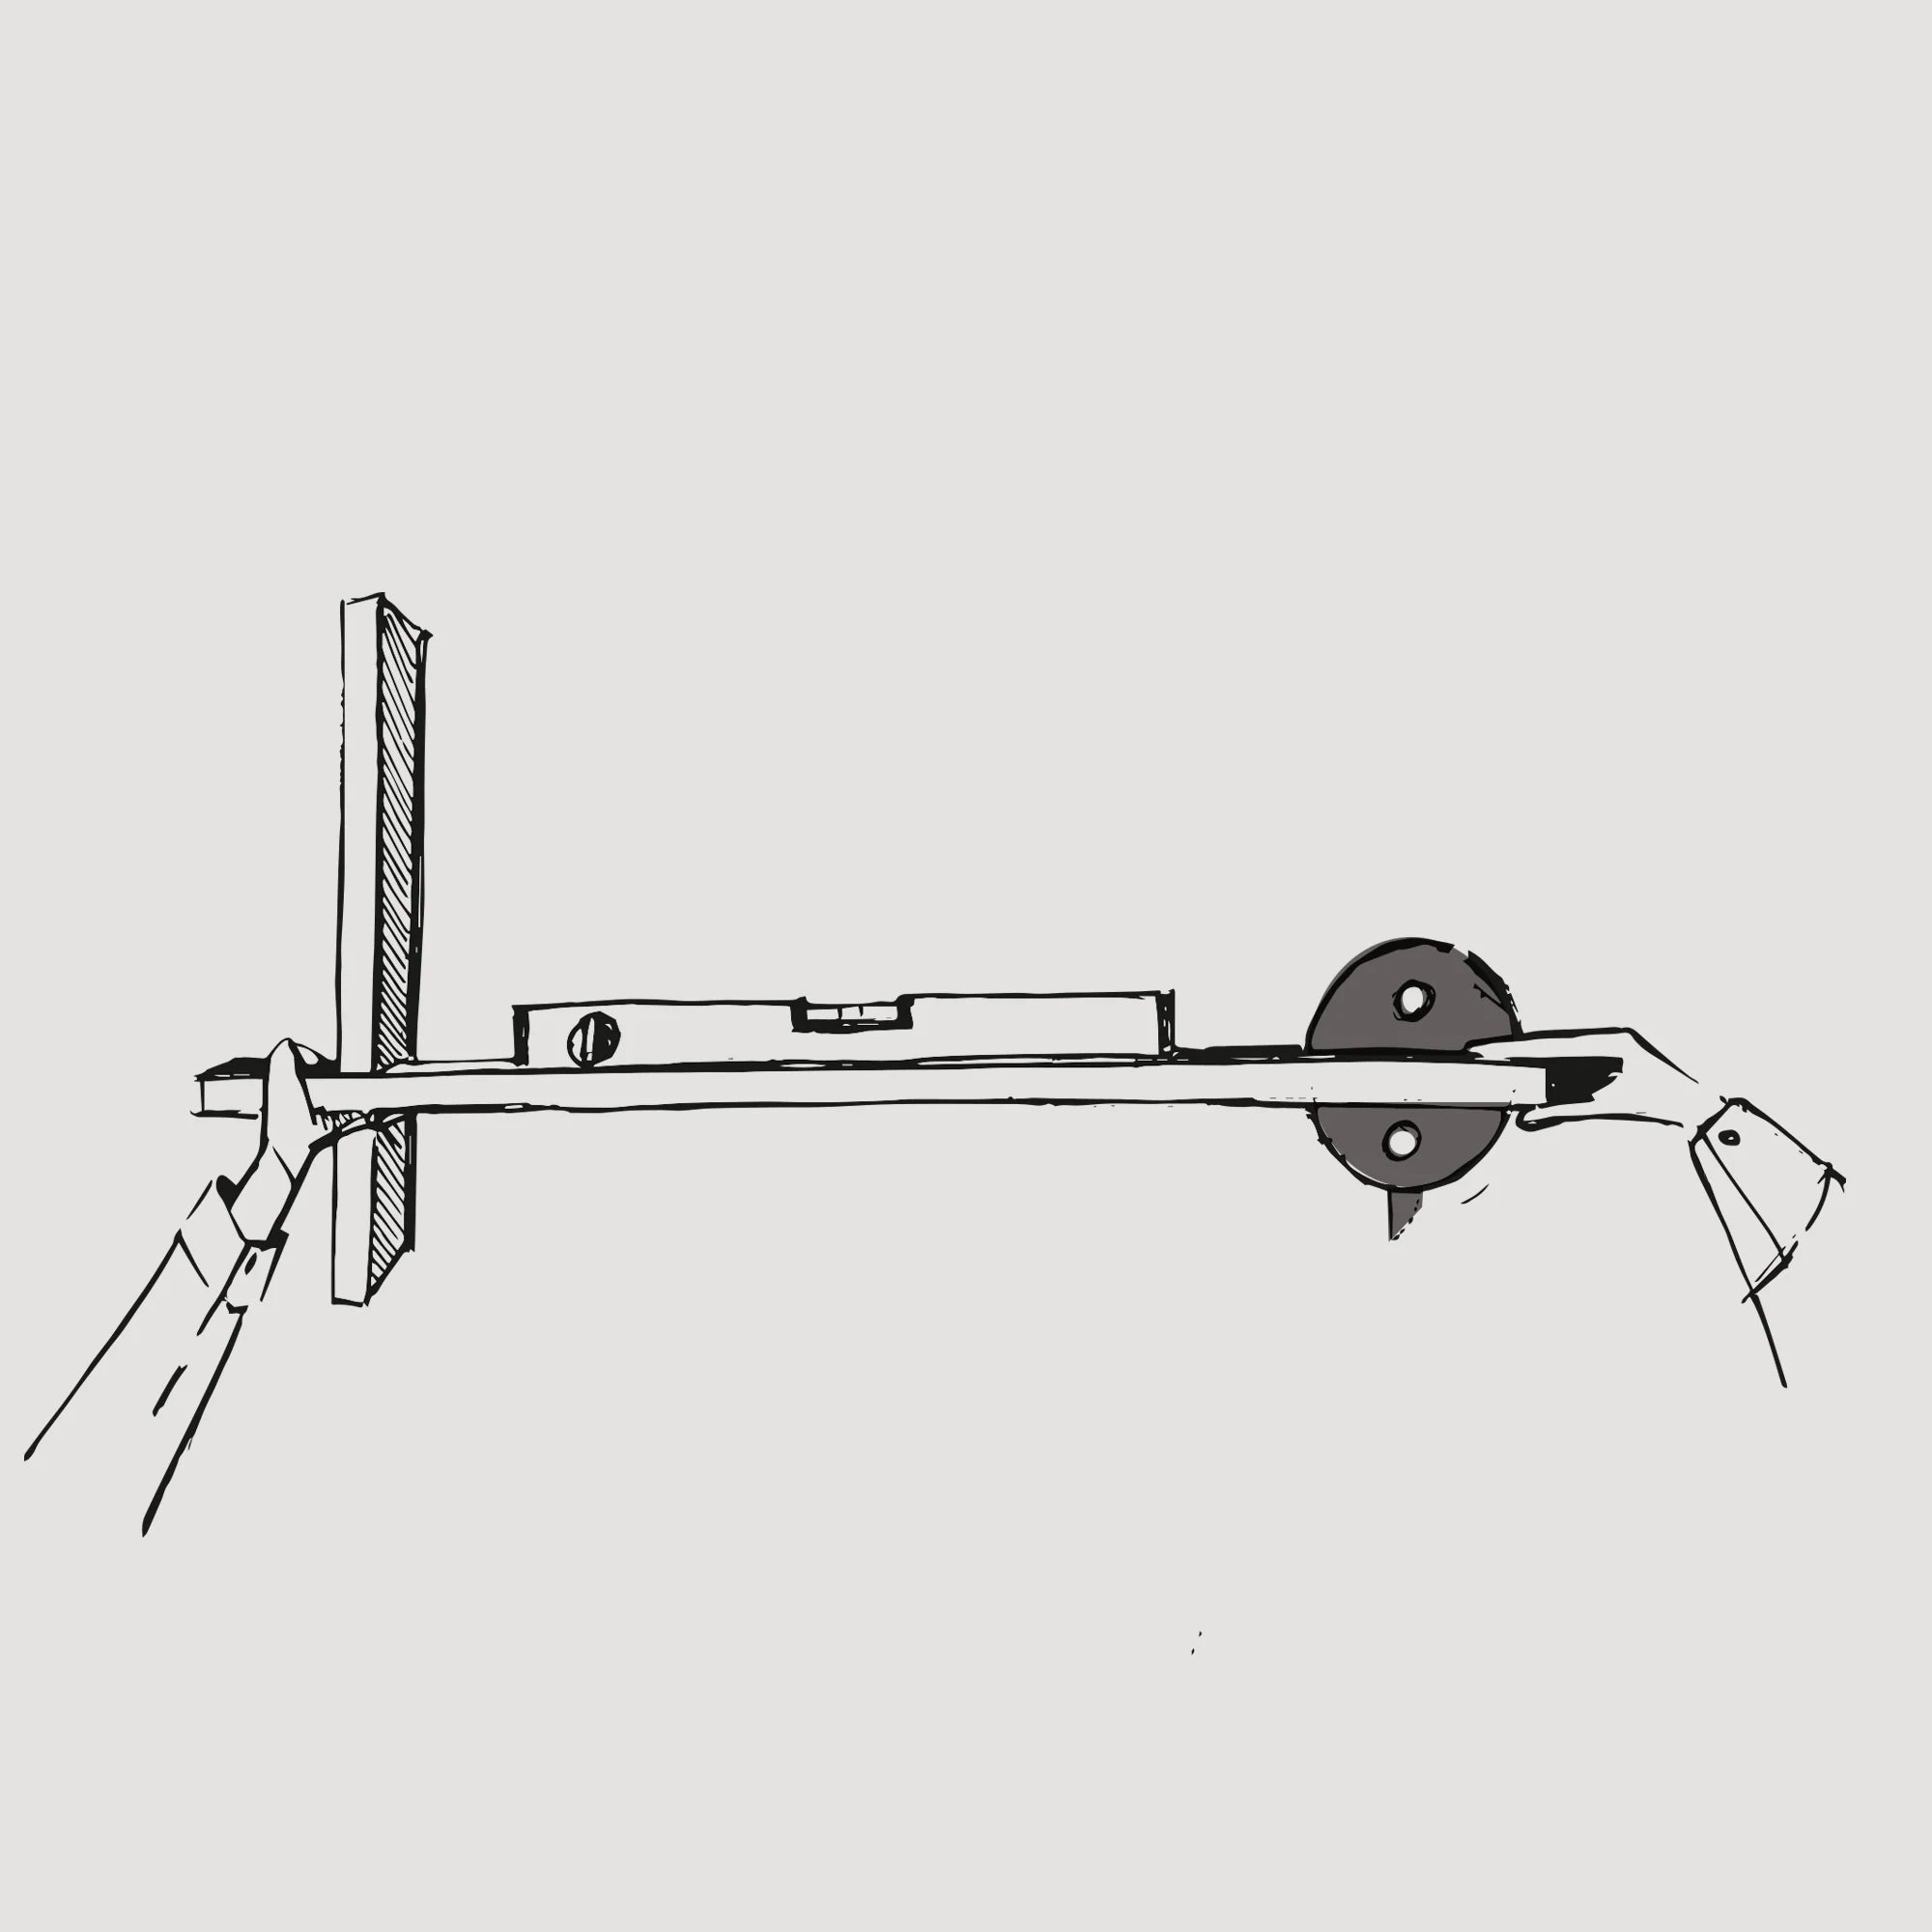
Use a spirit level to level the shelf so that it is finally properly and evenly attached to the wall.
STEP 10
Mark on the wall with a pencil where to mount the round elements of the shelf. Then remove the shelf from the wall.
STEP 11
In the marked places, drill holes in the wall to the full depth of the plug (perpendicular to the wall with a drill with a diameter of 6mm). After drilling the holes, insert the mounting plugs into them. Place it so that its flange is flush with the wall.
STEP 12
In the marked places, drill holes in the wall to the full depth of the plug (perpendicular to the wall with a drill with a diameter of 6mm). After drilling the holes, insert the mounting plugs into them. Place it so that its flange is flush with the wall.
STEP 13
In order to mask the wall connections of the shelf, turn the mounting discs to the left in such a way that the notch is hidden behind the edge of the longer, horizontal part.

STEP 14
Ready! Introduce a new dimension of order in your home and enjoy the display of your favorite items.

CROSSET
Introduce a new dimension of order in your home and enjoy the display of your favorite items every day. Due to its minimalist aesthetics, CROSSET will be used in many places, perfectly blending in and harmonizing with the surroundings and objects of your space.
VIEW