


Manual
NOKI
Follow the instructions below. The Crosset shelf you want to mount requires a few steps that you can easily perform. Ask someone to help because the assembly requires the cooperation of two people. It's more fun together.

START
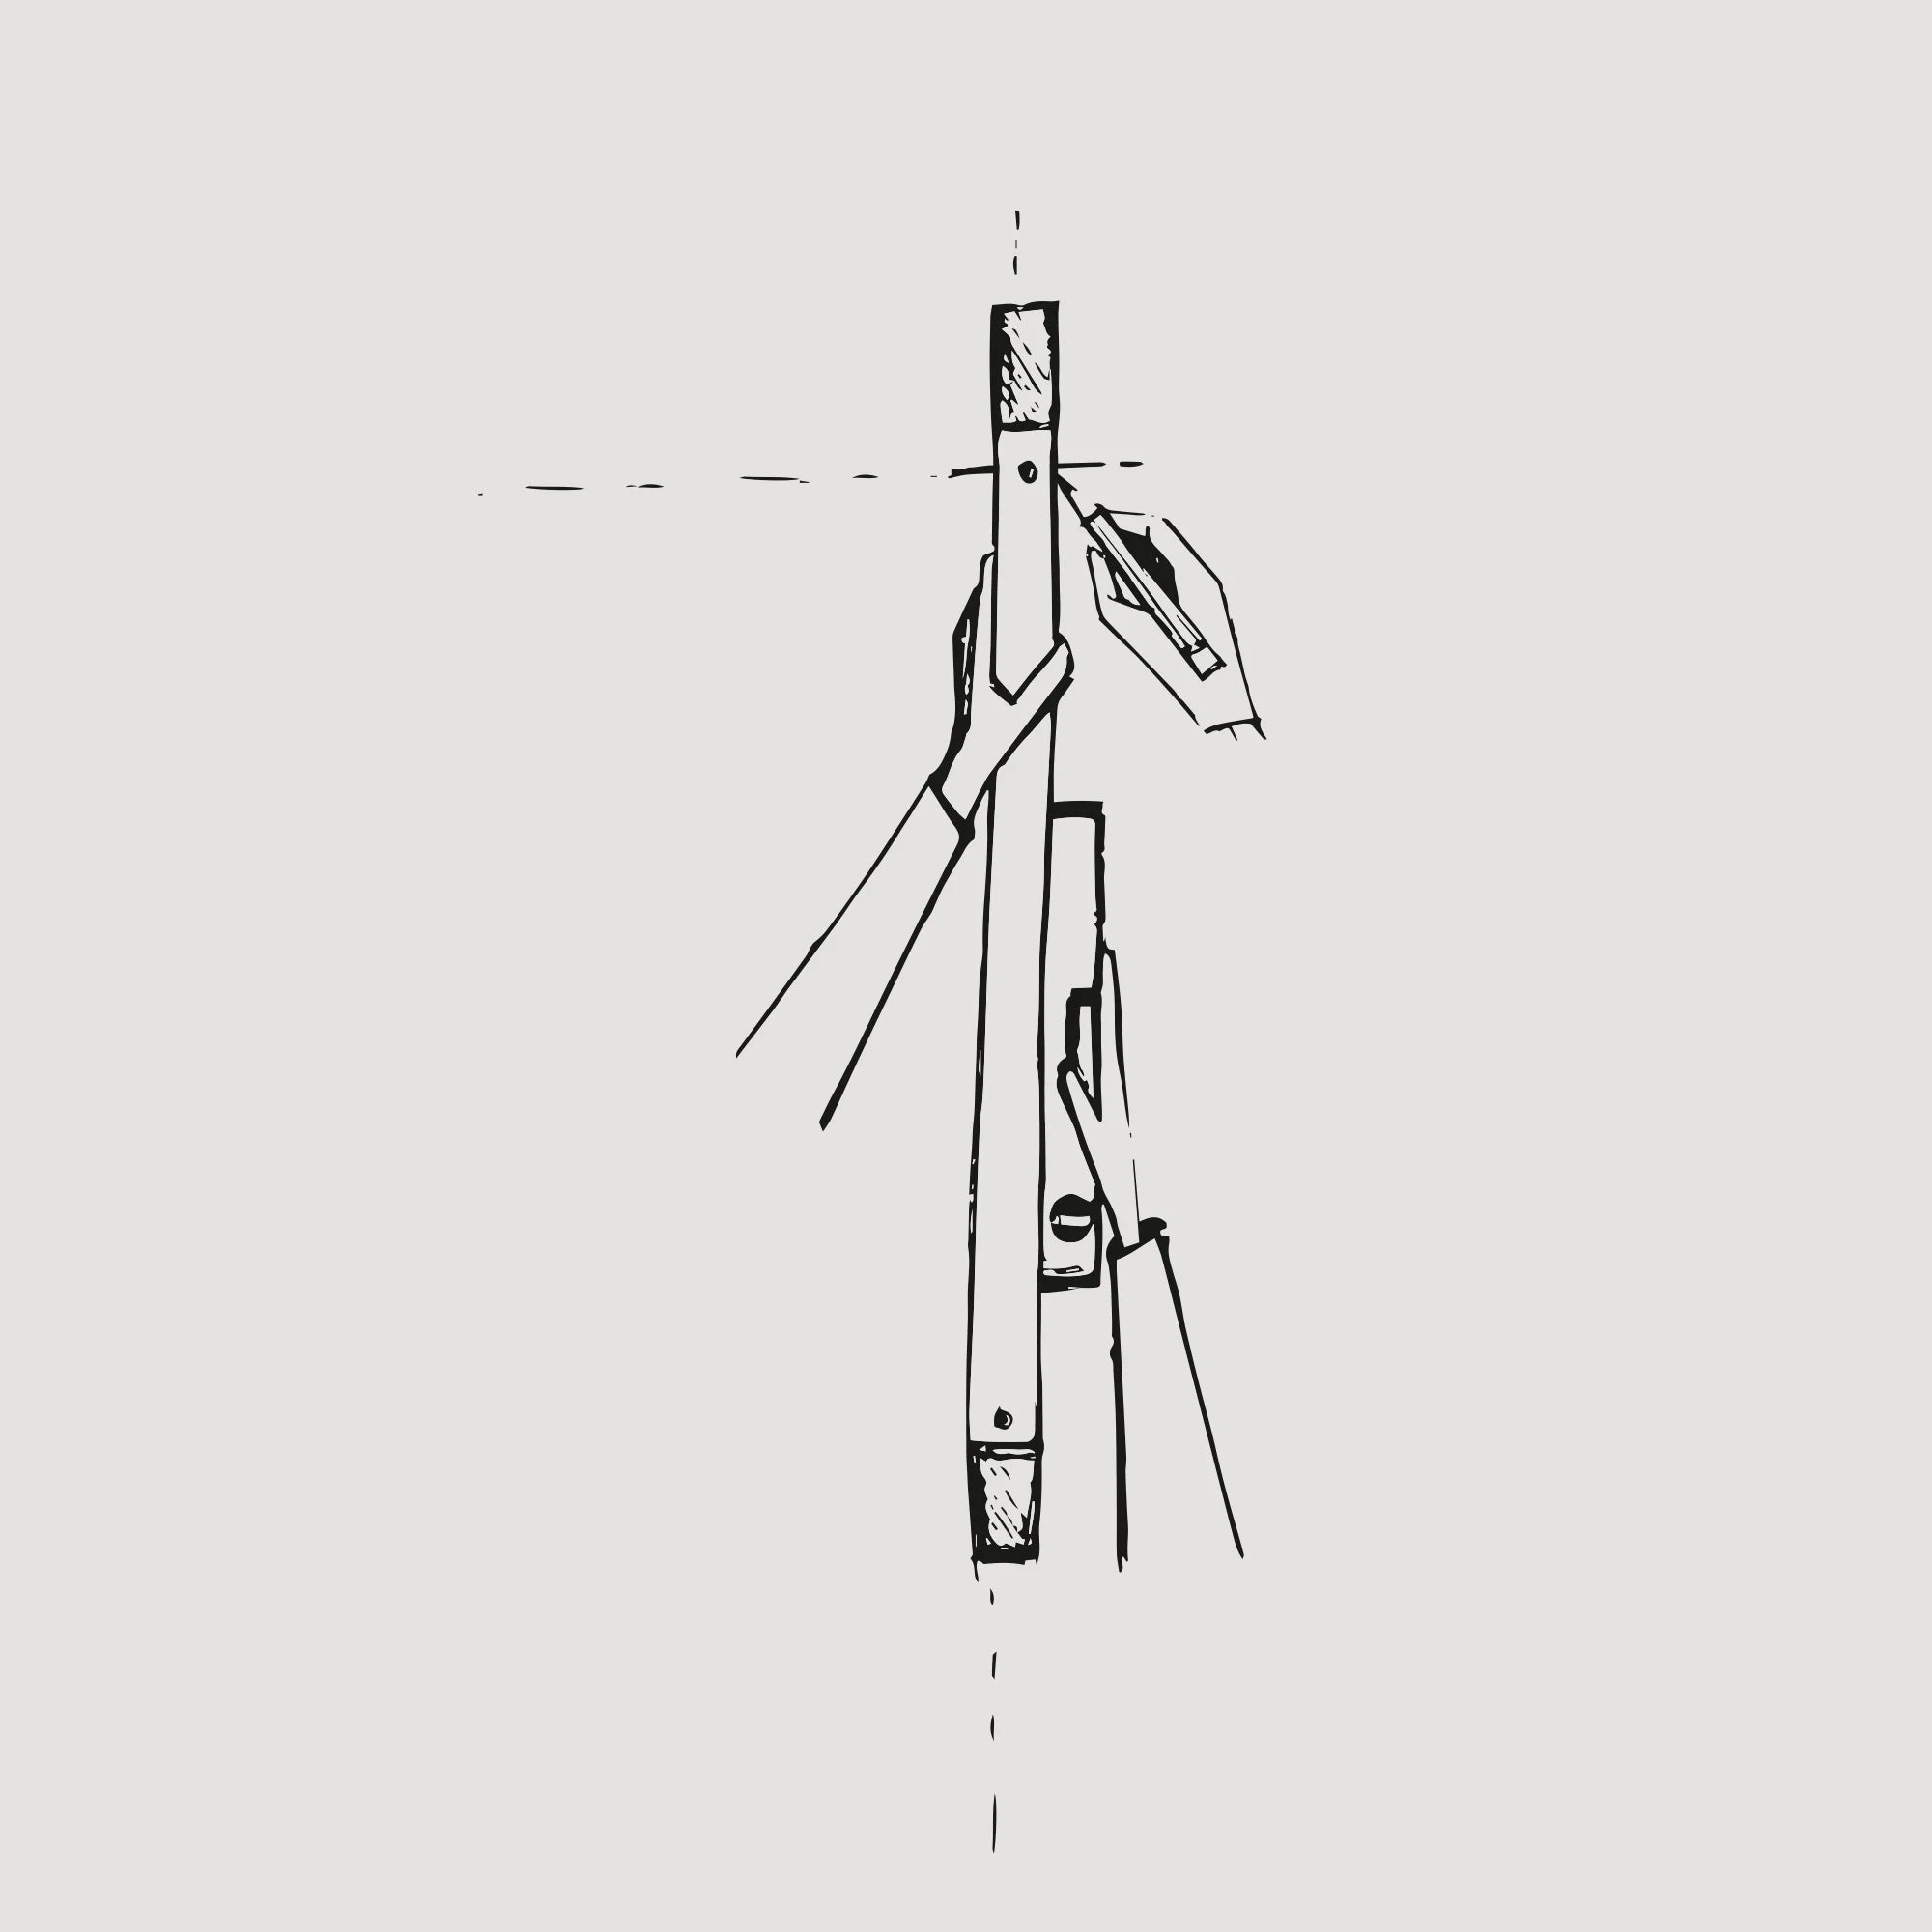
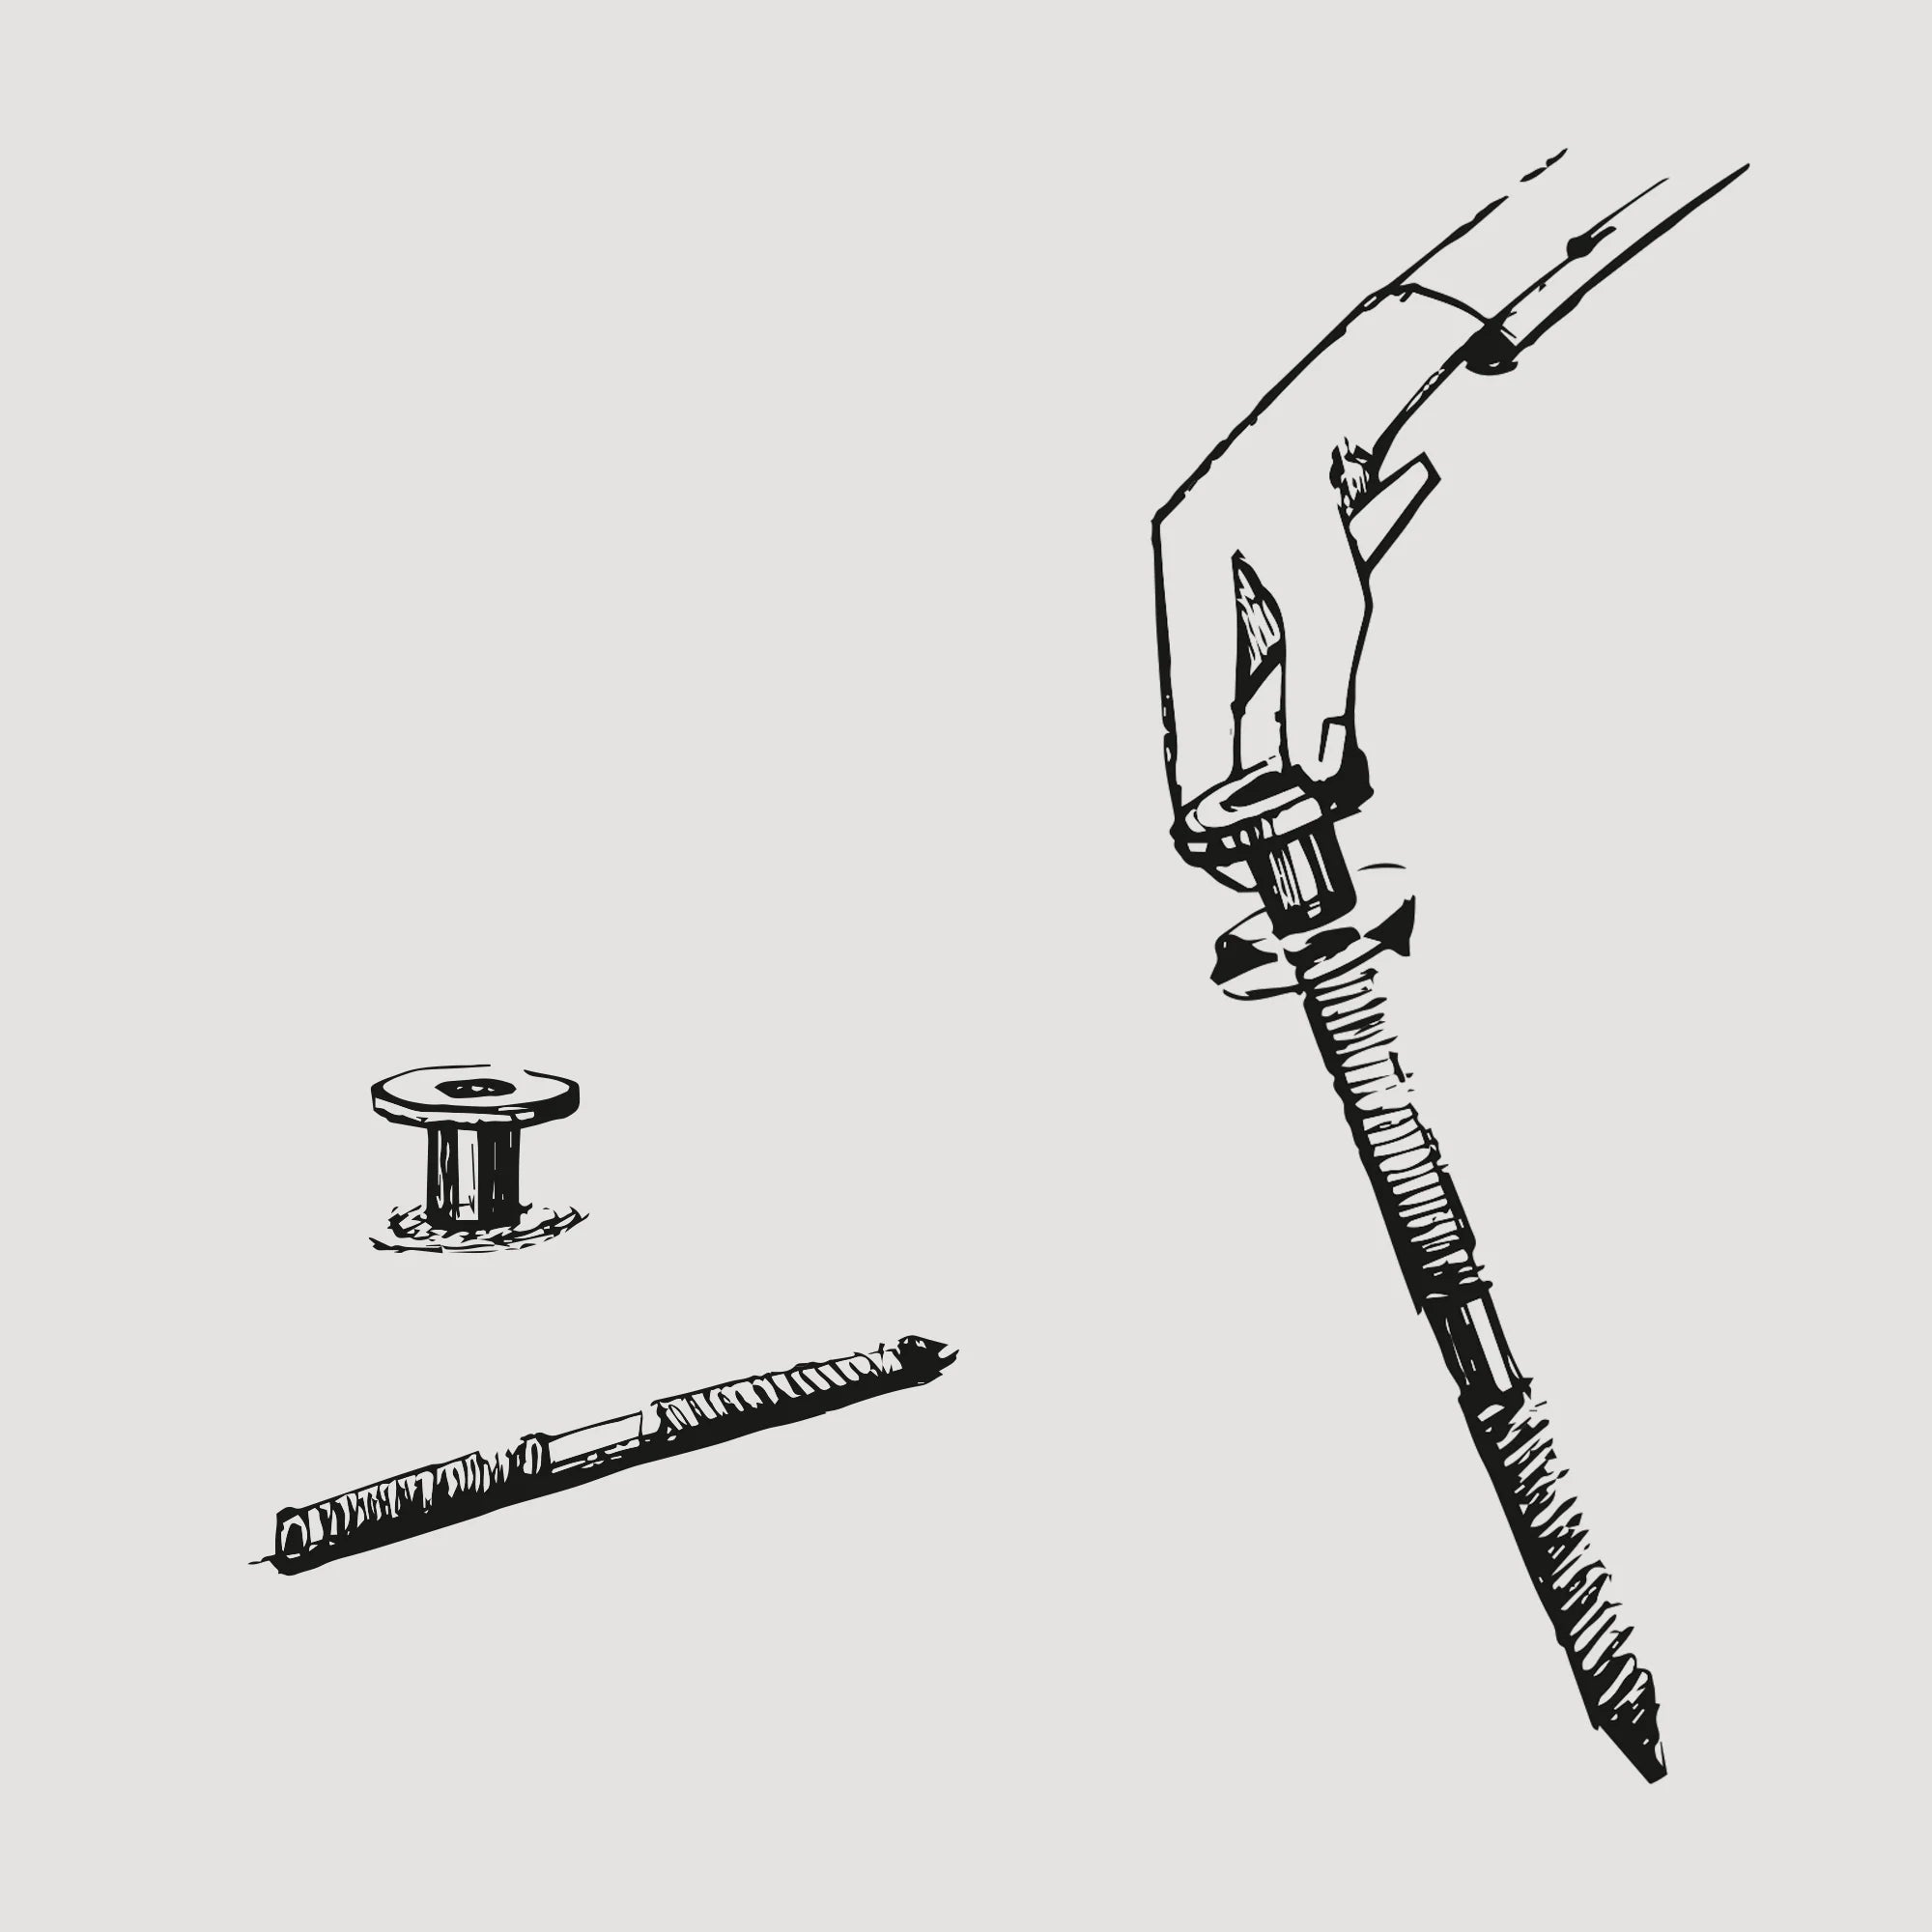
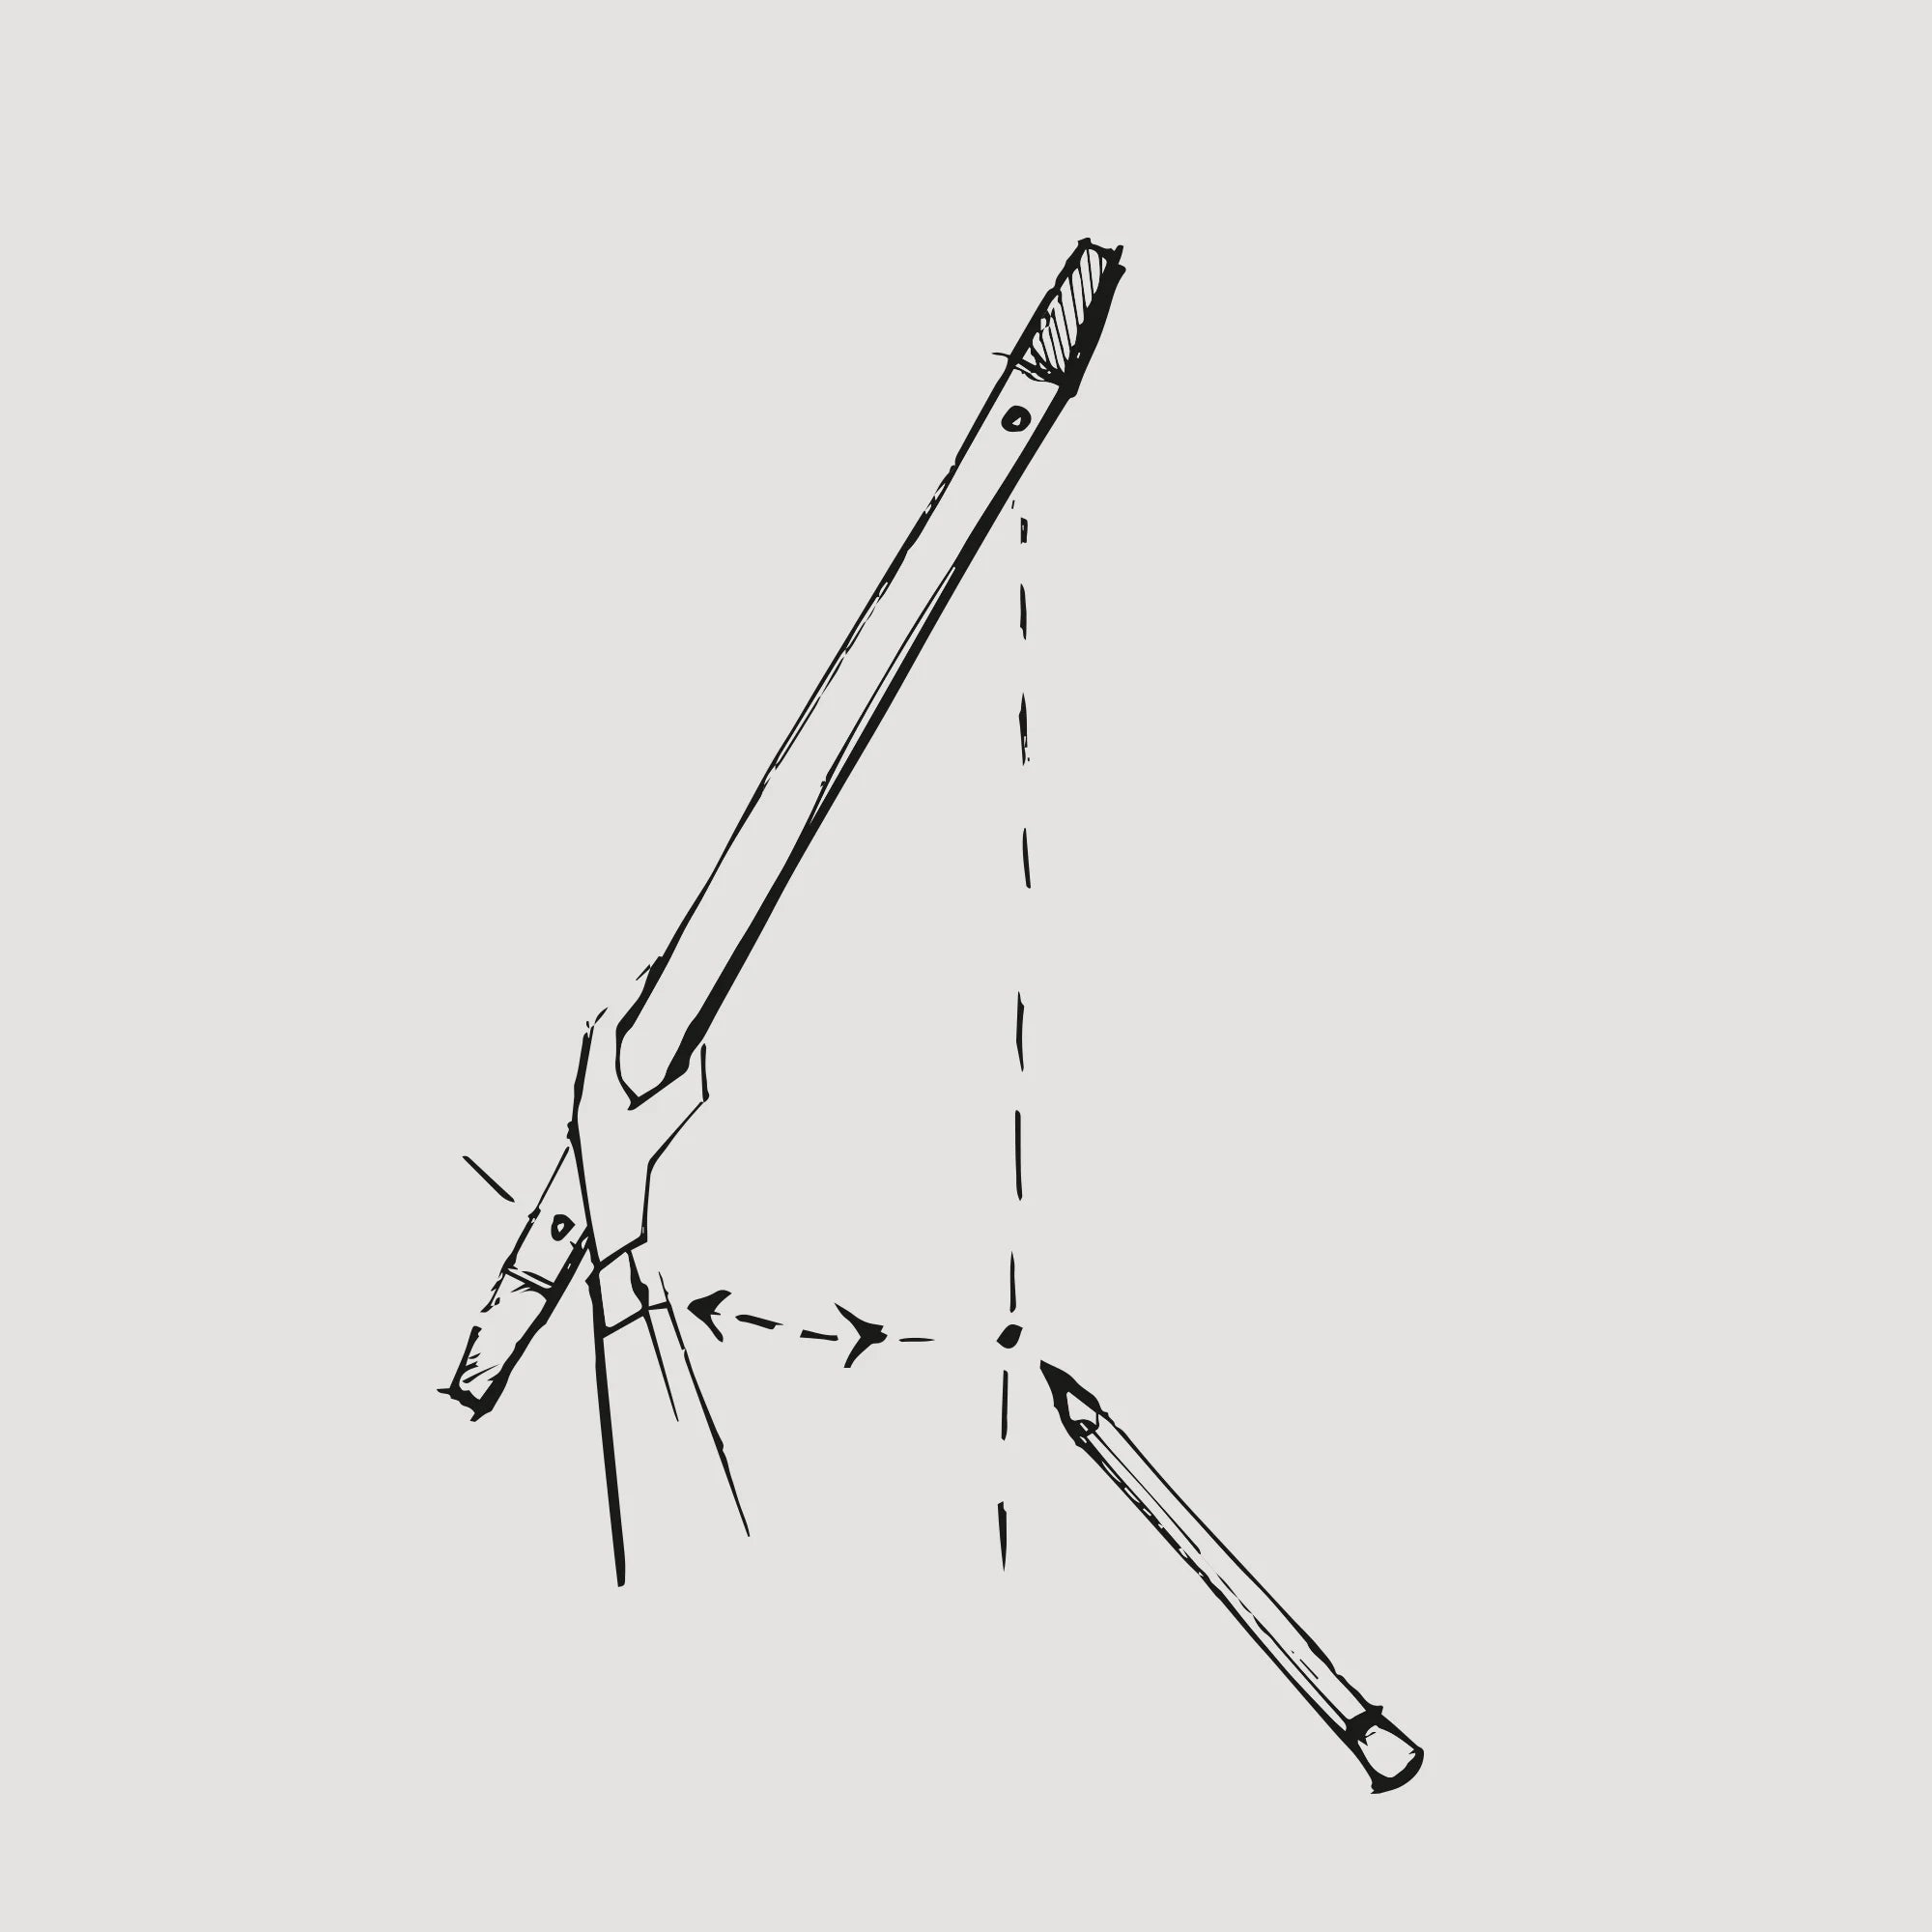
Prepare the tools for assembling the NOKI bookcase. To efficiently assemble the bookcase, you will need: screws (1) included in the package, level (2), pencil (3), drill with drill or screwdriver with drilling function (4) and someone to help.
STEP 1
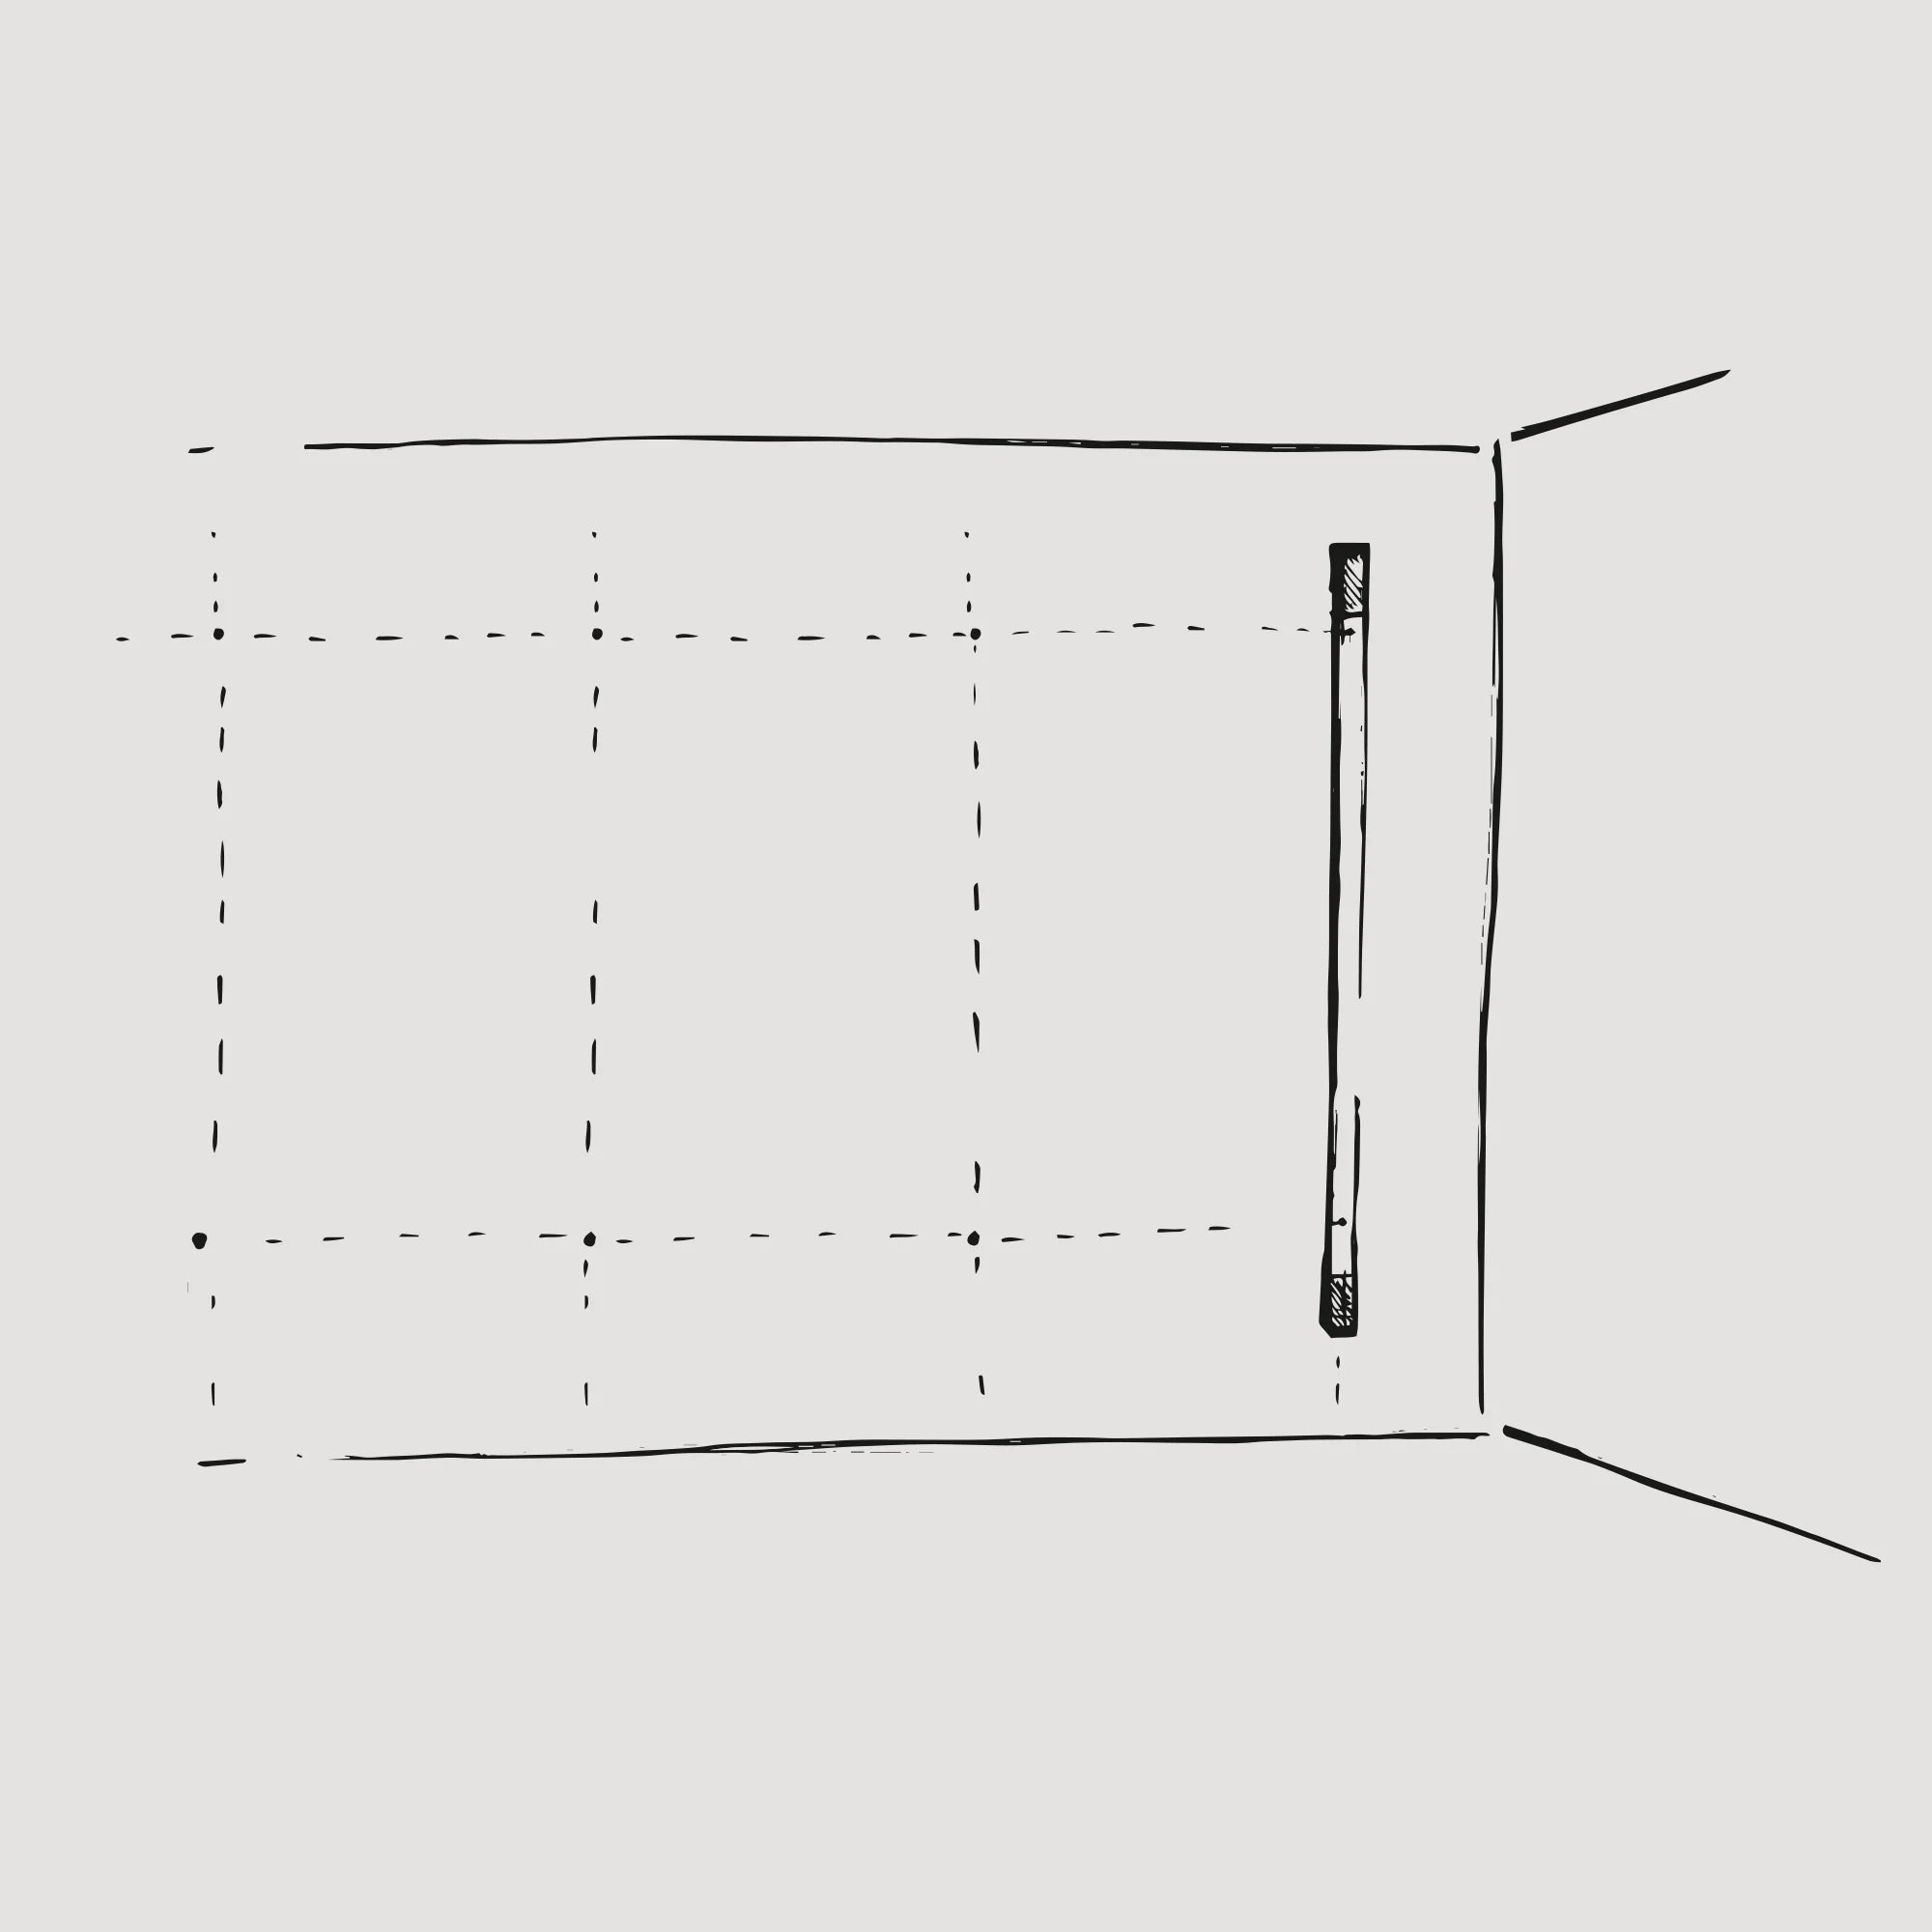
We start the assembly of the rack by attaching the extreme vertical strip, 148 cm long, to the wall. Make sure that you have planned the location of the bookcase well and all its modules will fit on the wall on which we want to mount it.
STEP 2
Mark the drilling location on the wall starting from the top hole of the vertical bar. To obtain the recommended worktop height of 75 cm, mark the opening on the wall at a height of 166 cm from the floor. This is the correct dimension for the top of the lower shelf or worktop at a height of 75cm. For example, if we want to hang the bookcase so that the top is 72 cm high. From the first value of 166 cm, subtract 3 cm and make an opening at the height of 163 cm
STEP 3
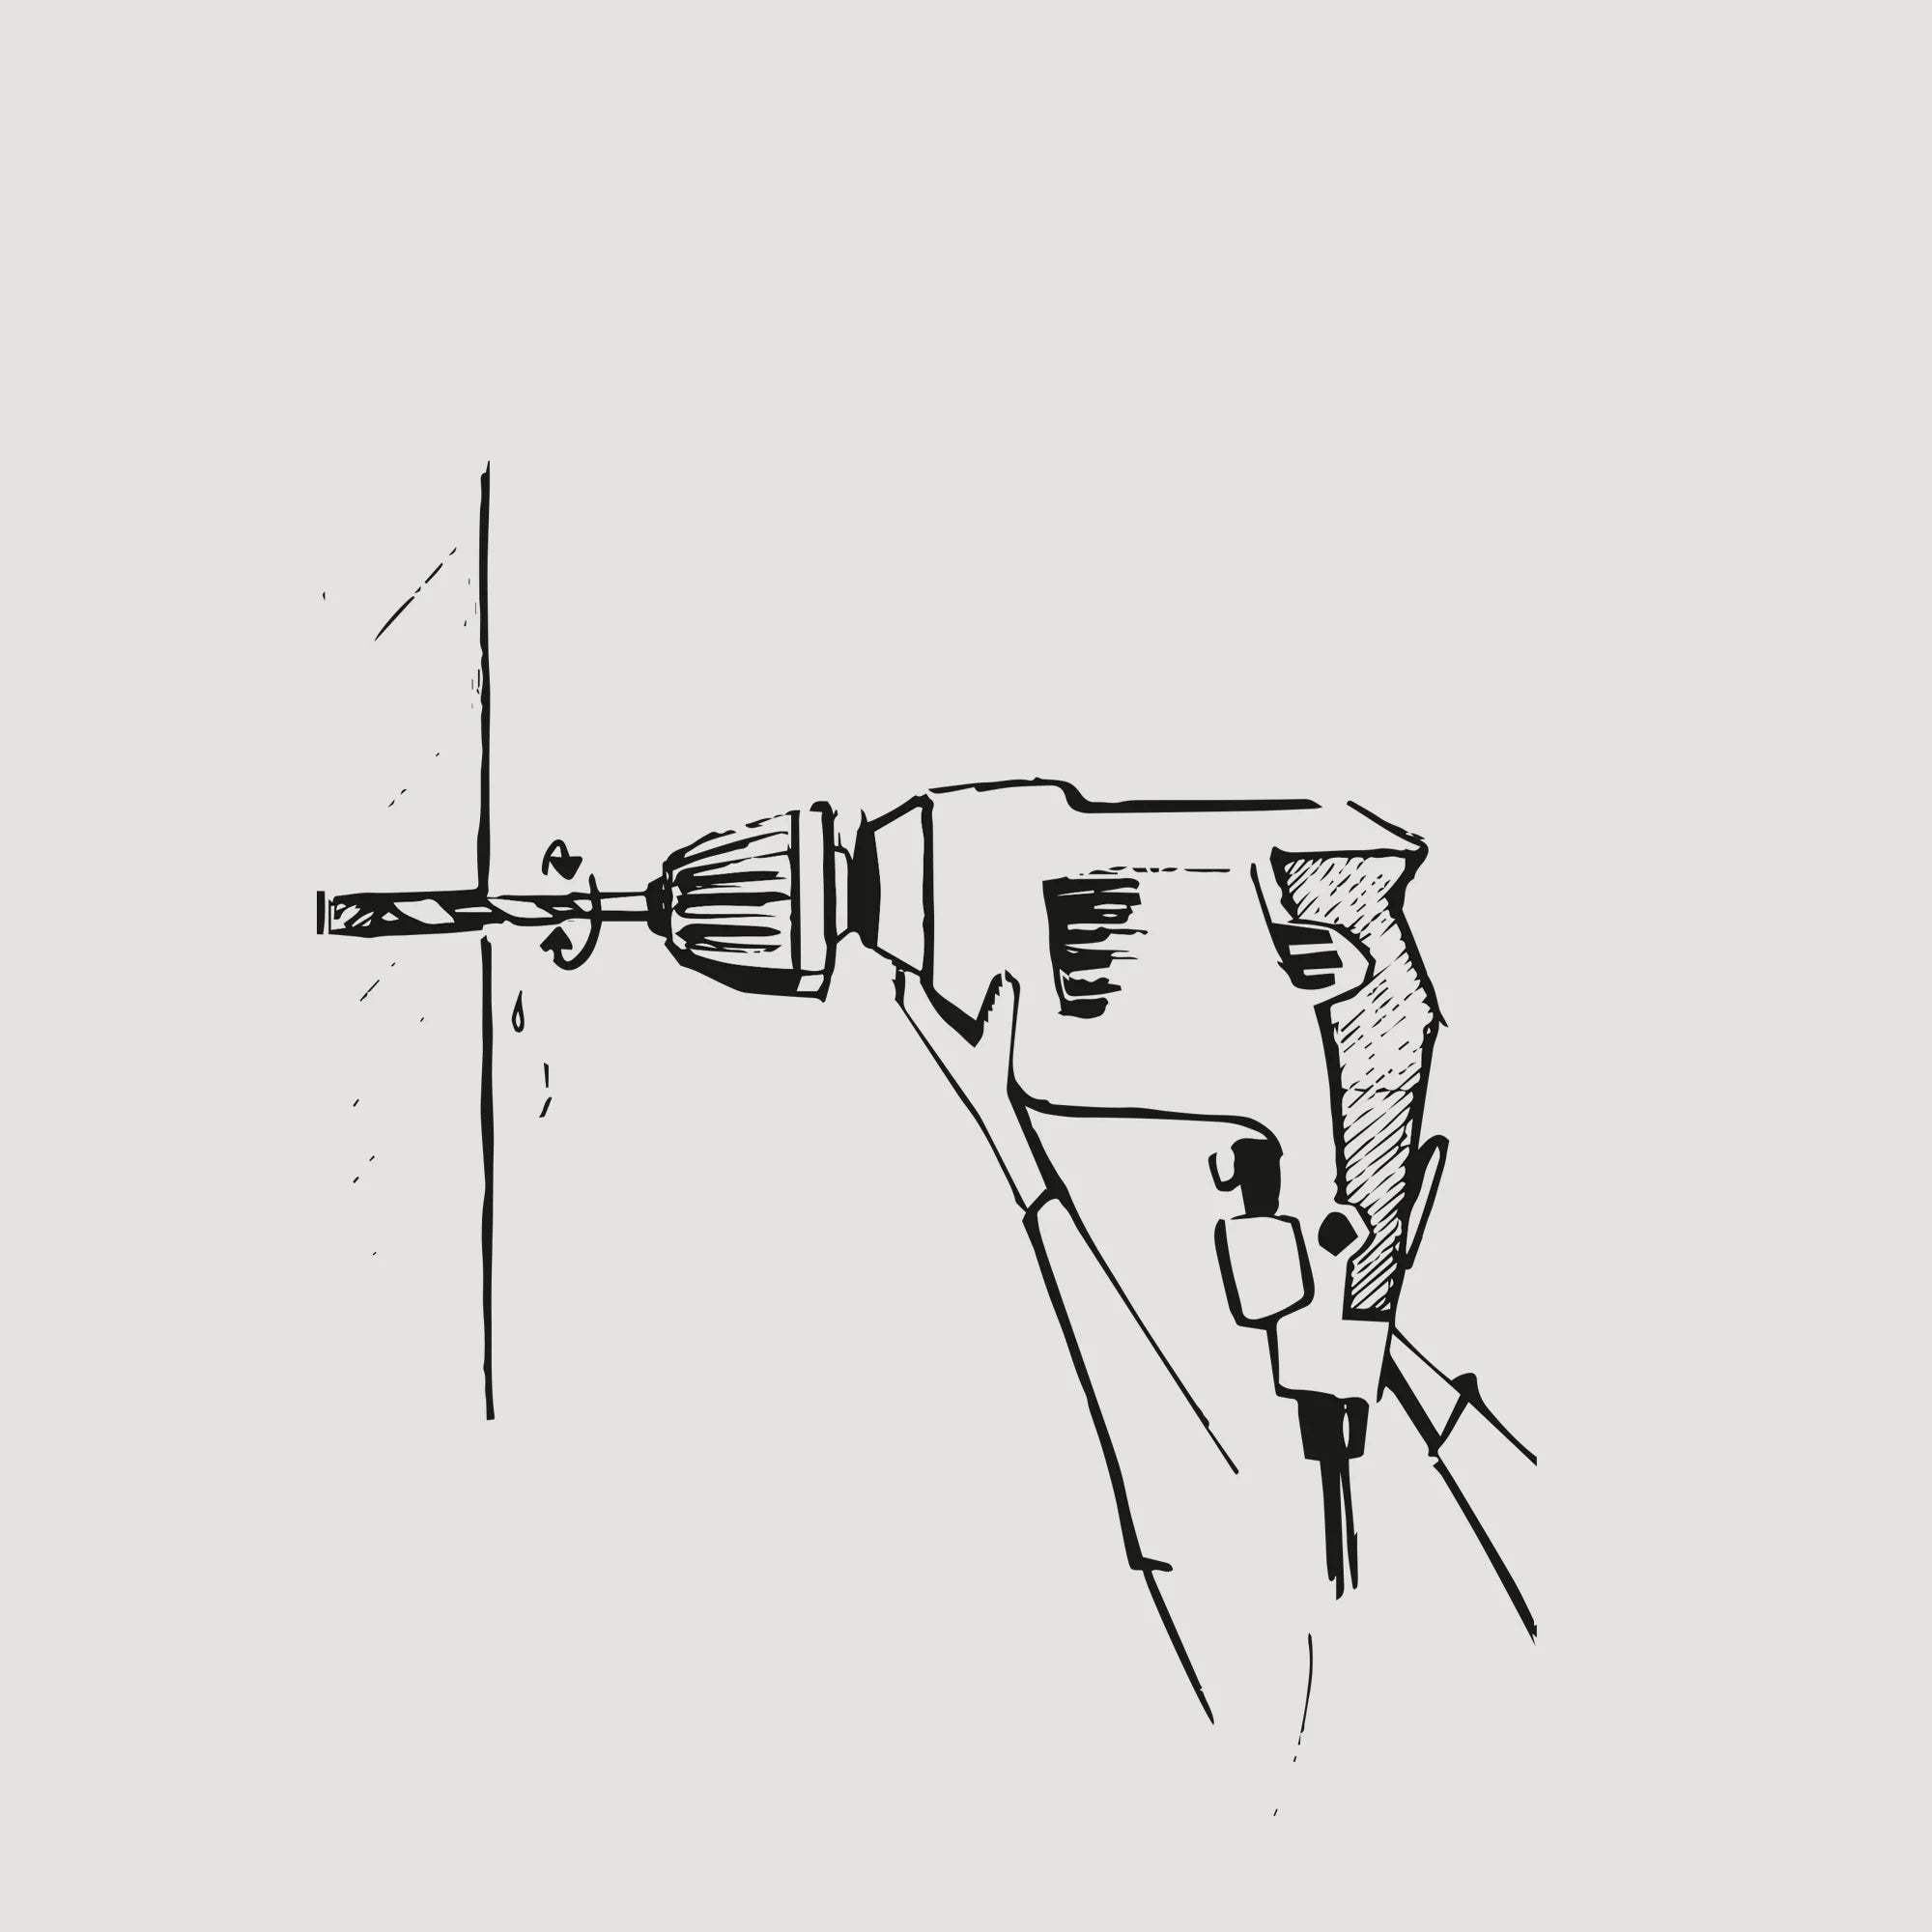
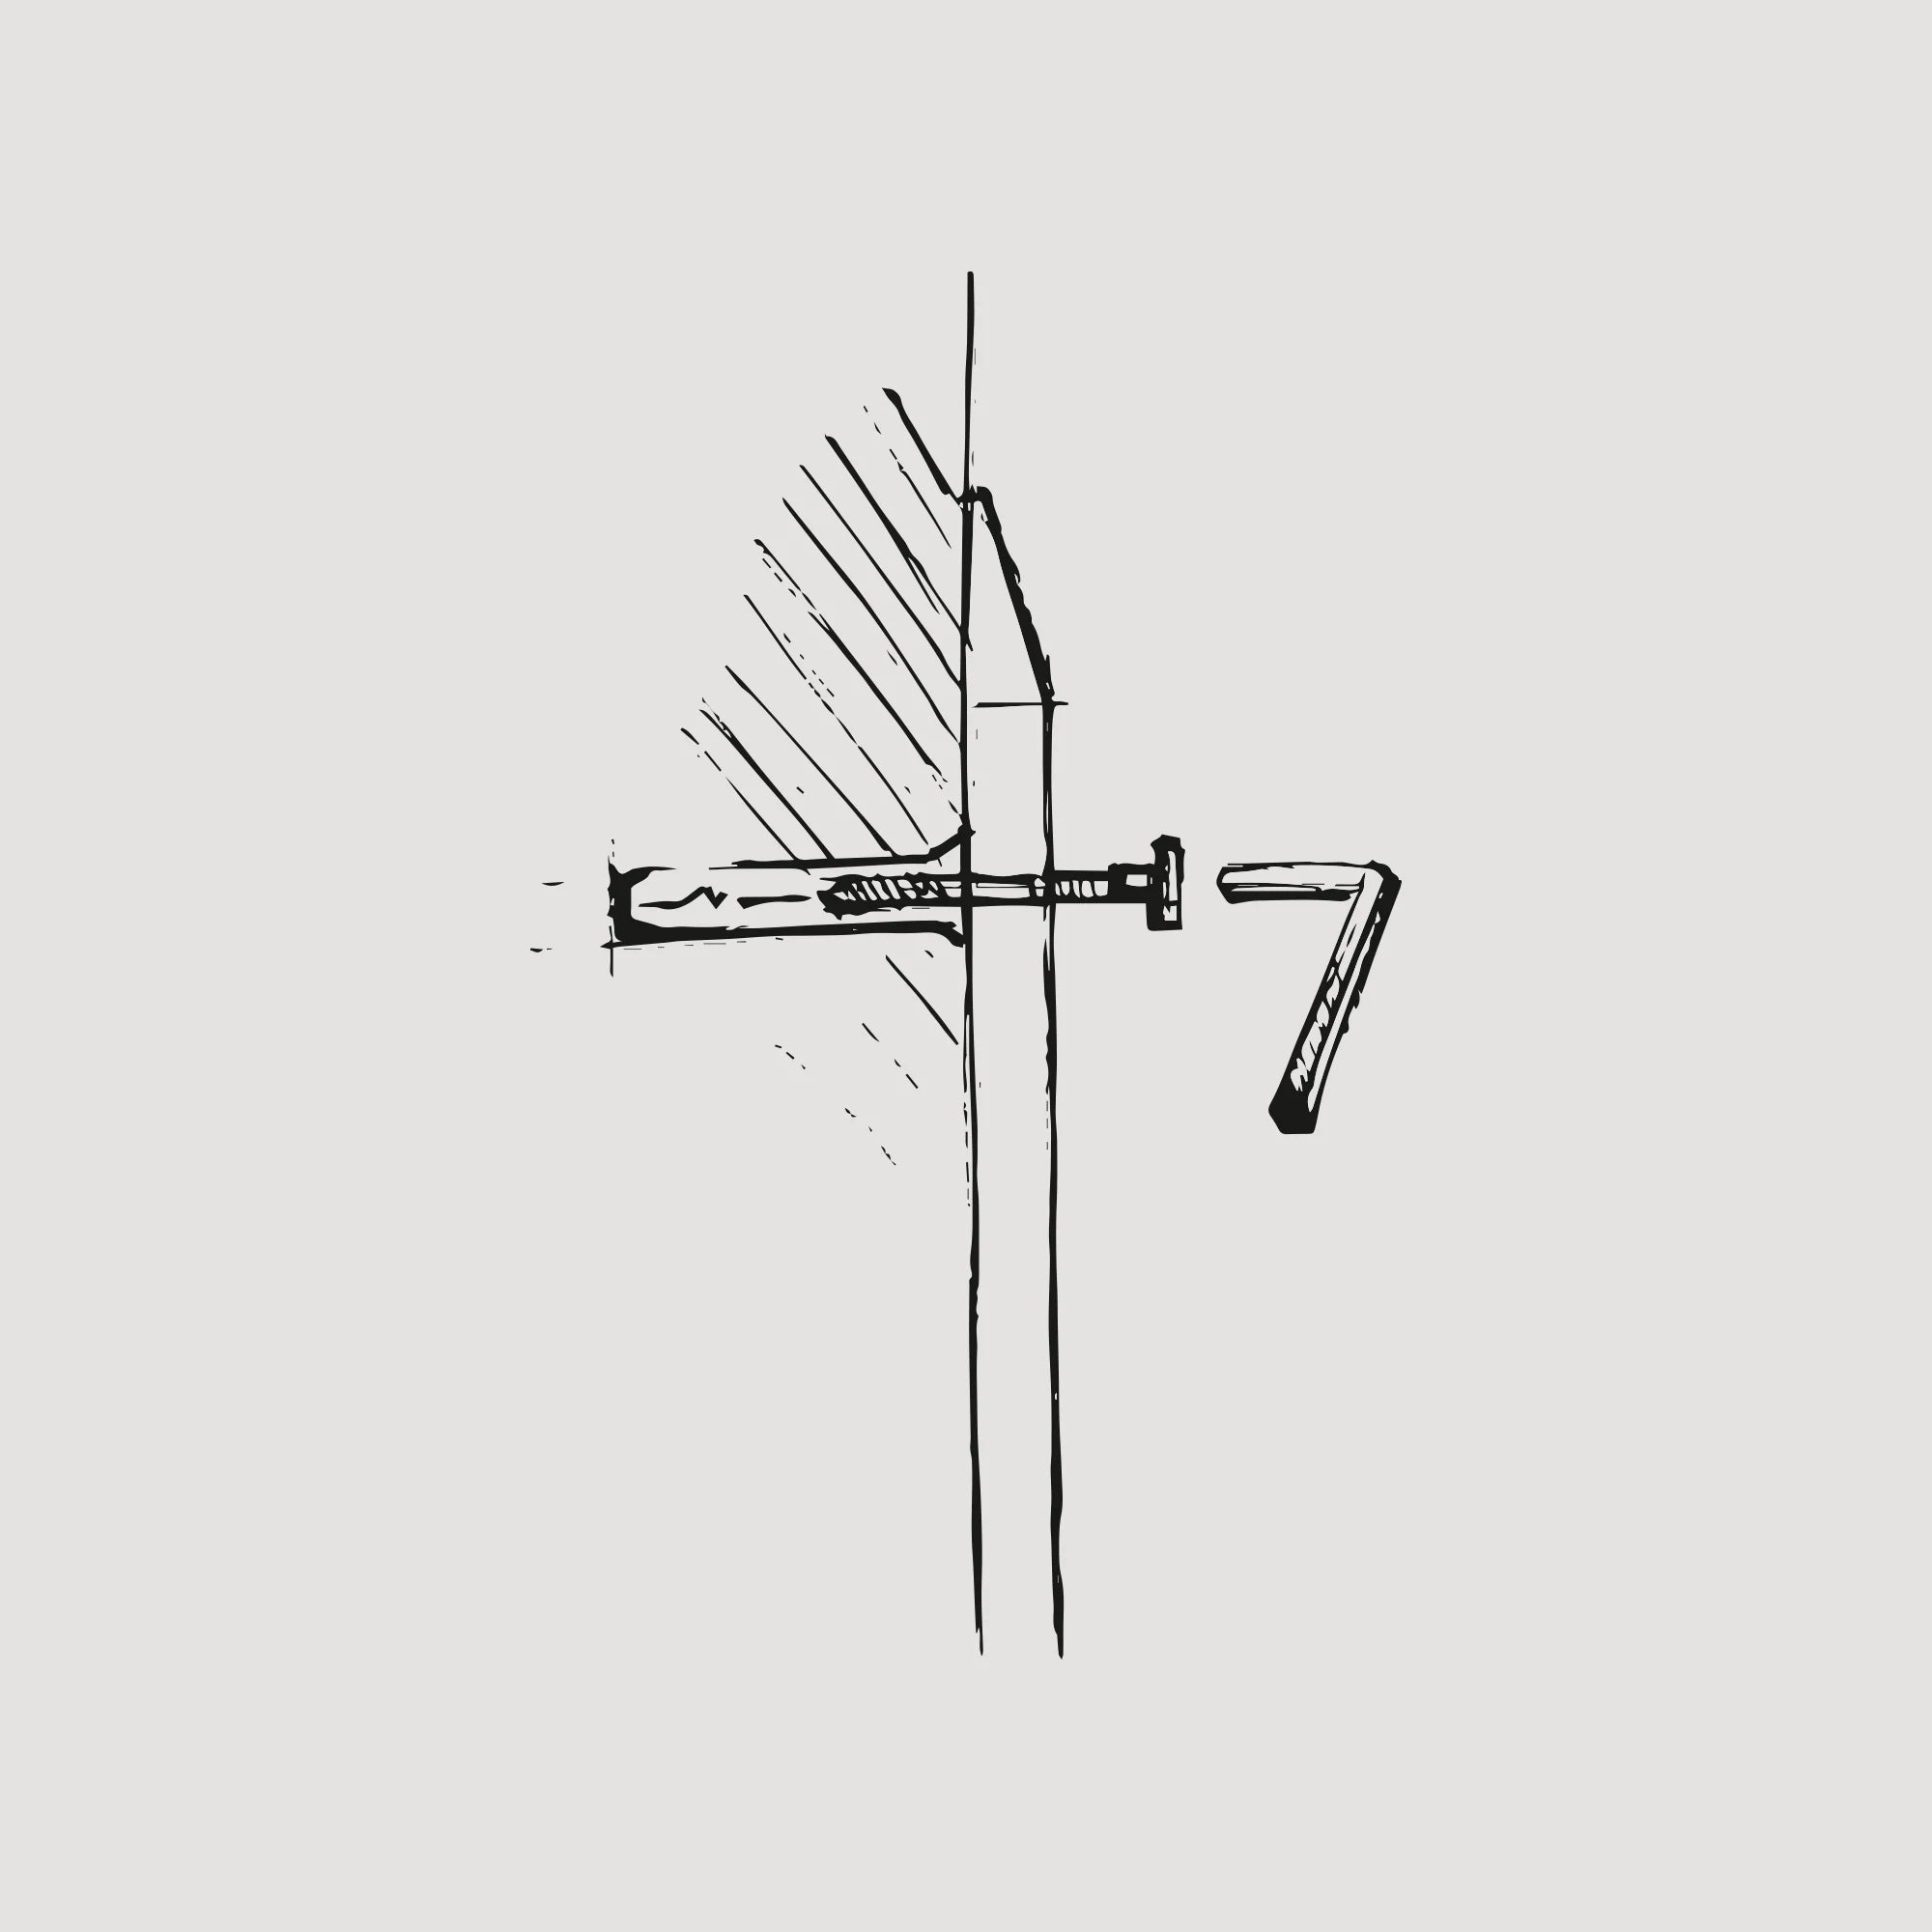
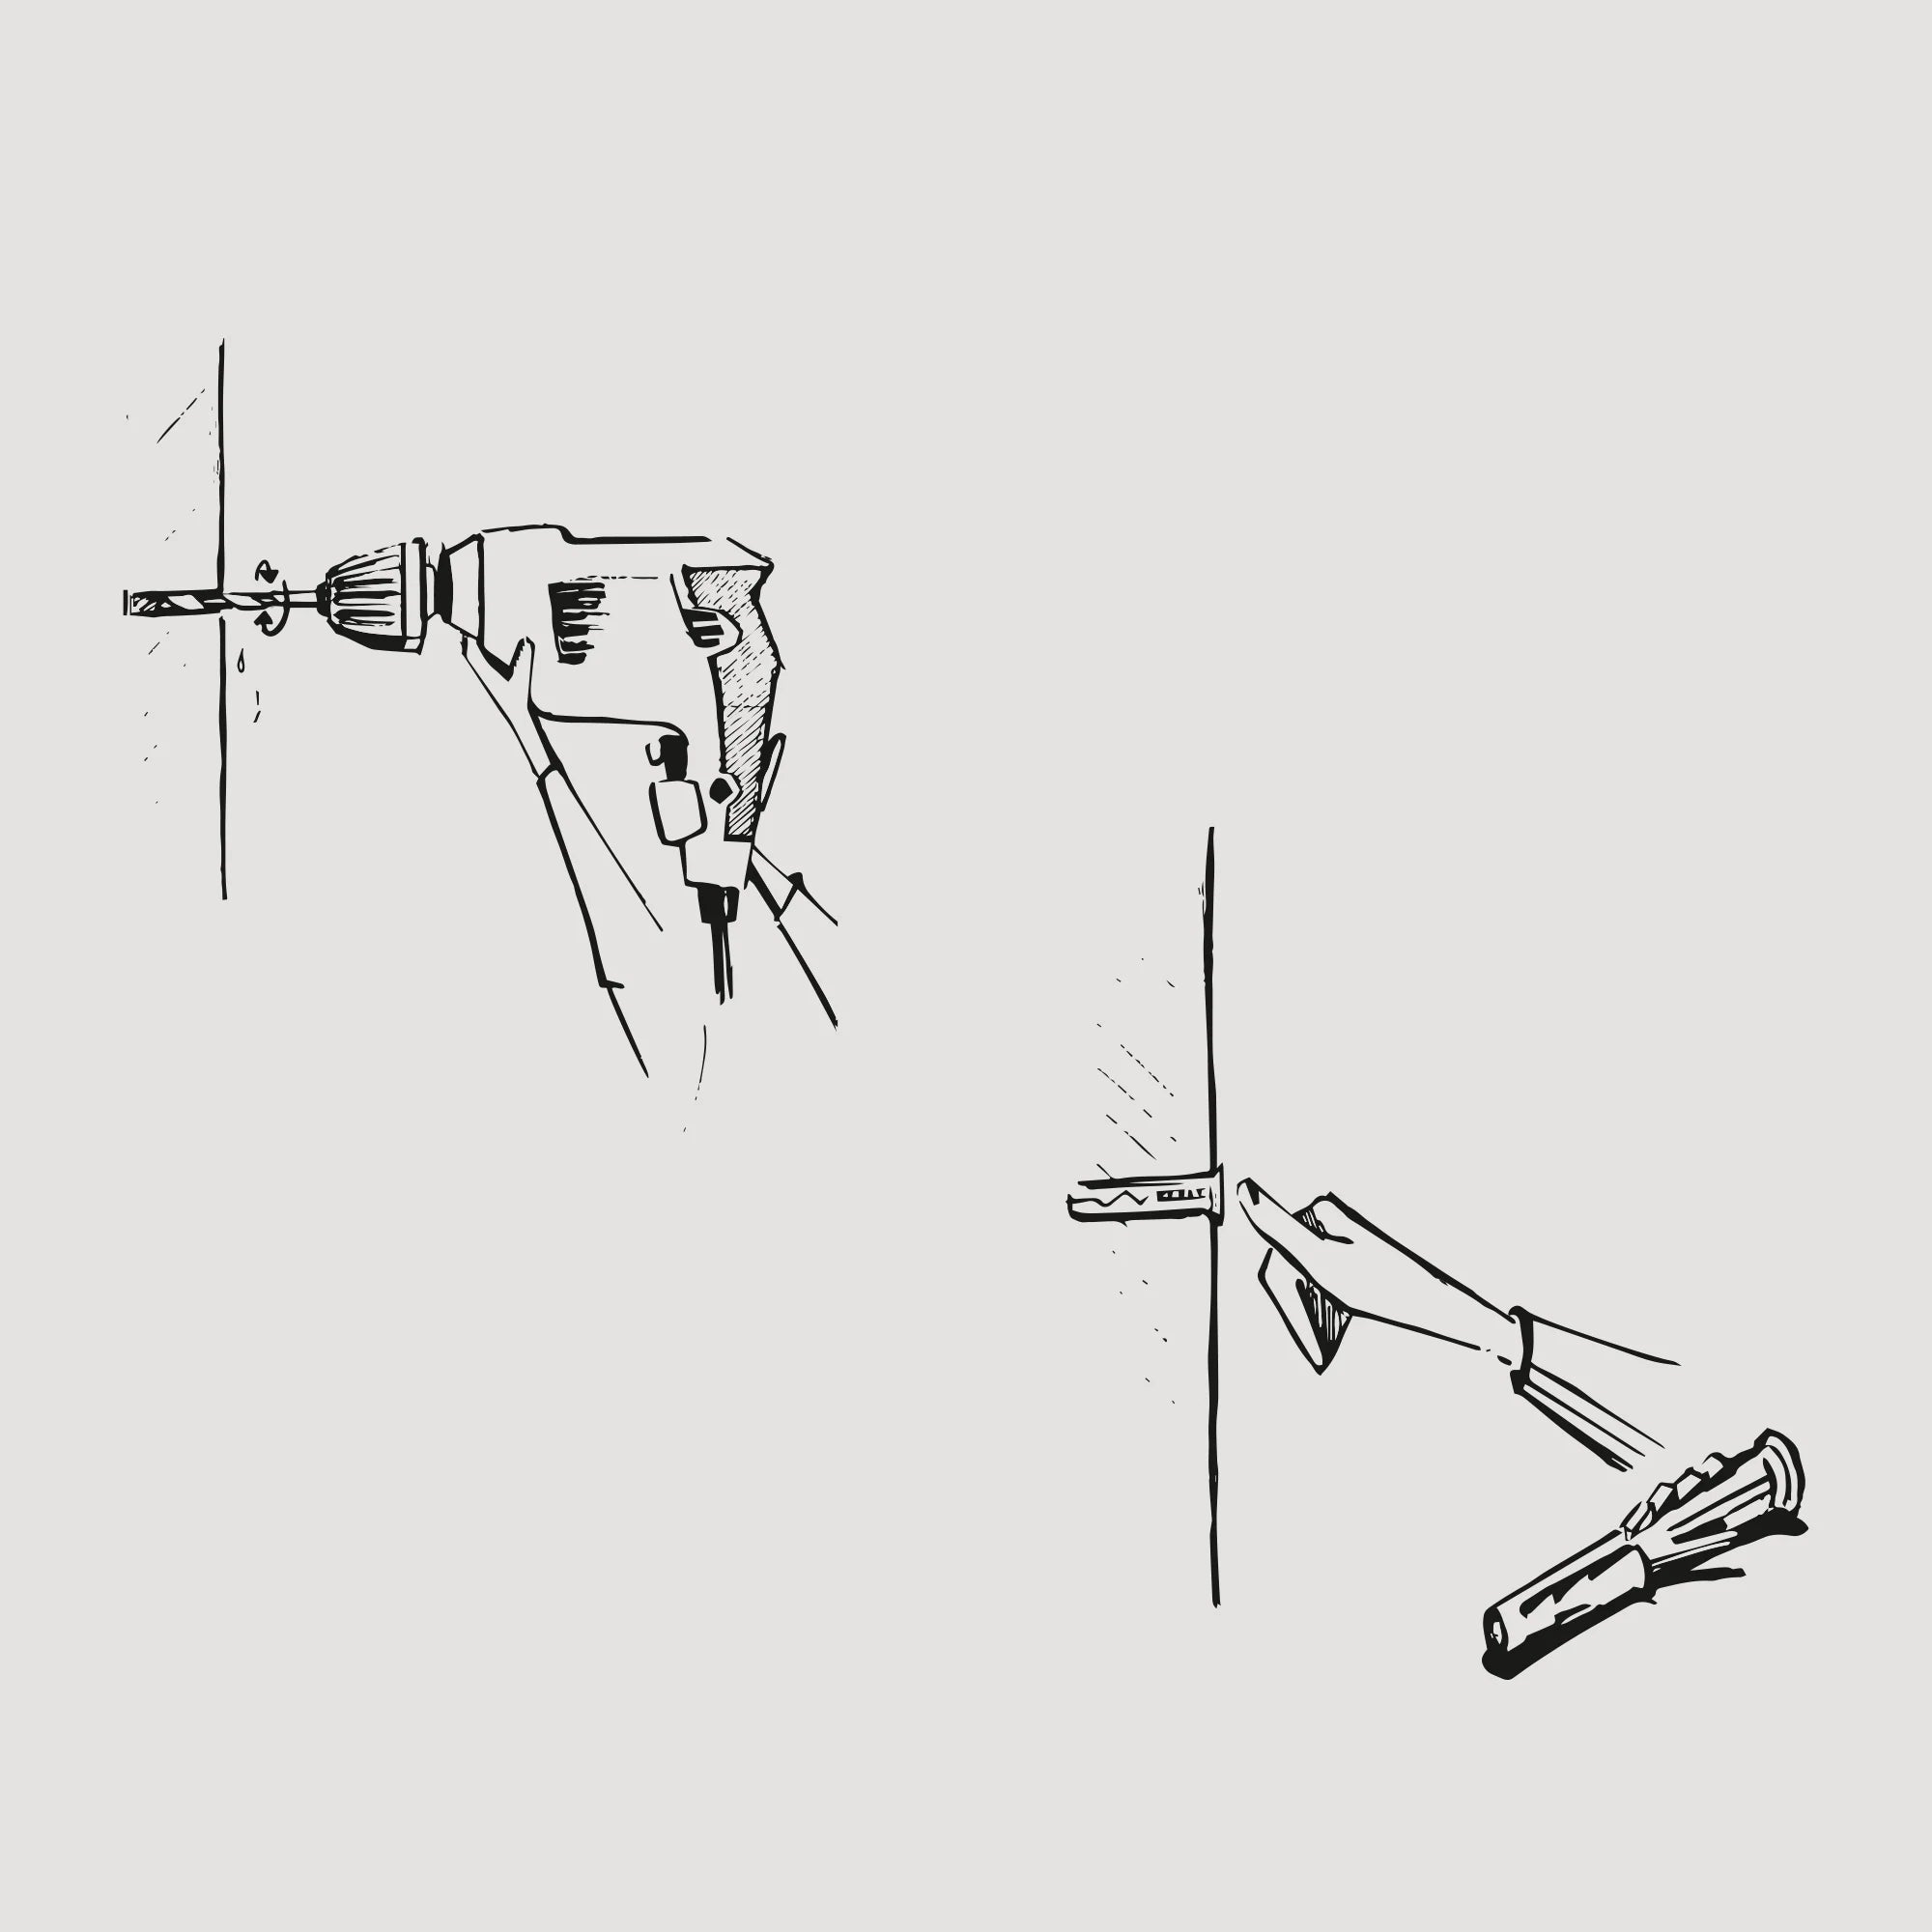
Drill a hole in the marked place to get a hole suitable for an 8mm expansion plug. The hole must be deeper by about 5-8mm than the length of the pin.
STEP 4
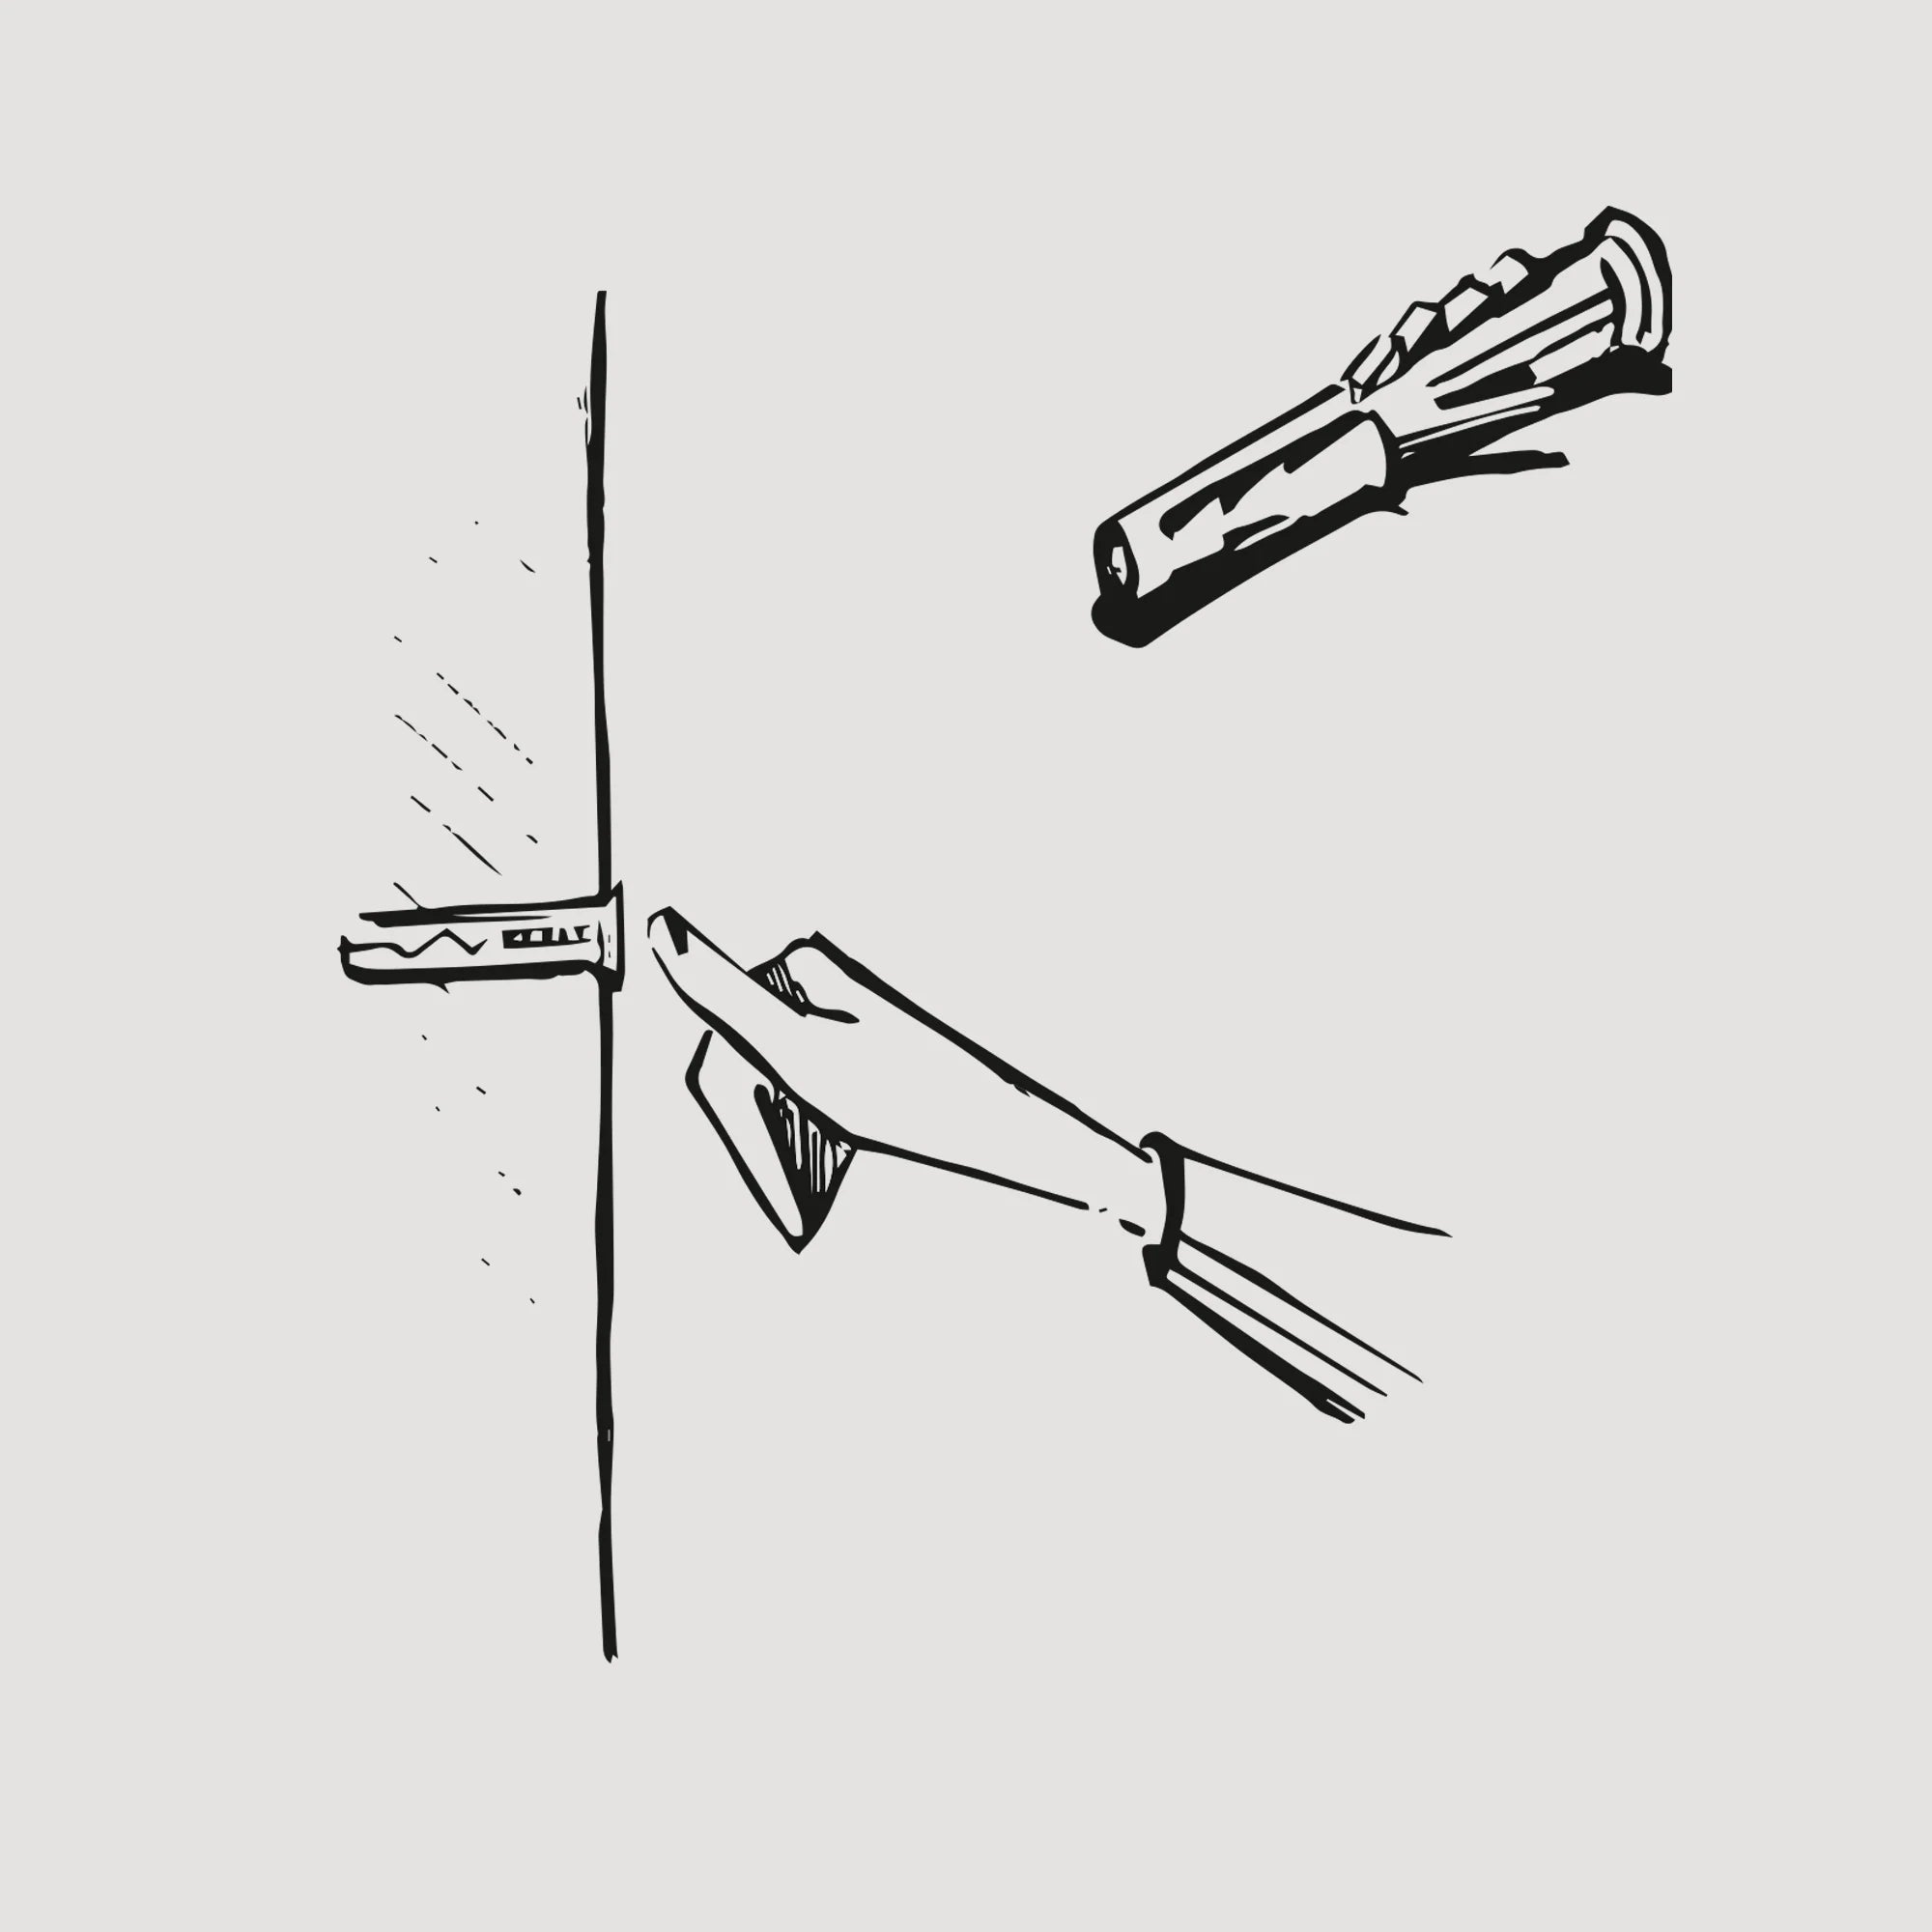
Insert the dowel into the wall. Make sure the dowel matches the wall material.
STEP 5
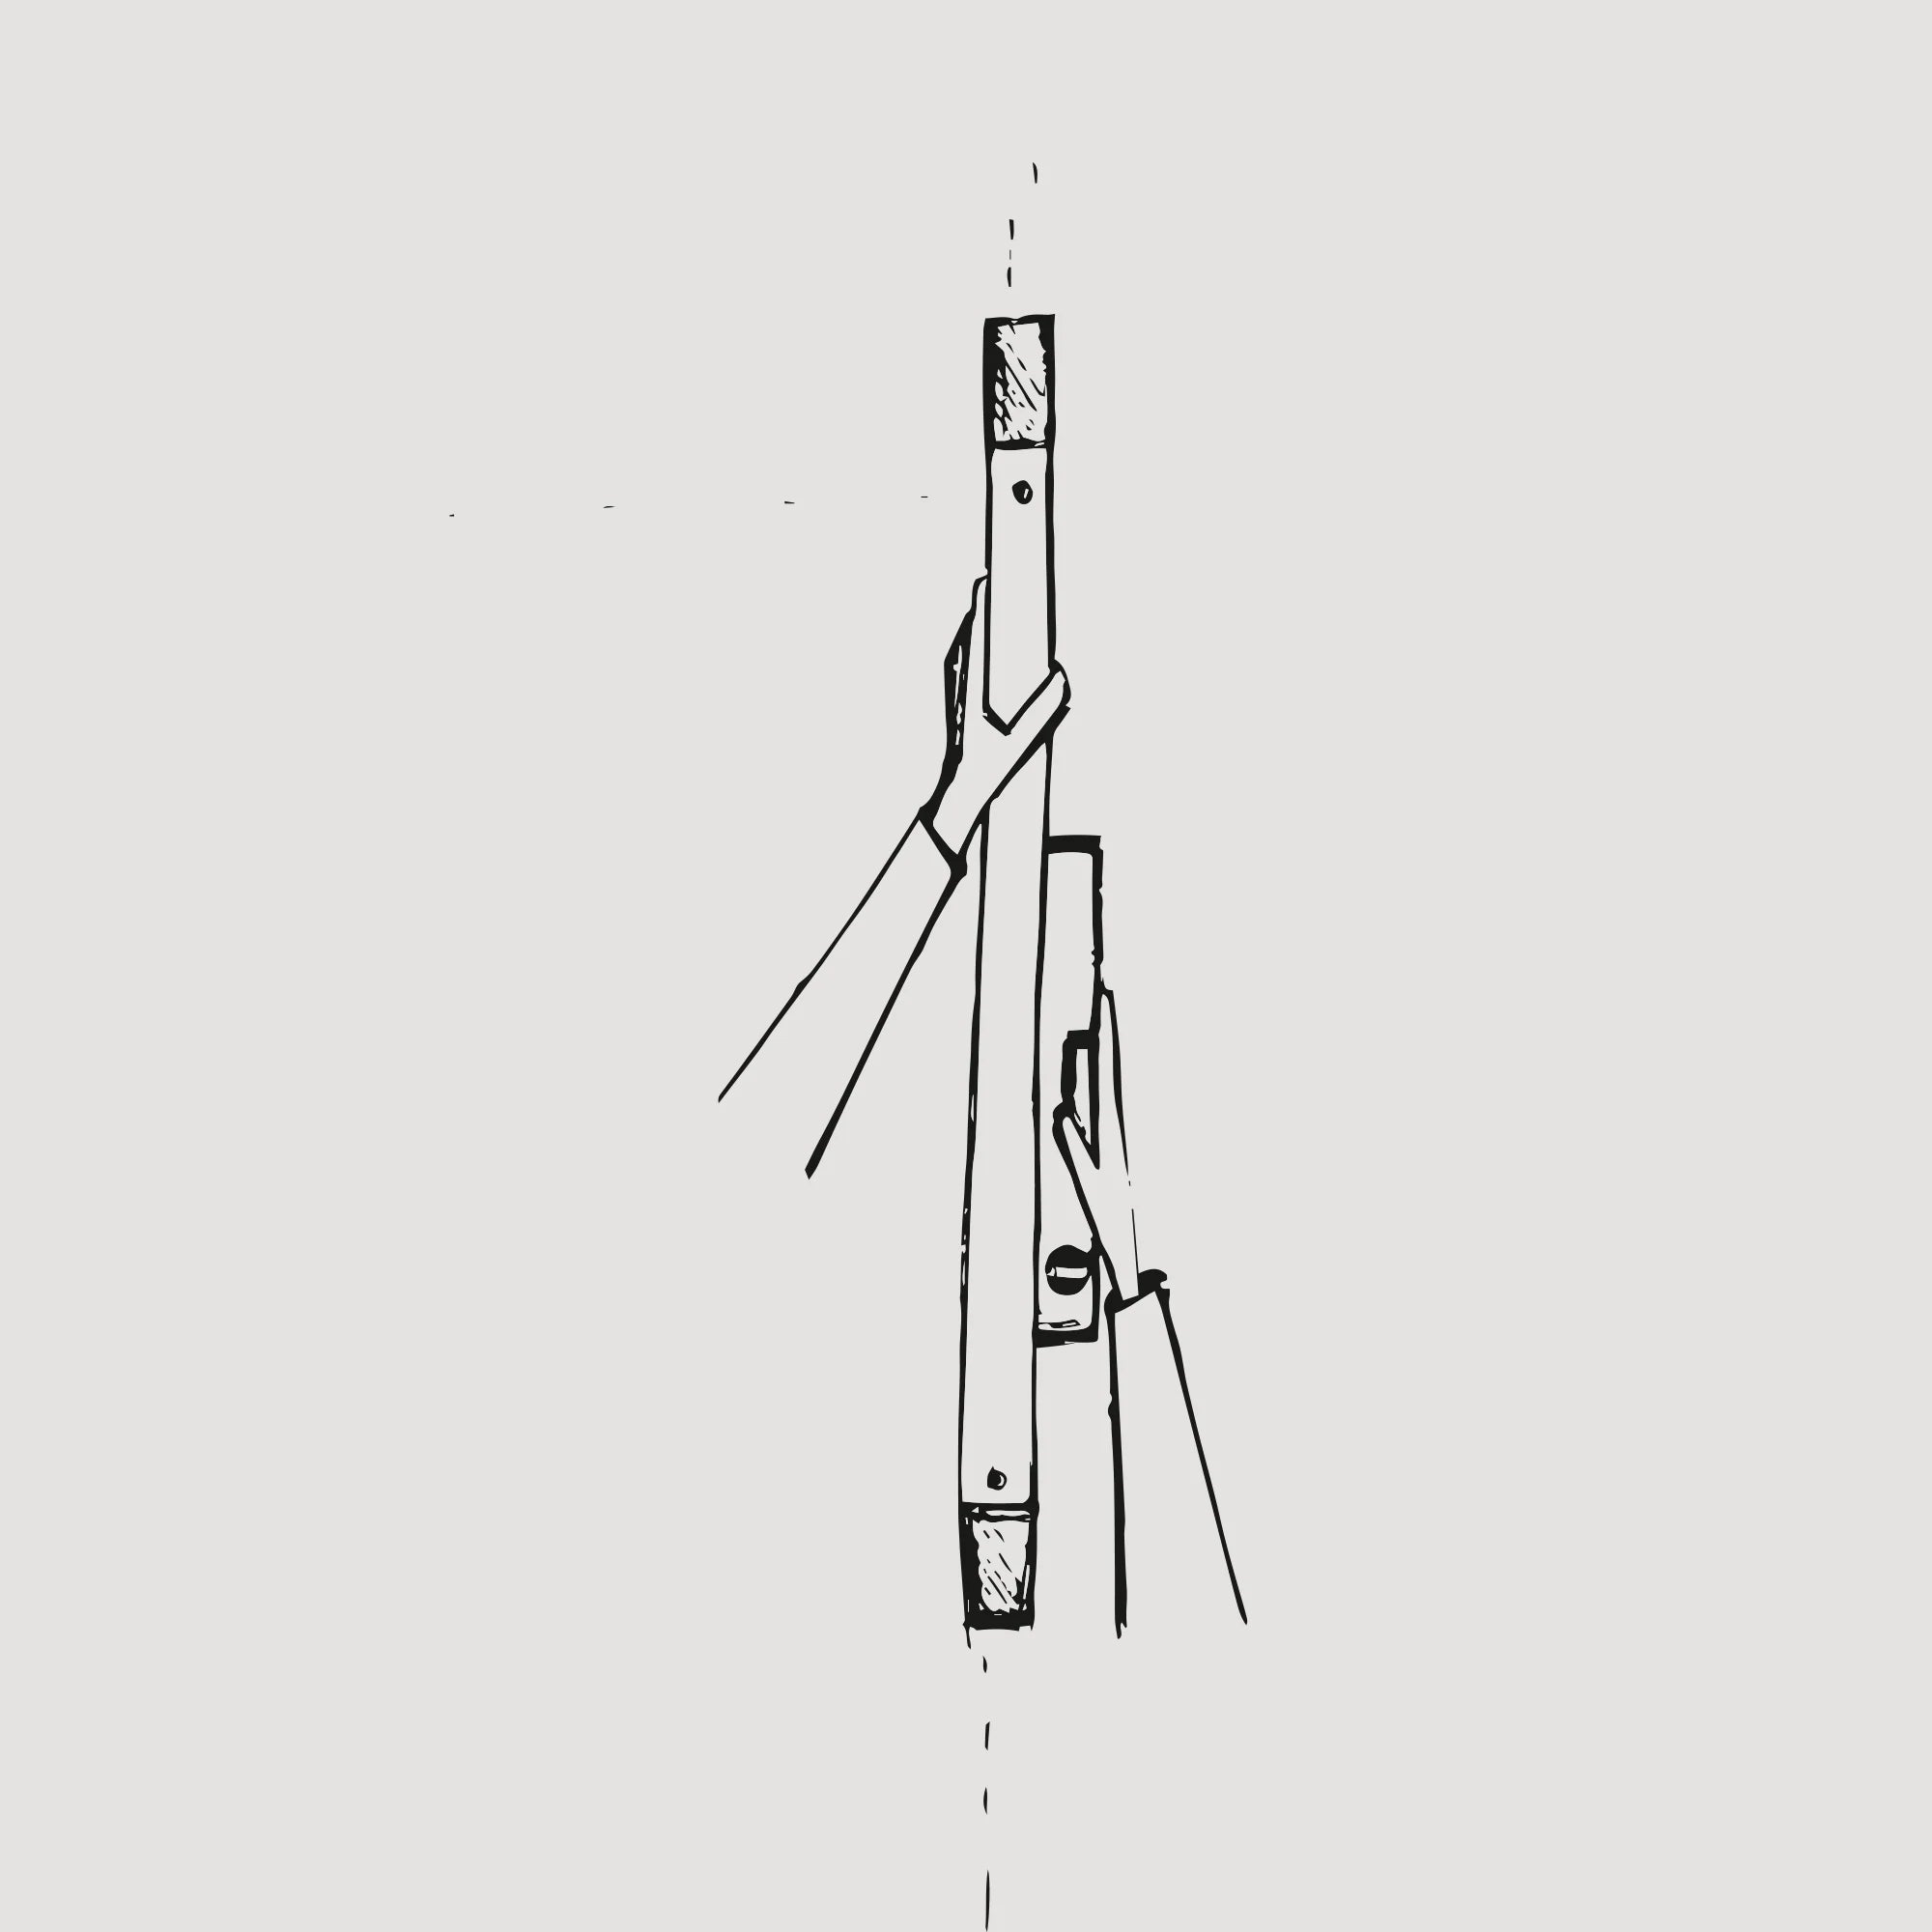
Place the vertical strip against the wall so that the top opening of the strip is exactly where the pin is to be placed.
STEP 6
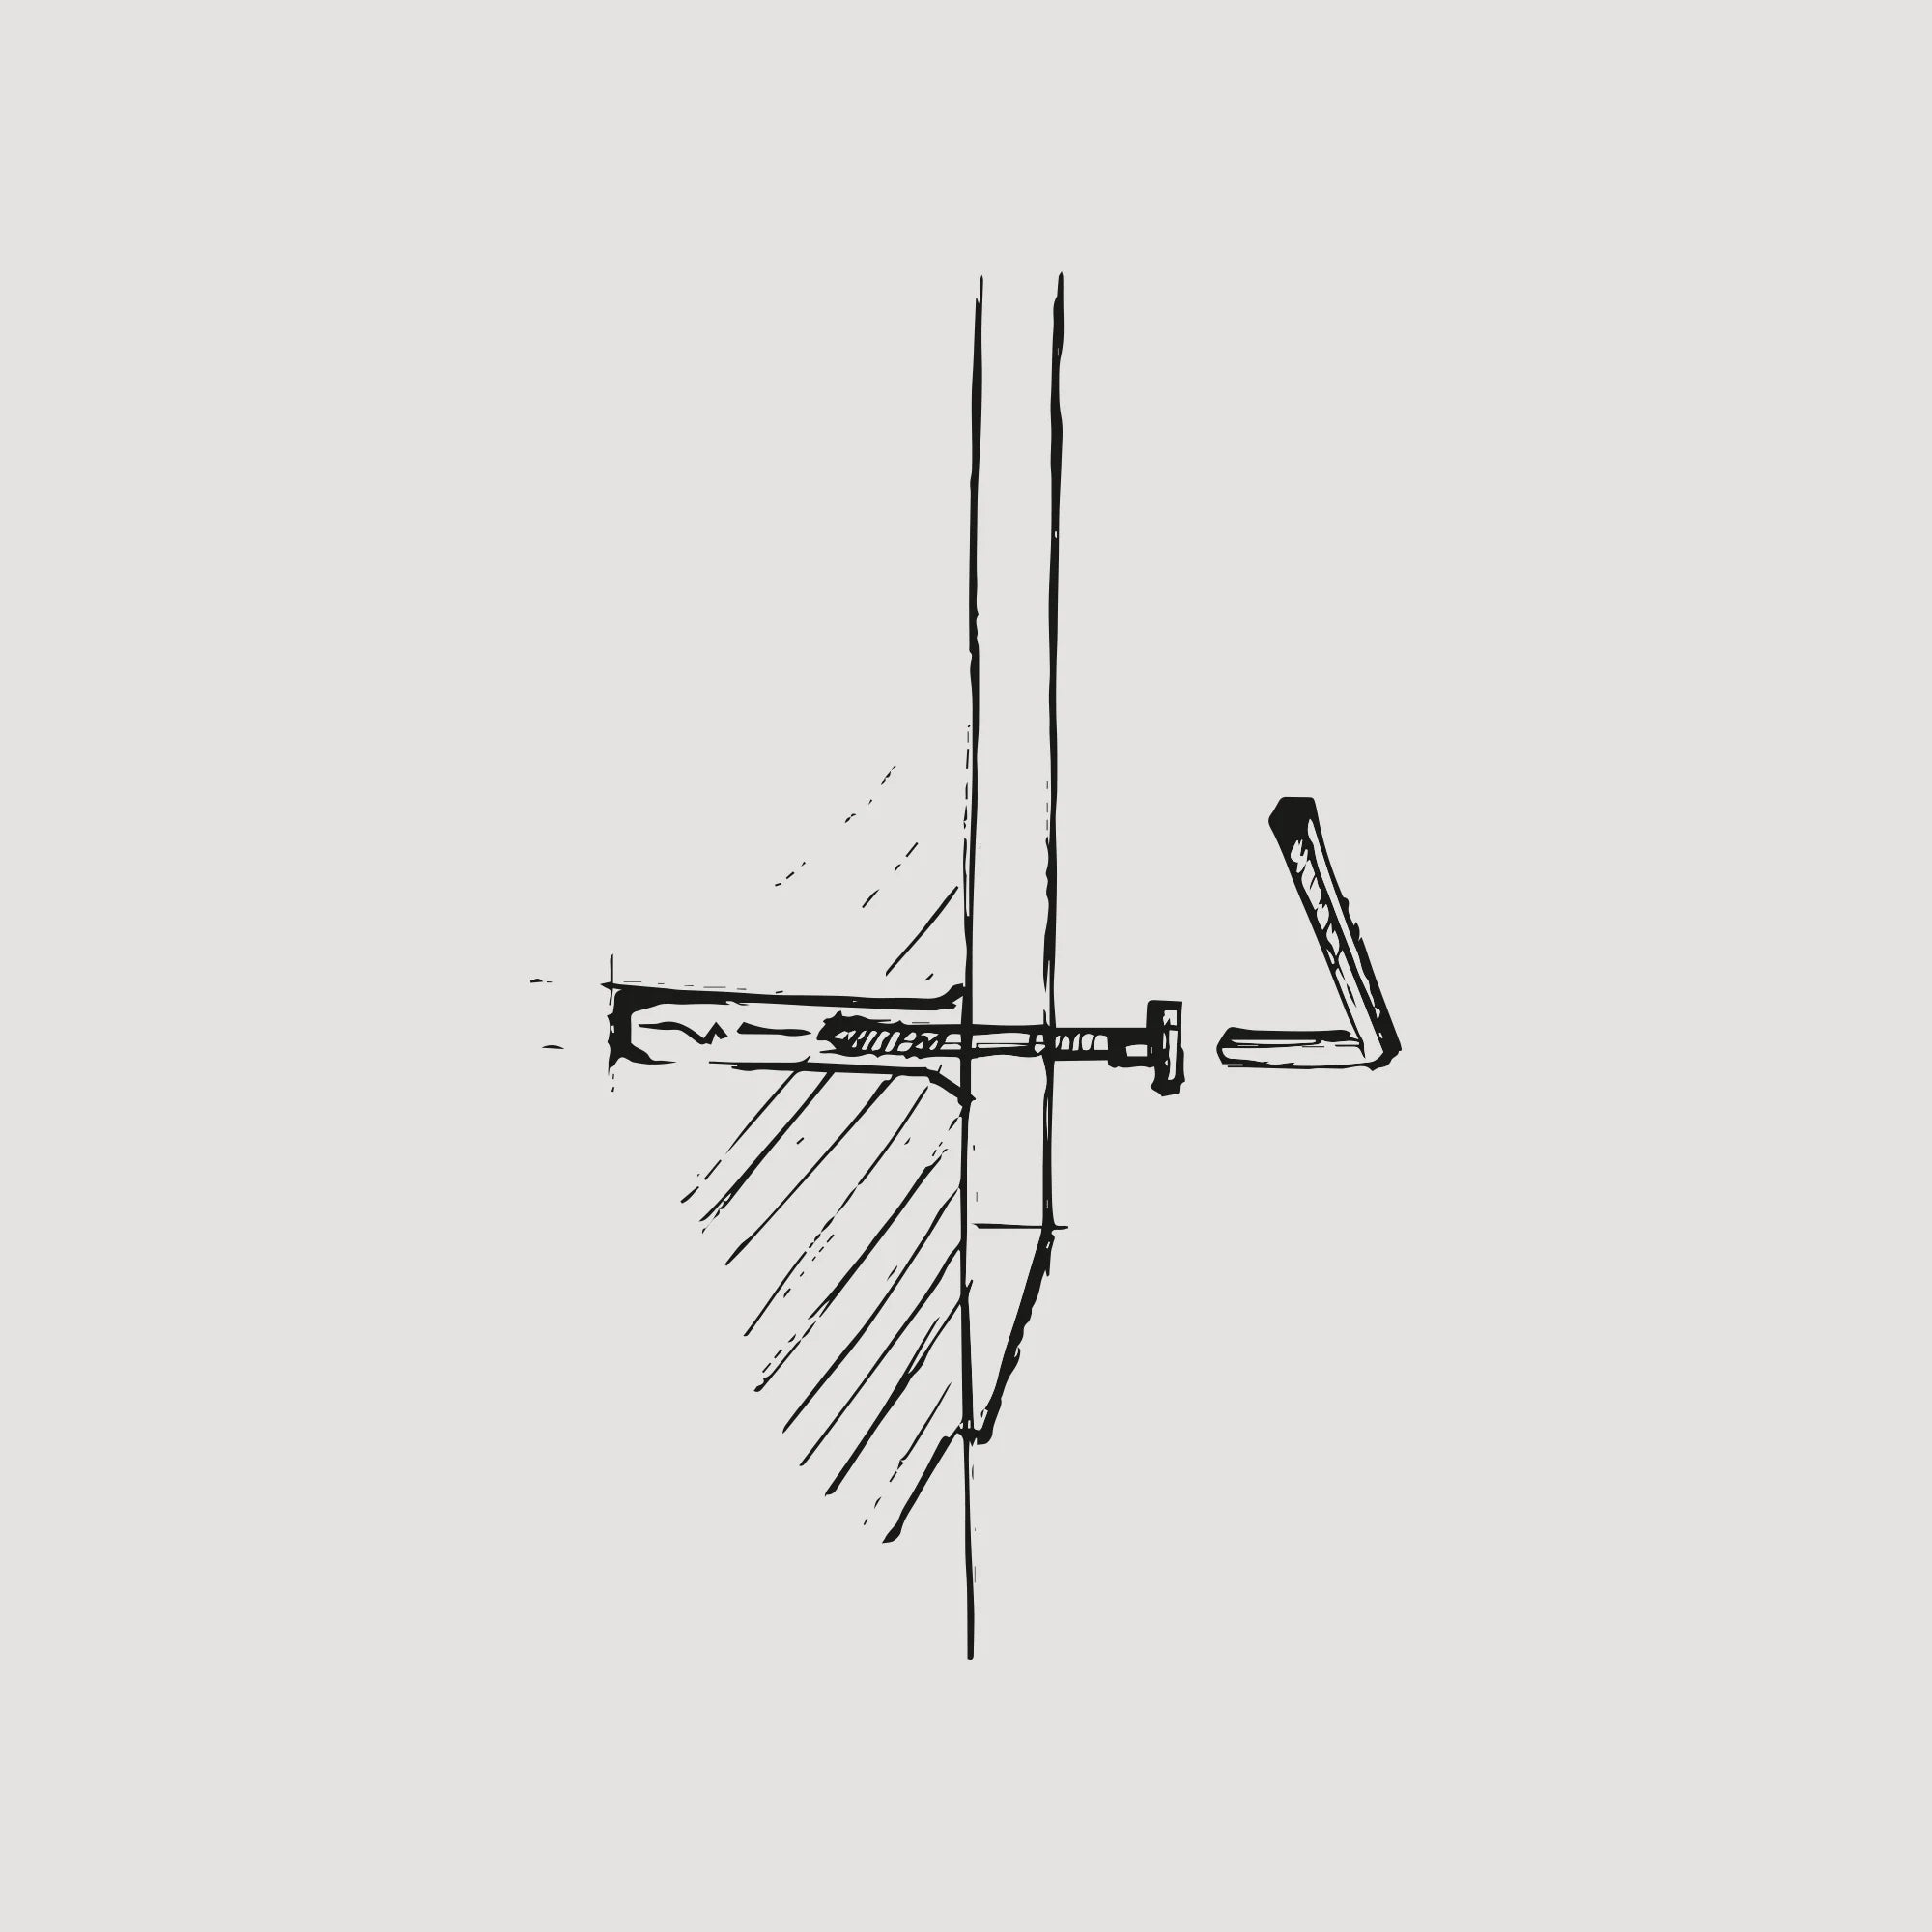
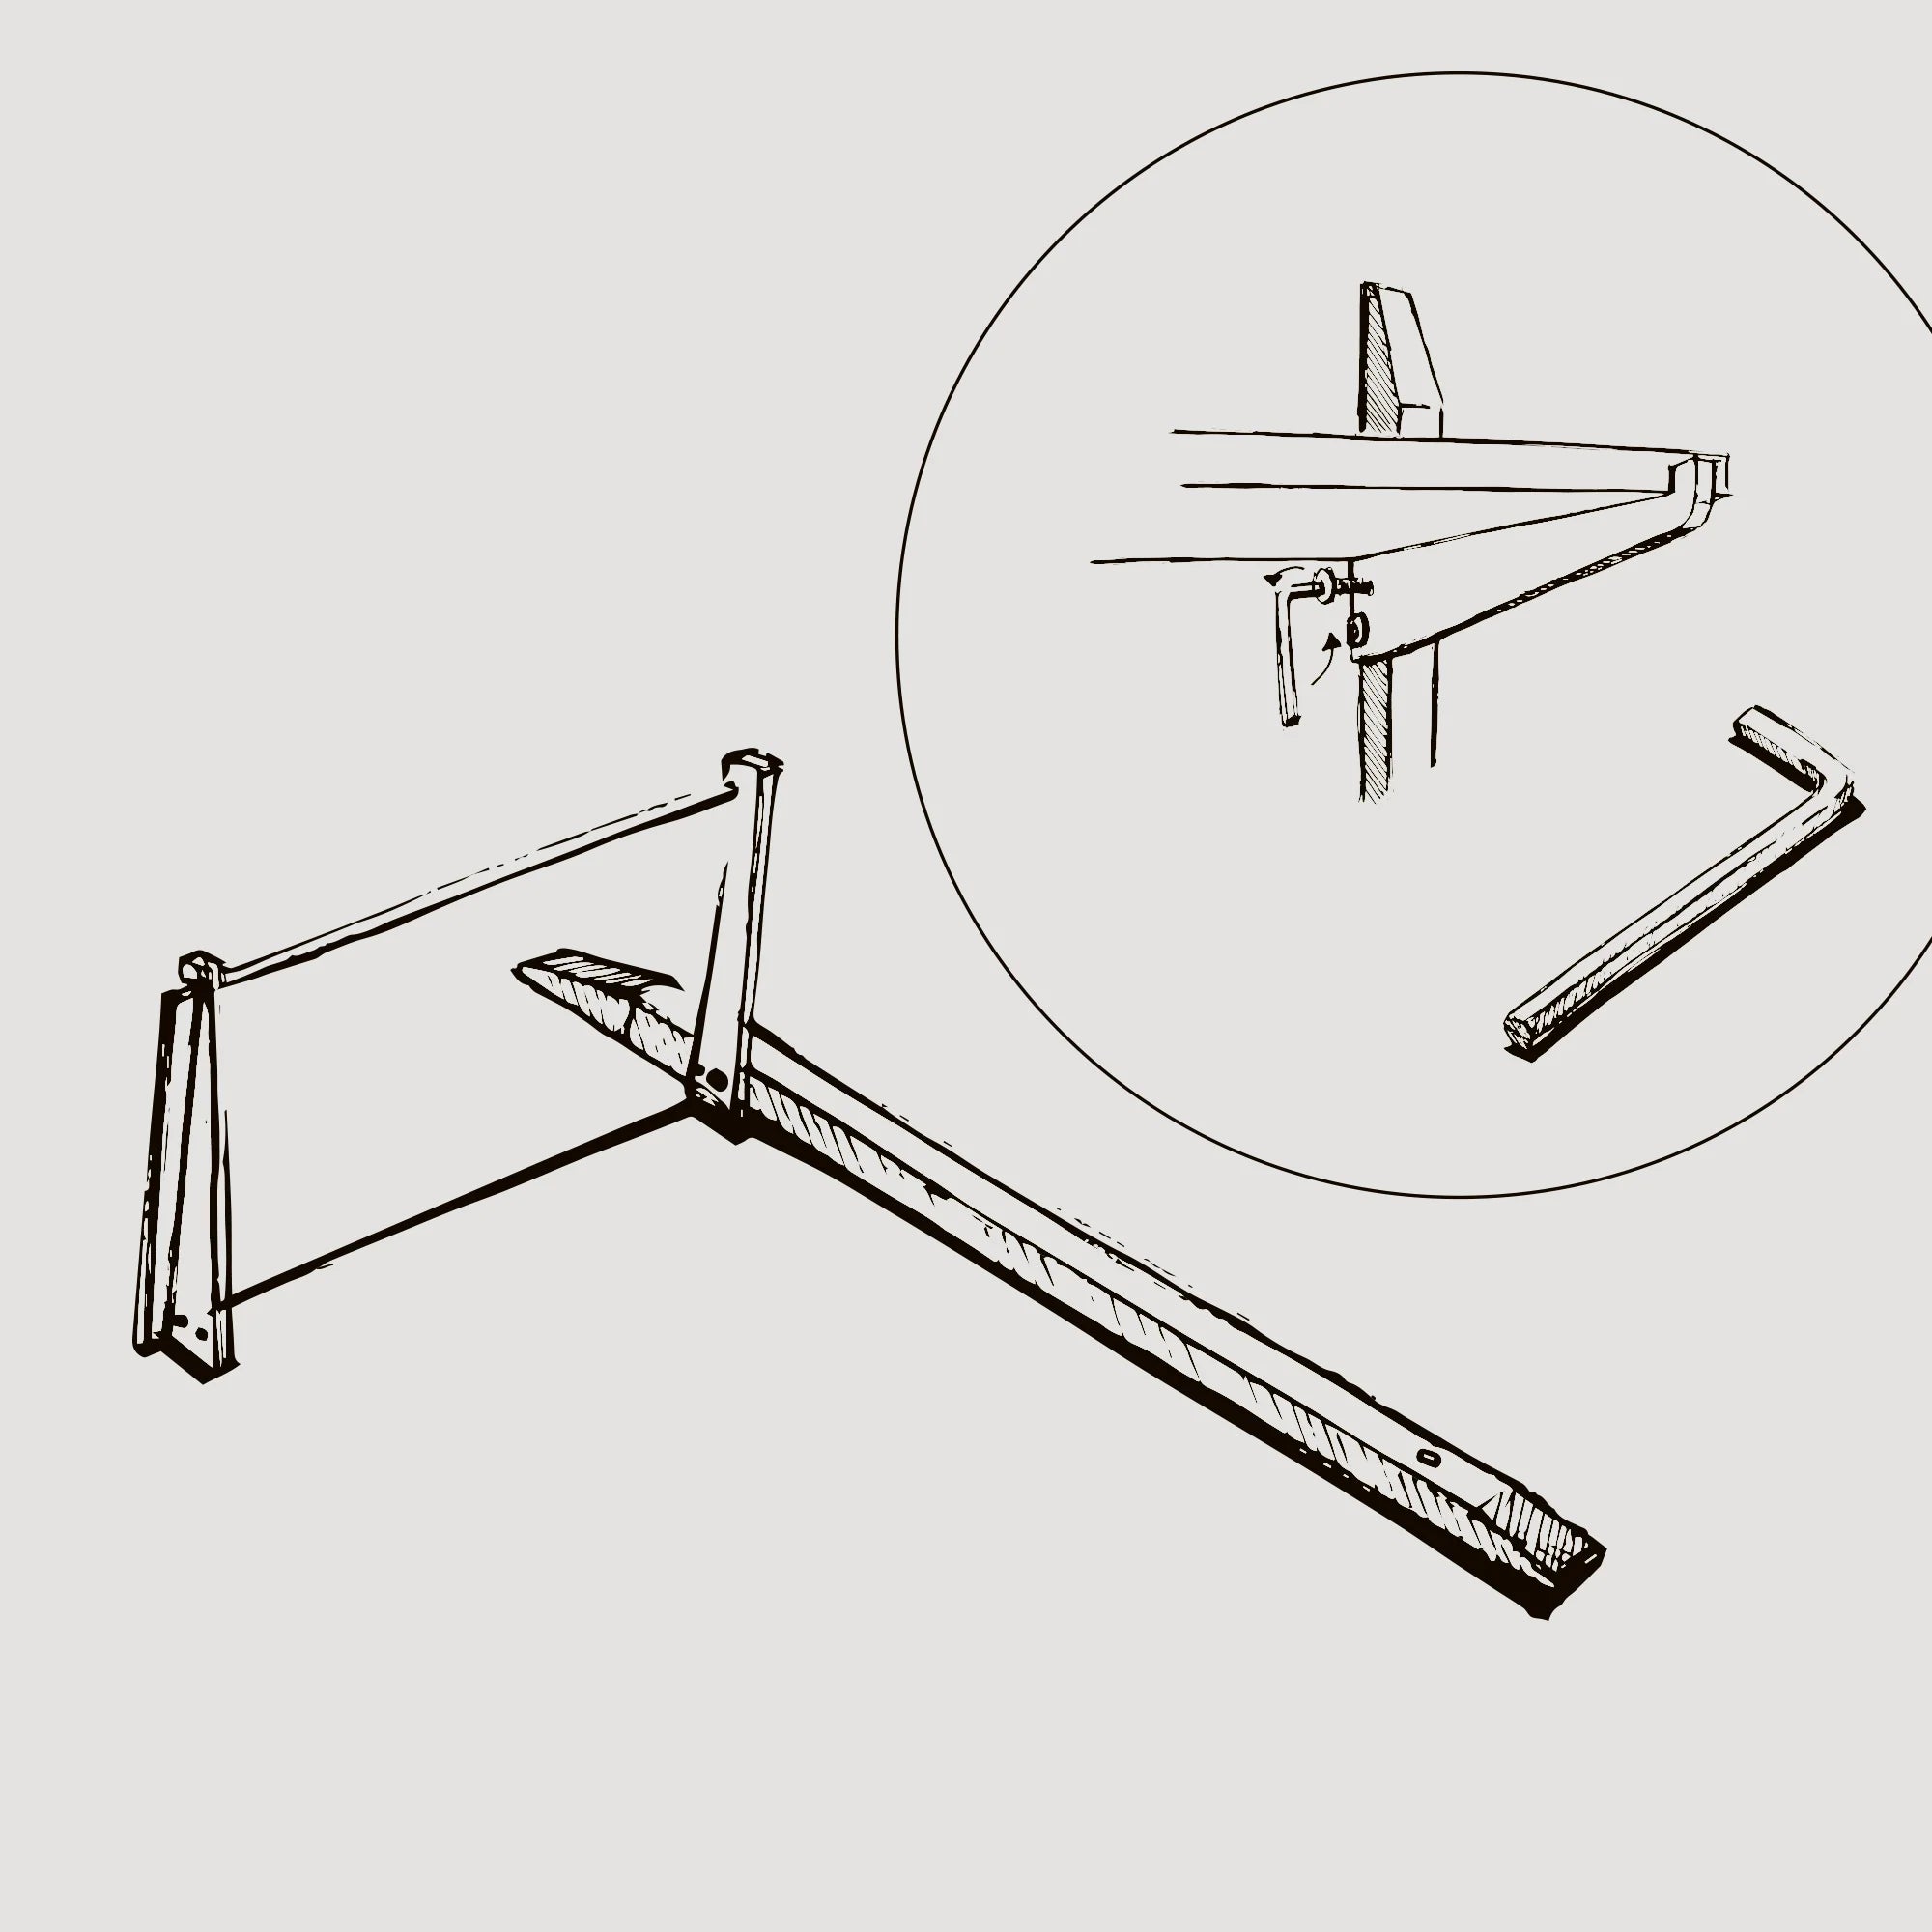
Then, using the hanger bolt and black Ericsson nut included in the package, screw the skirting board to the wall through the top hole only.
STEP 7
Remember not to tighten the strip all the way. We will have to swing the strip to mark and drill another hole.
STEP 8
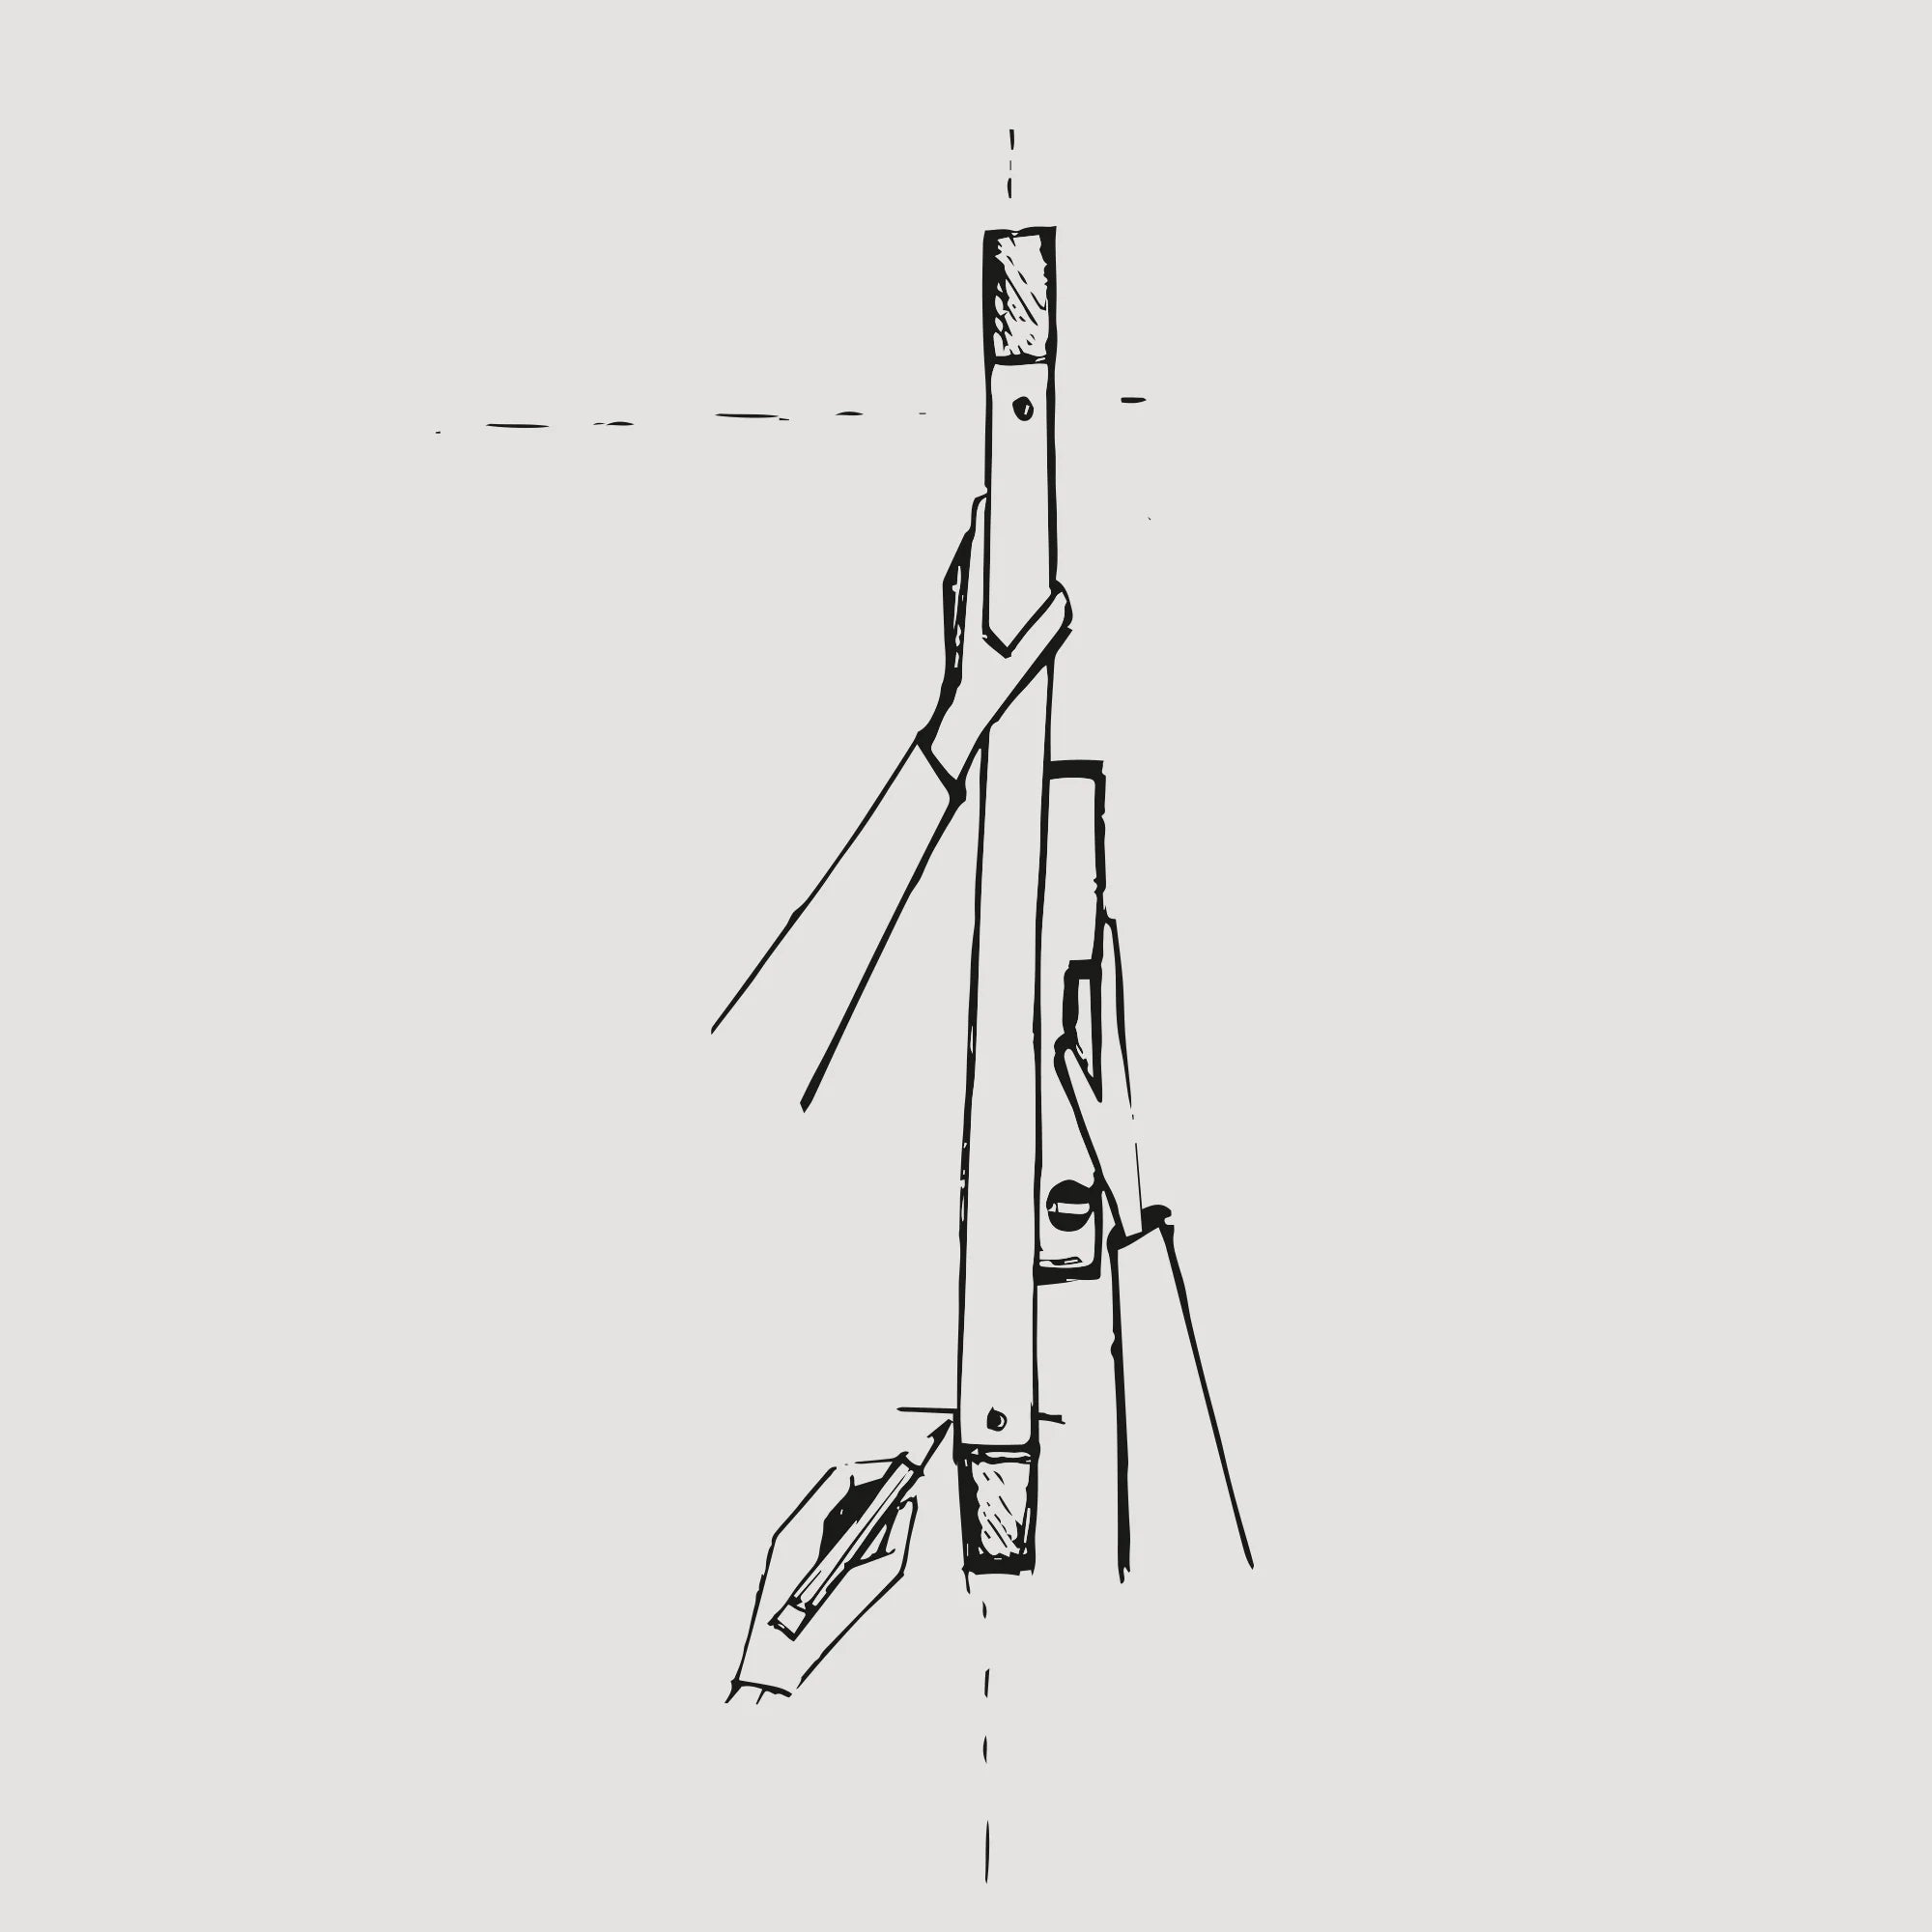
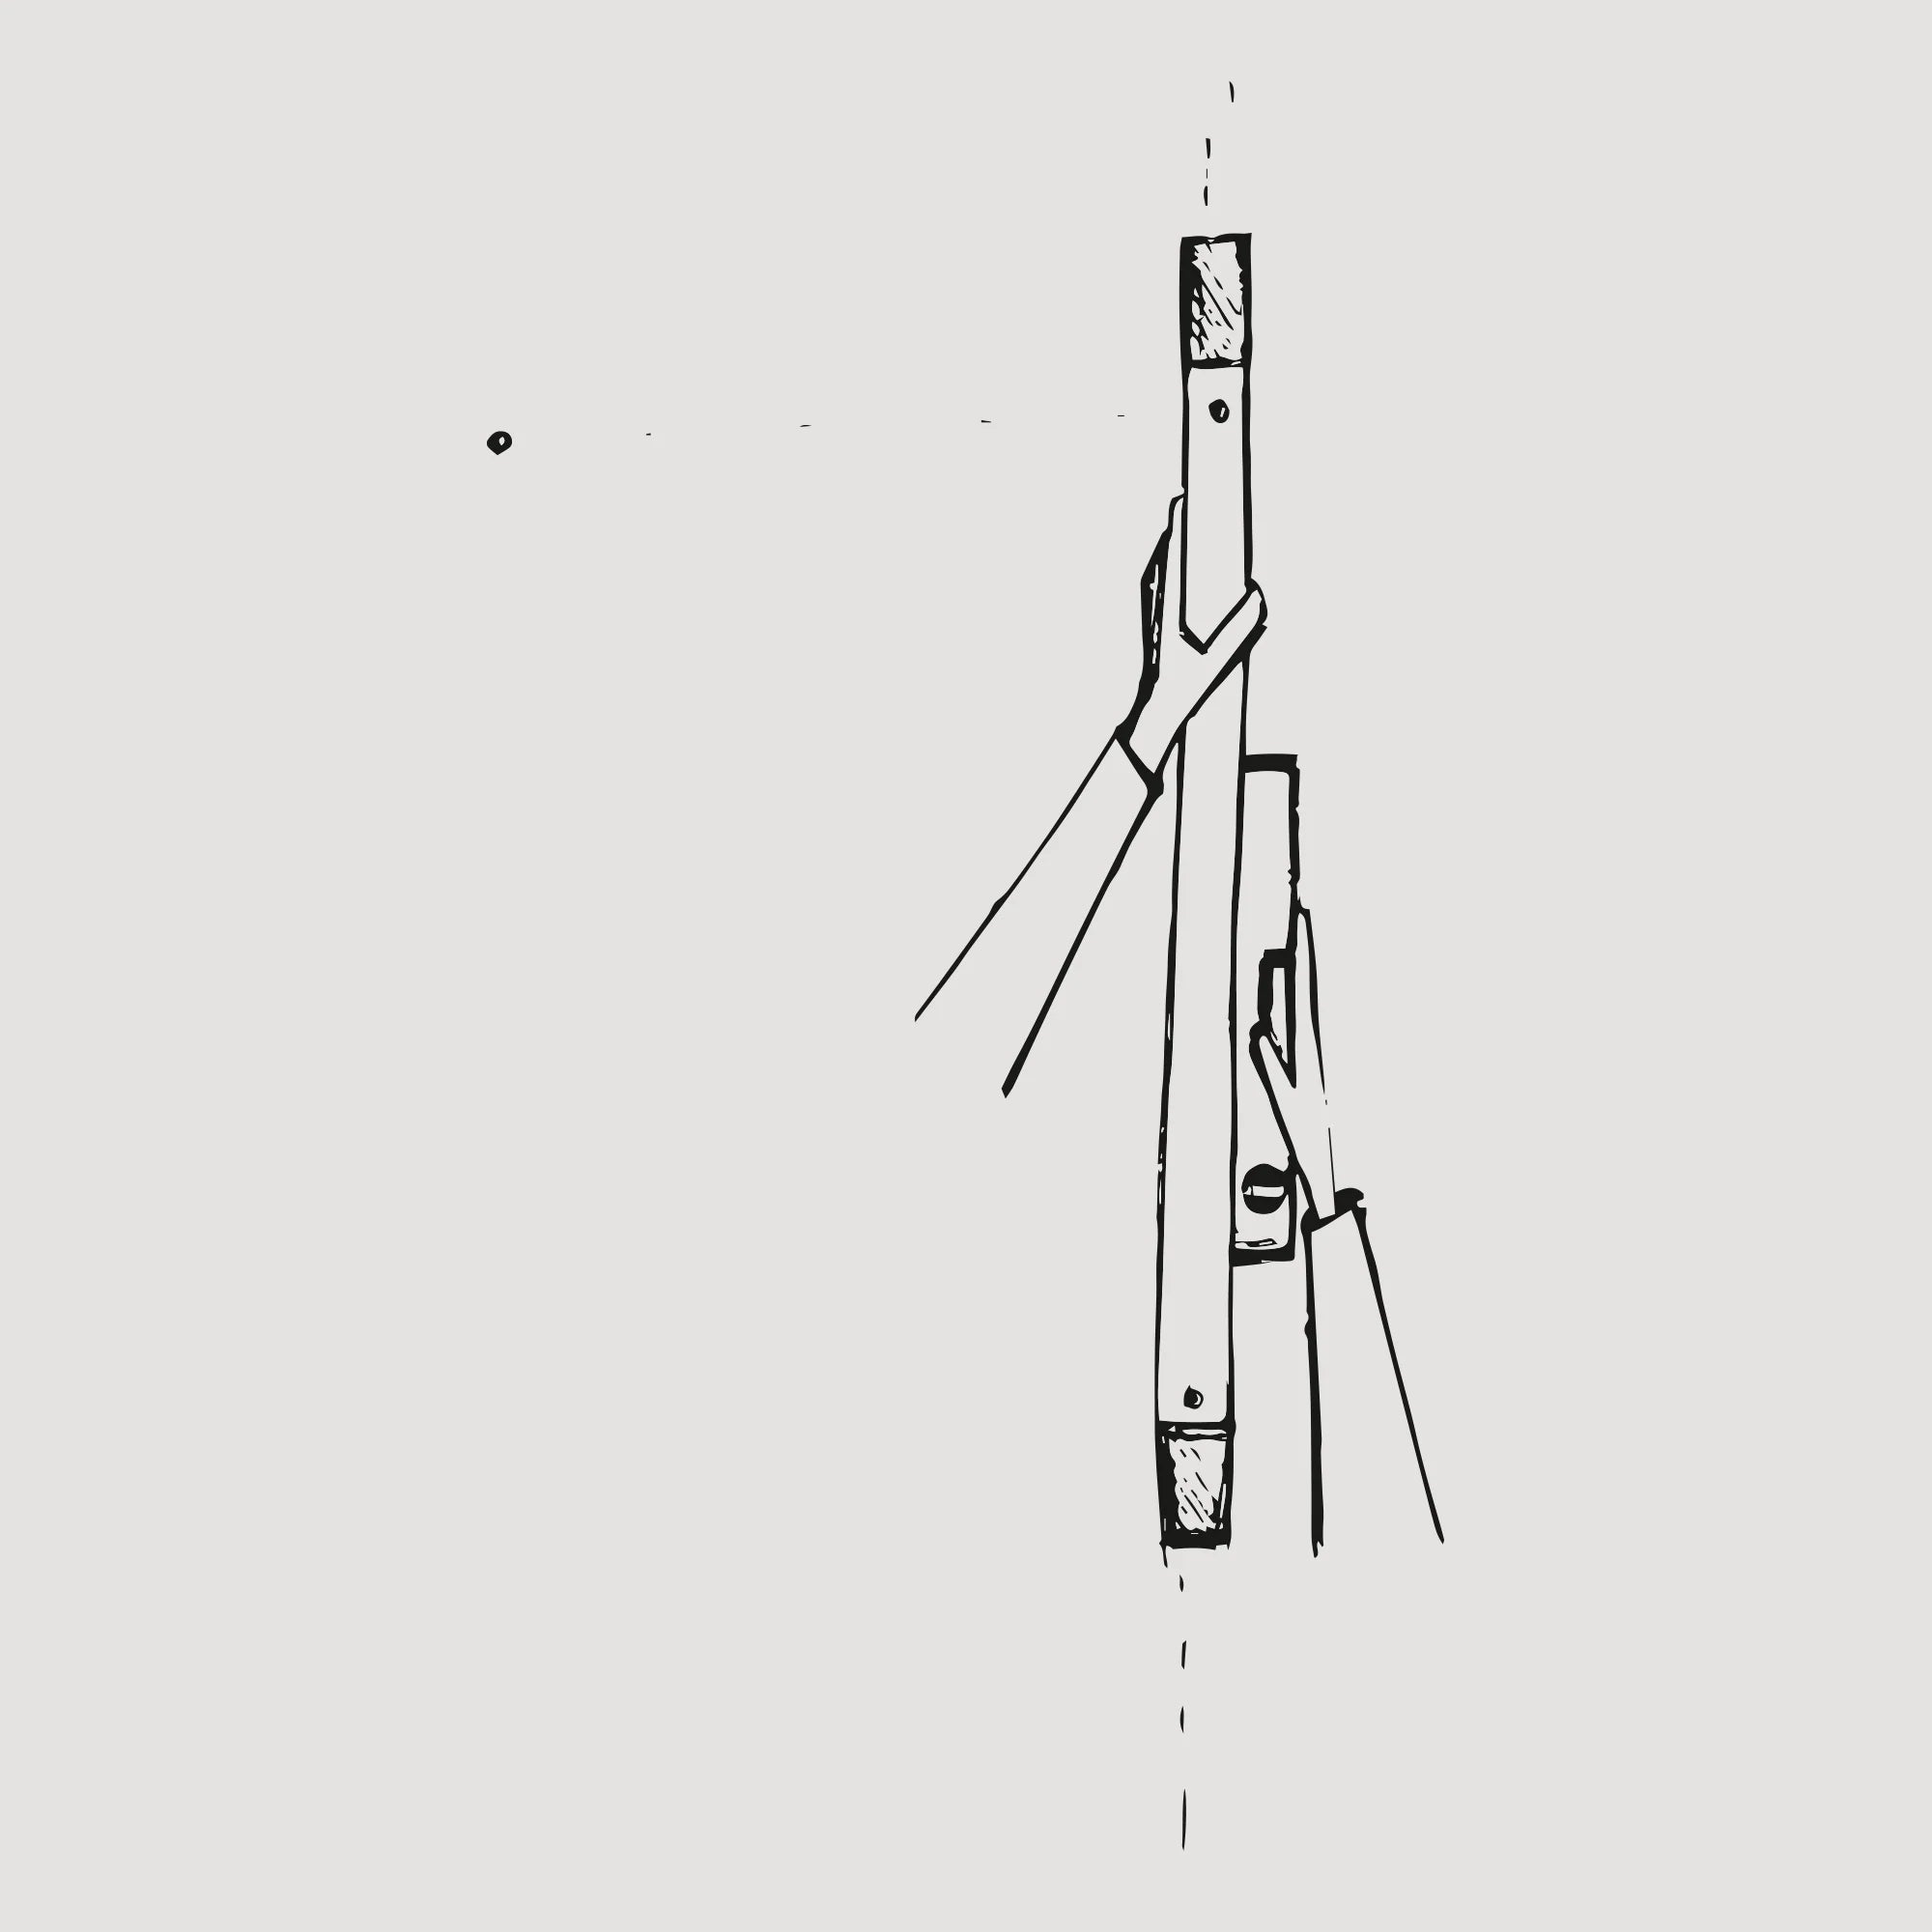
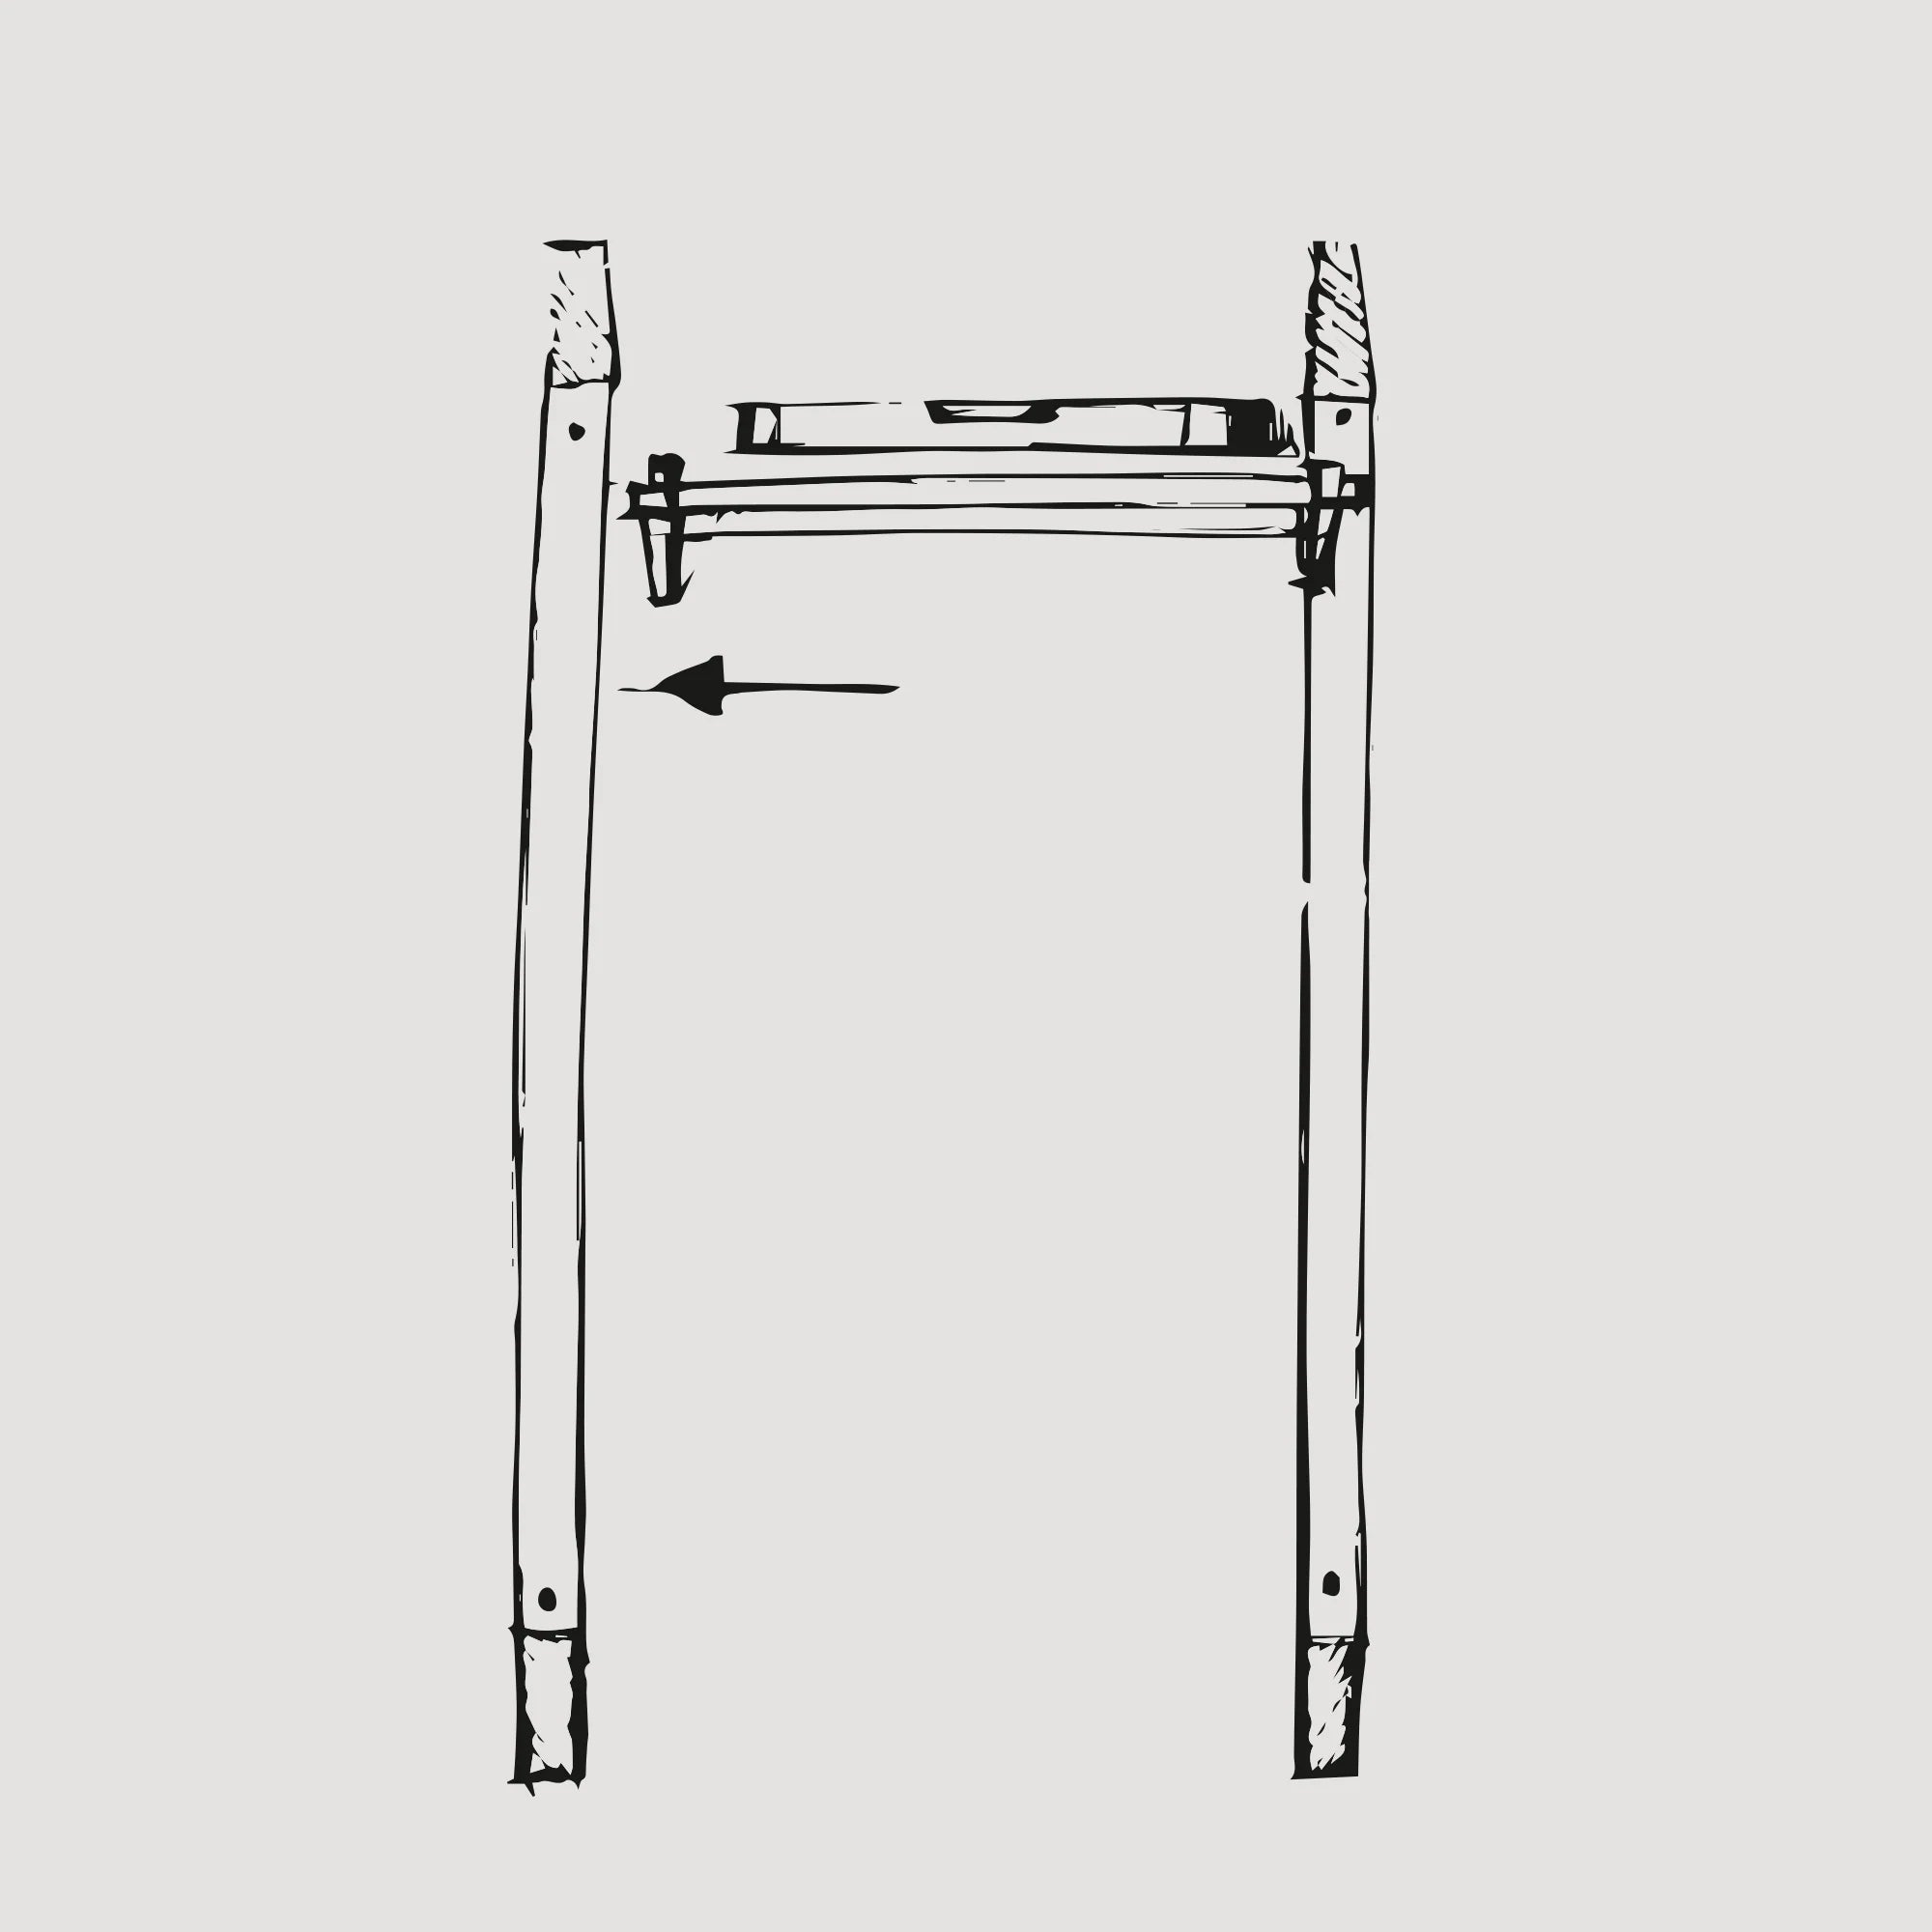
Using a spirit level, mark the perpendicular of the skirting board and mark with a drill or a pencil where the bottom hole will be made. Use the hole in the strip for this.
STEP 9
By slightly tilting the strip from the vertical, you will gain access to drilling in the marked place. Make a hole 5-8mm deeper than the length of the plug with a drill suitable for the thickness of the plug.
STEP 10
Insert the dowel into the wall.
STEP 11
Fasten the vertical bar at the bottom using the supplied screws and Ericsson type nuts, as in the case of the hole at the top of the bar.
STEP 12
Check the verticality of the skirting board with a spirit level
STEP 13
Proceed to assembling the next skirting board. Mark the drilling point for the upper fastening of the next batten. You can do it in two ways. Draw a horizontal line at the installation height of the first hole and plot a point 811mm from the first hole. The second way is to put the shelf or worktop attached to the set at the drilling height to get the right distance from the slats. Then set the hole in the strip so that it is at the drilling height of the first hole.
STEP 14
To check the exact distance of the second strip, you can put the shelf to the holes at any height. The shelf will serve as a template to indicate the next drilling location.
STEP 15
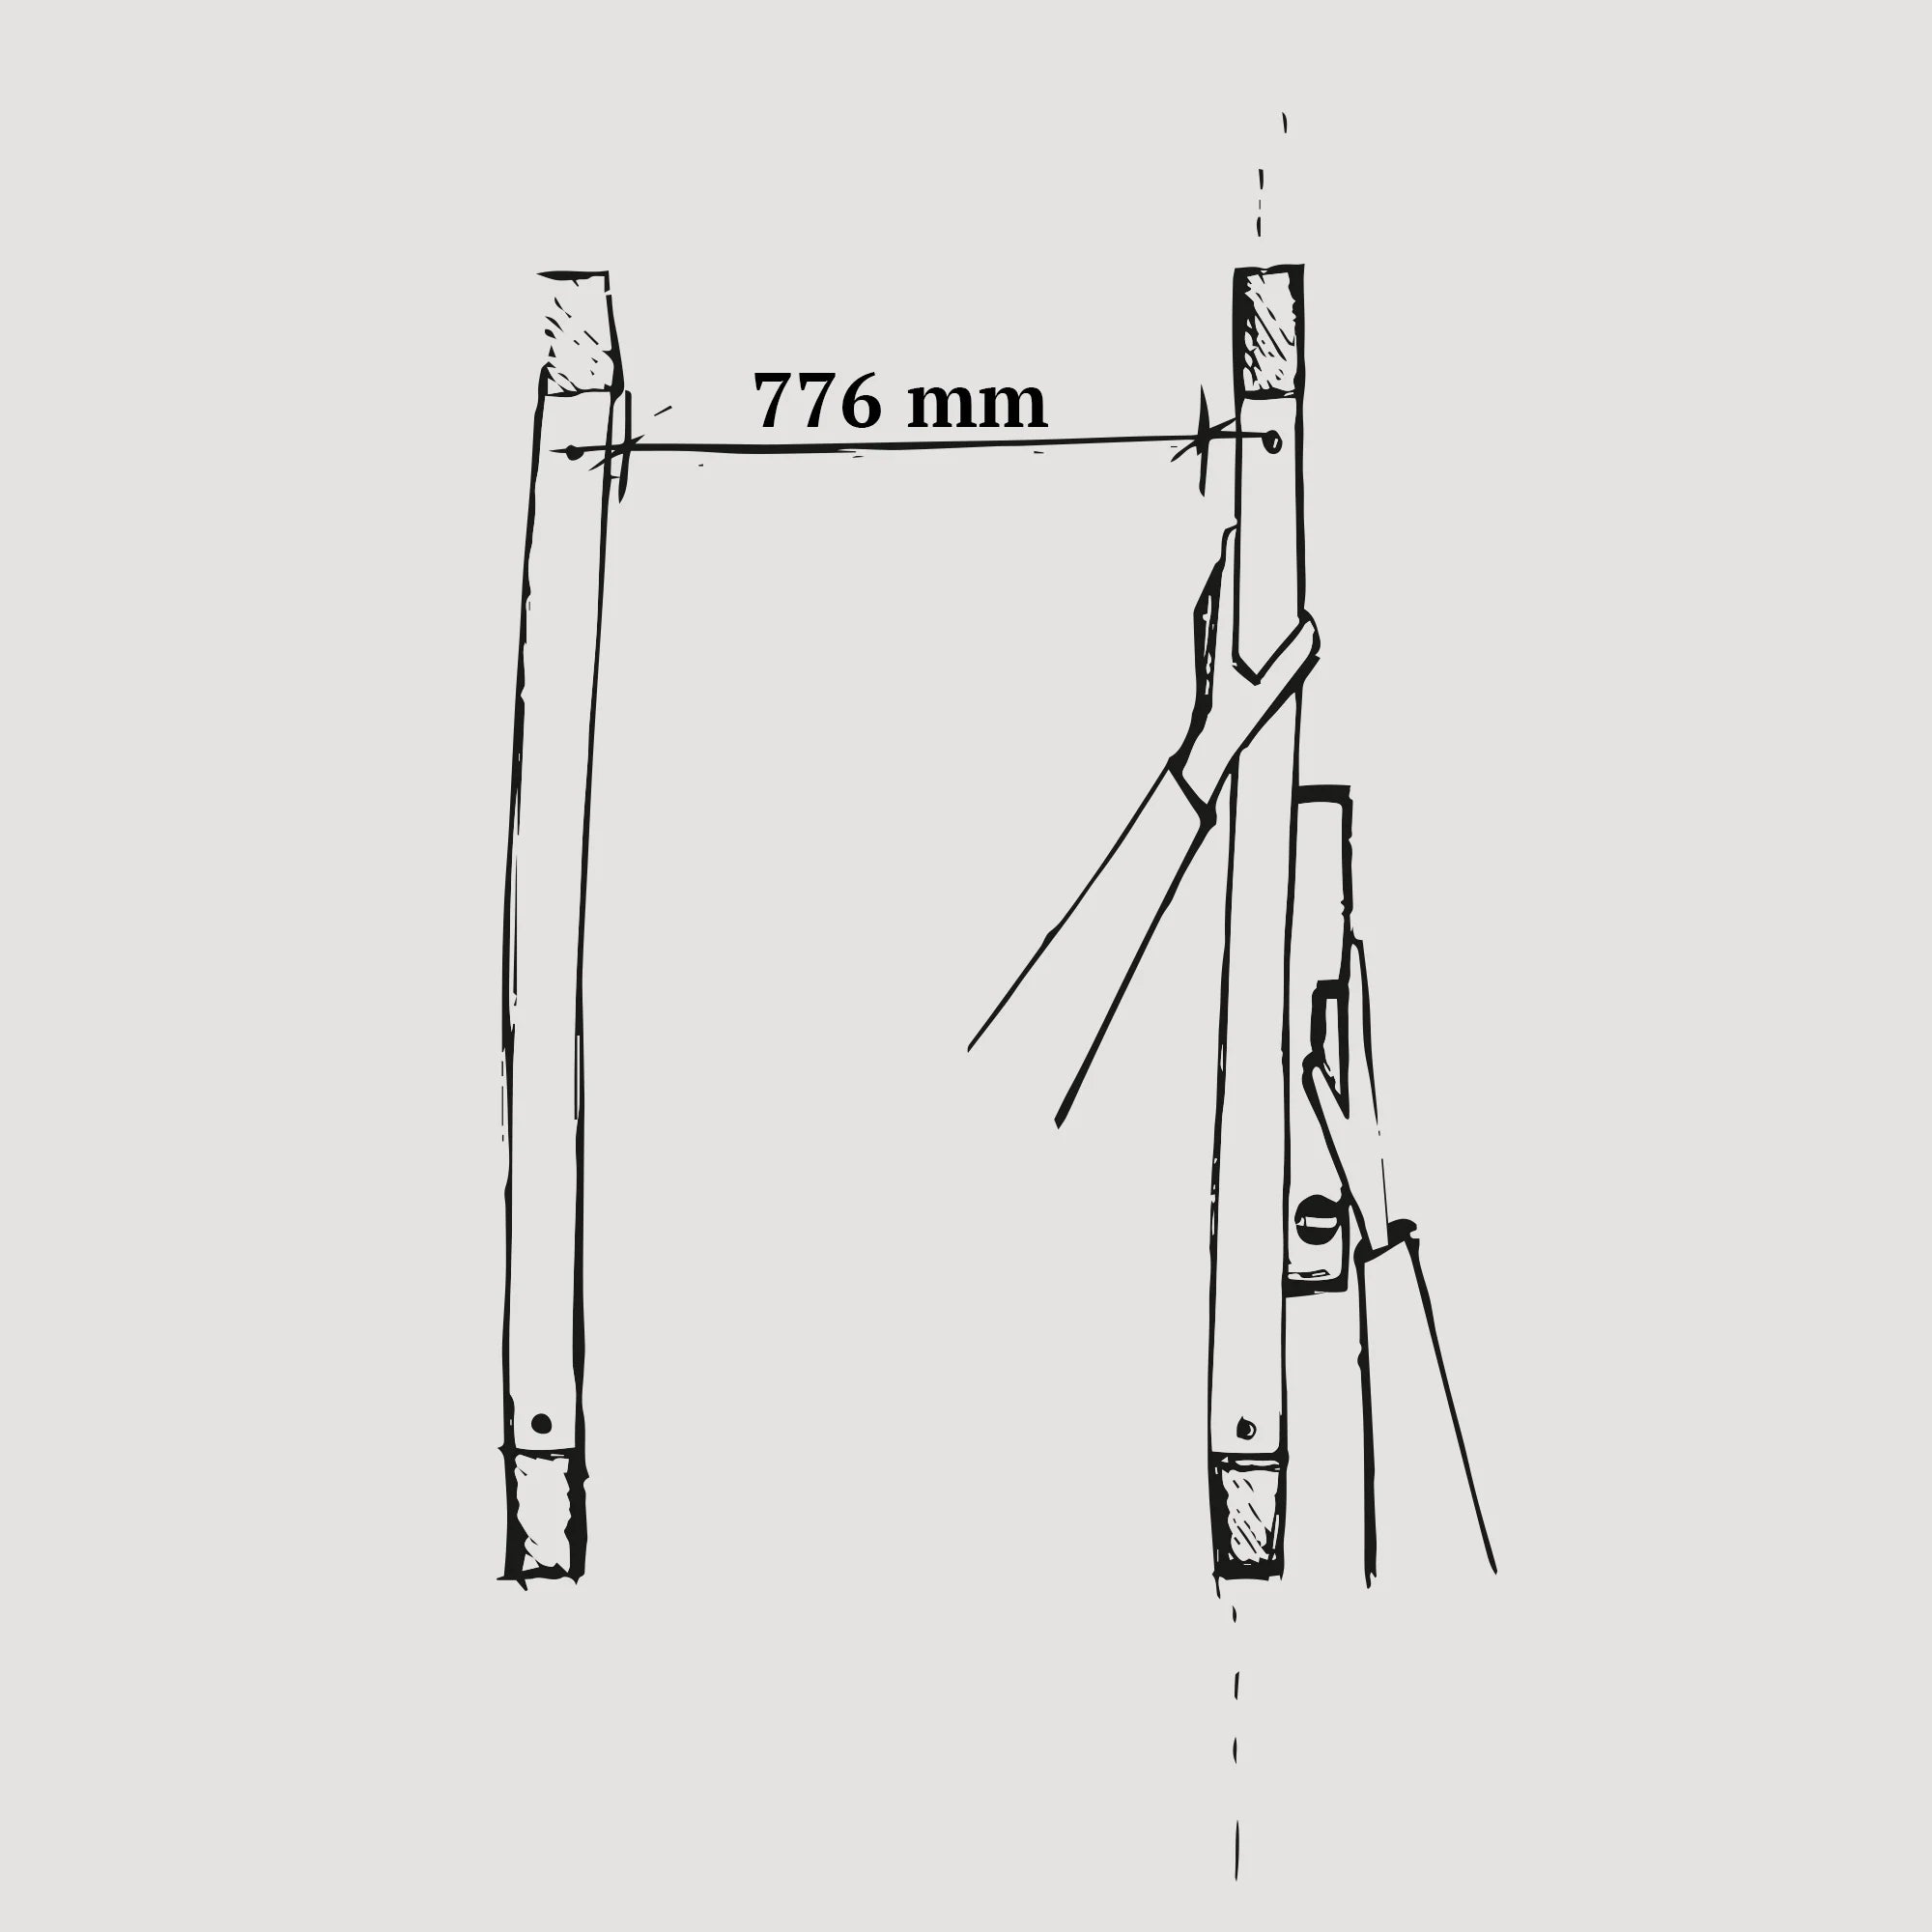
The distance between the inner walls of the vertical battens should be 776mm. Make sure this dimension is the same at the top of the slats as at the bottom.

STEP 16
Ask someone to help you hold the slat to the shelf at this point. In this way, you will be able to precisely determine the distance between the slats and mark the drilling locations. Remember to mark the top and bottom spots.
STEP 17
Drill the pre-marked holes as in step 3. Make a hole to fit the 8mm diameter expansion bolt. The hole must be deeper by about 5-8mm than the length of the pin.

STEP 18
Fasten the vertical strip at the top using the supplied Ericsson studs and nuts.
STEP 19
Fasten the vertical strip at the bottom using the supplied Ericsson type screws and nuts.
STEP 20
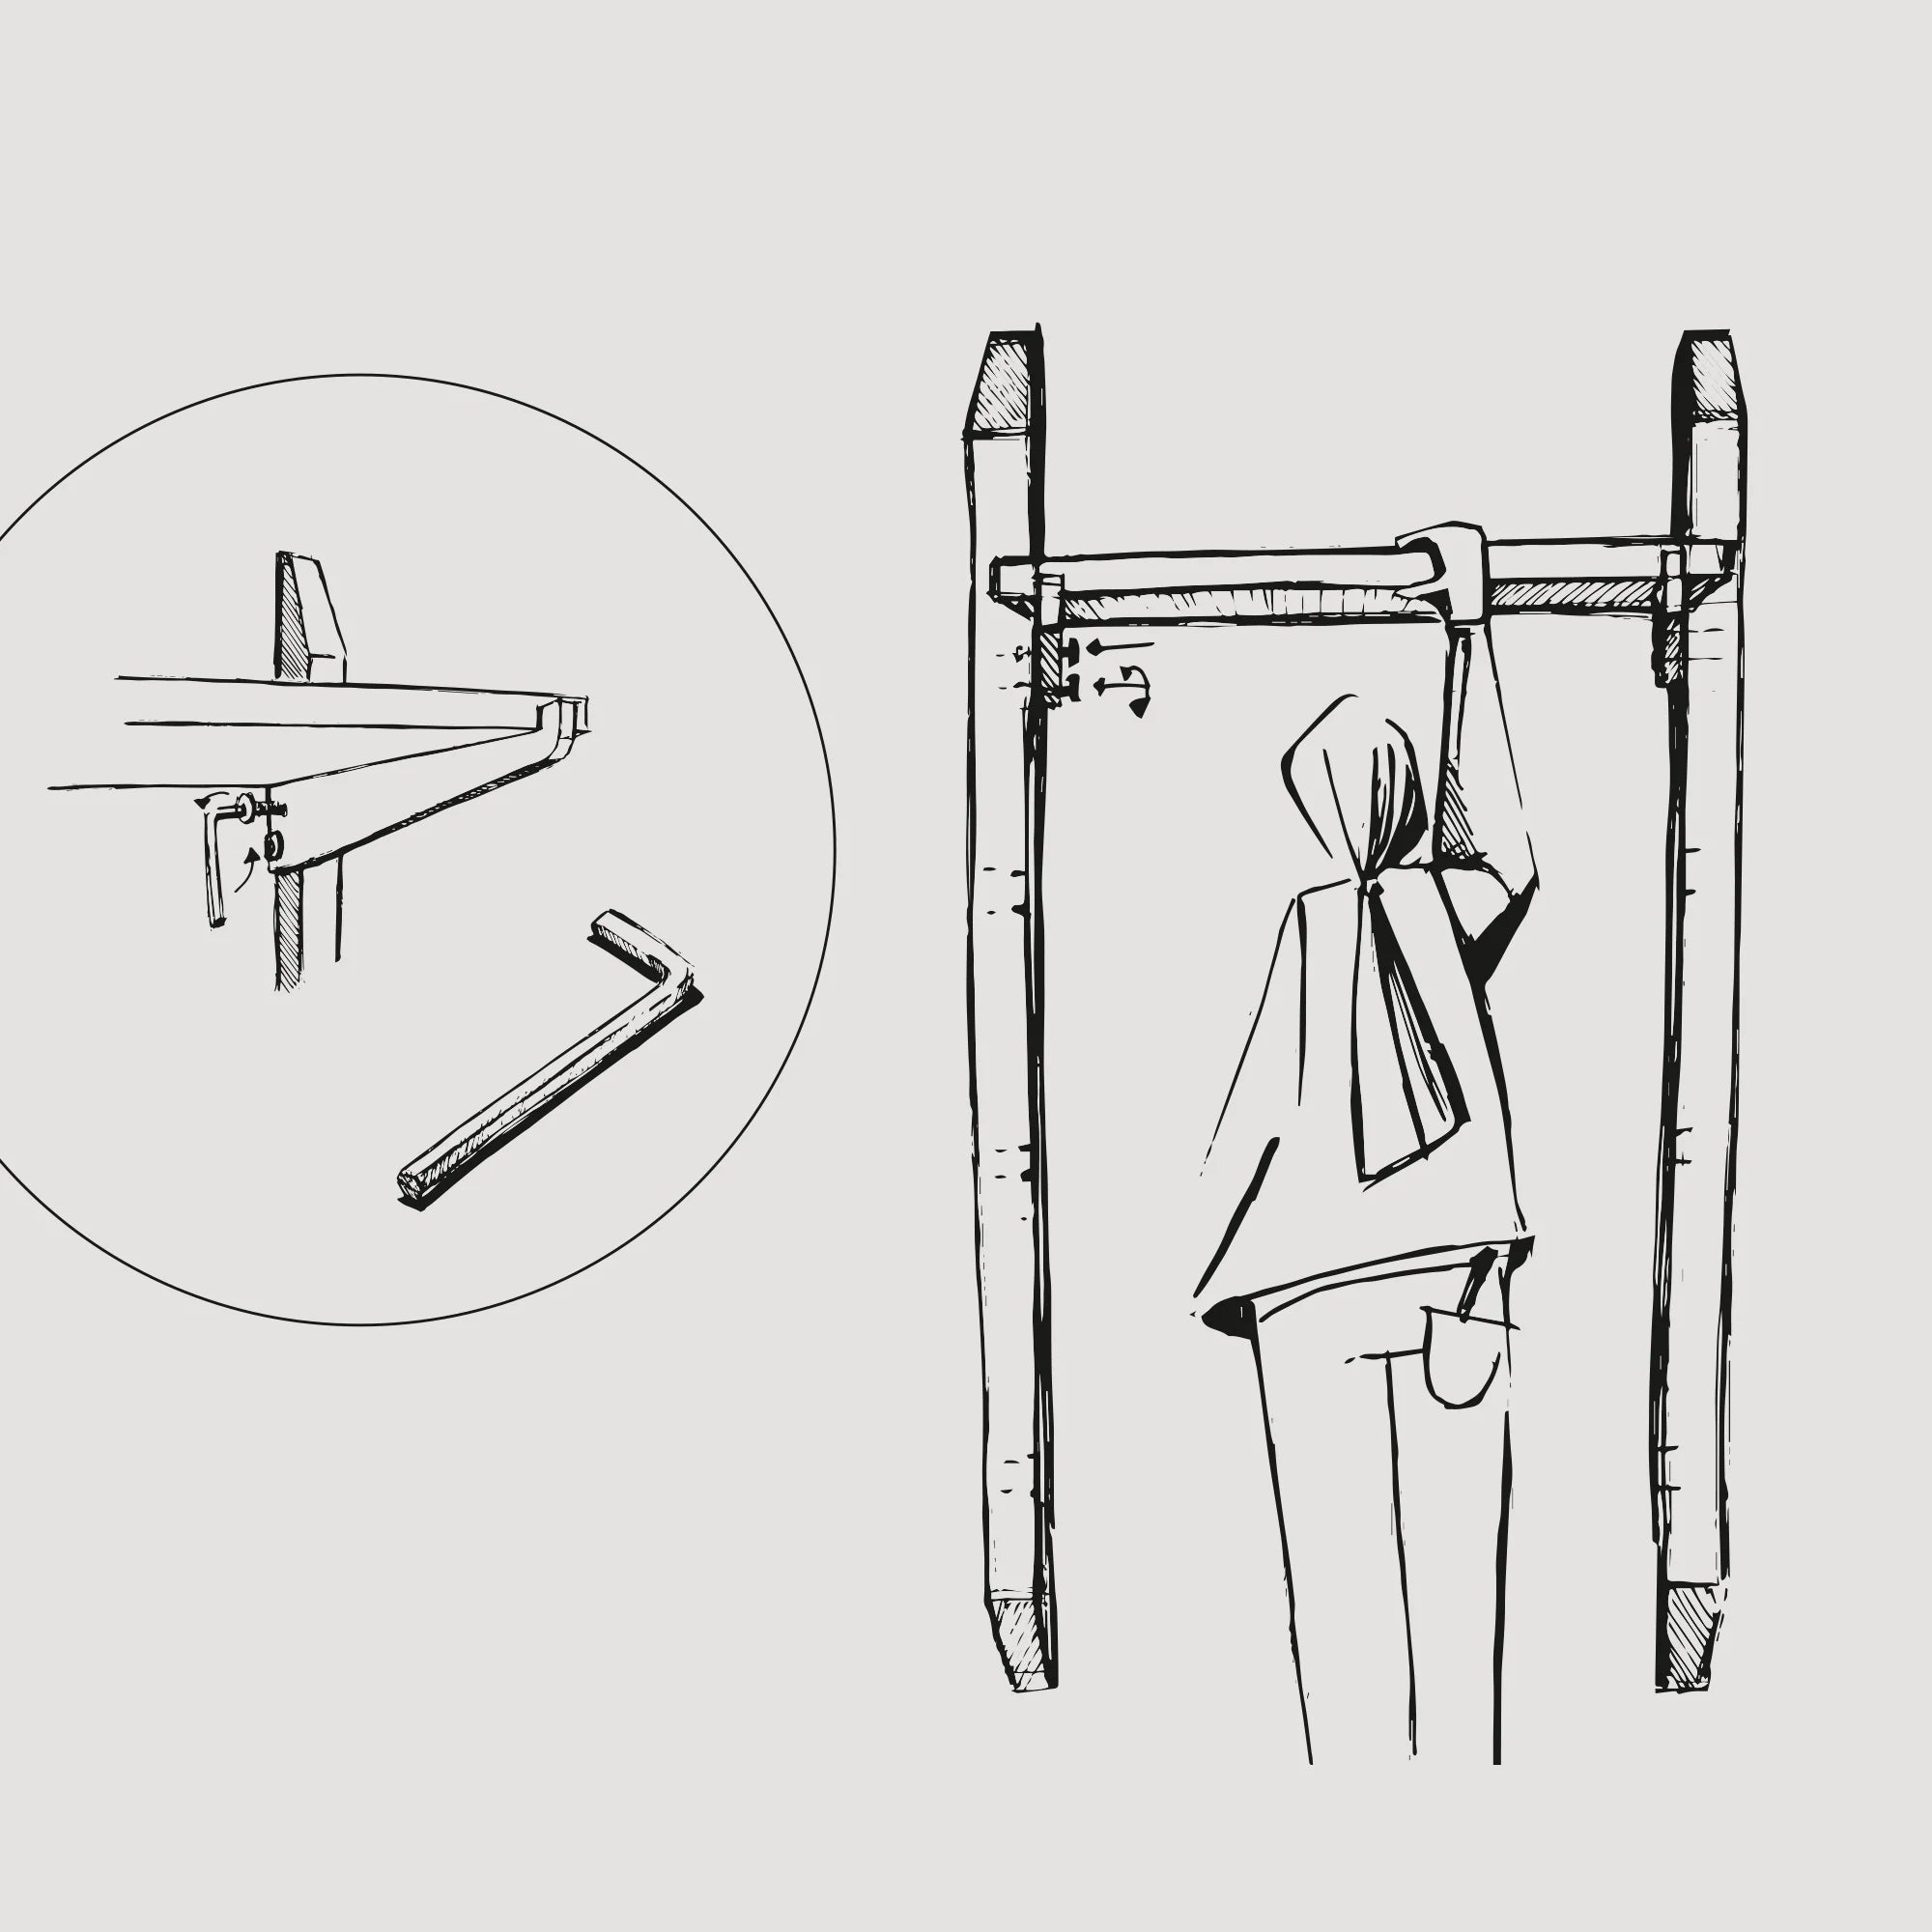
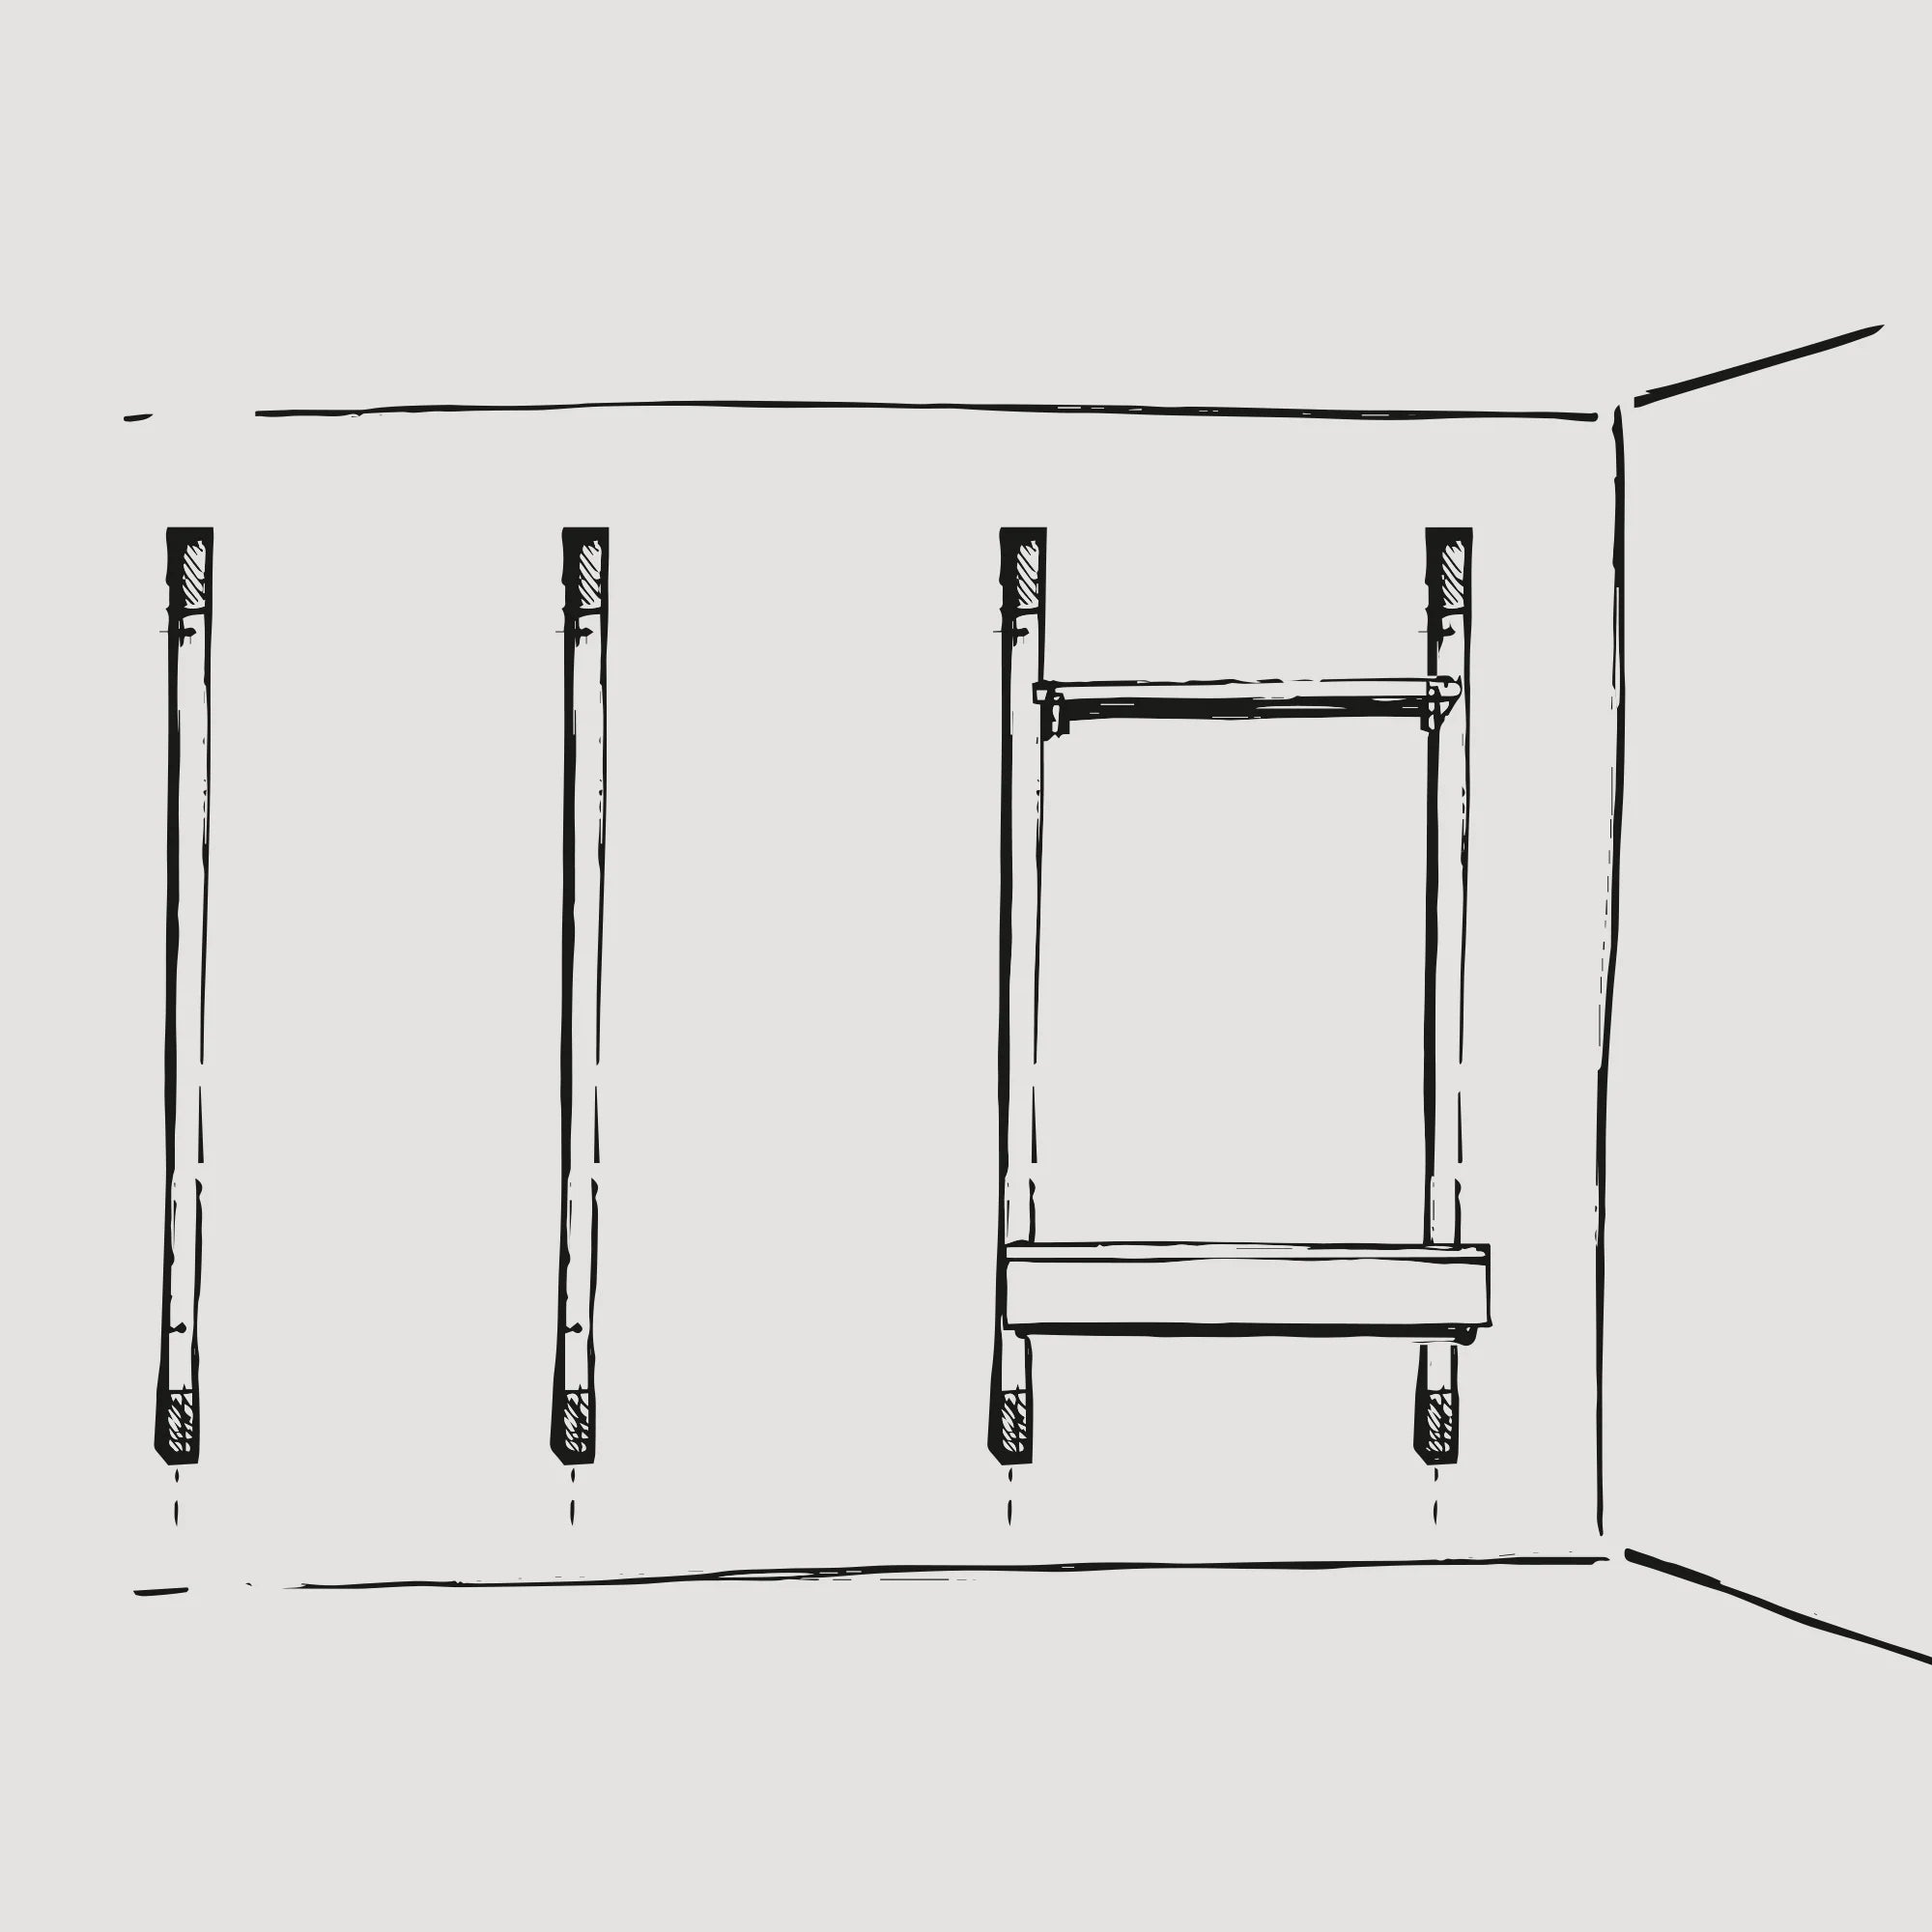
Ask someone to help you hold the shelves at the correct height and proceed to assemble them.
STEP 21
The one-unit rack looks ready. You can use it now. If you have a NOKI version with many modules, follow the instructions in the next steps.
STEP 22
To install the next mounting strips, repeat steps from No. 13 to No. 19.
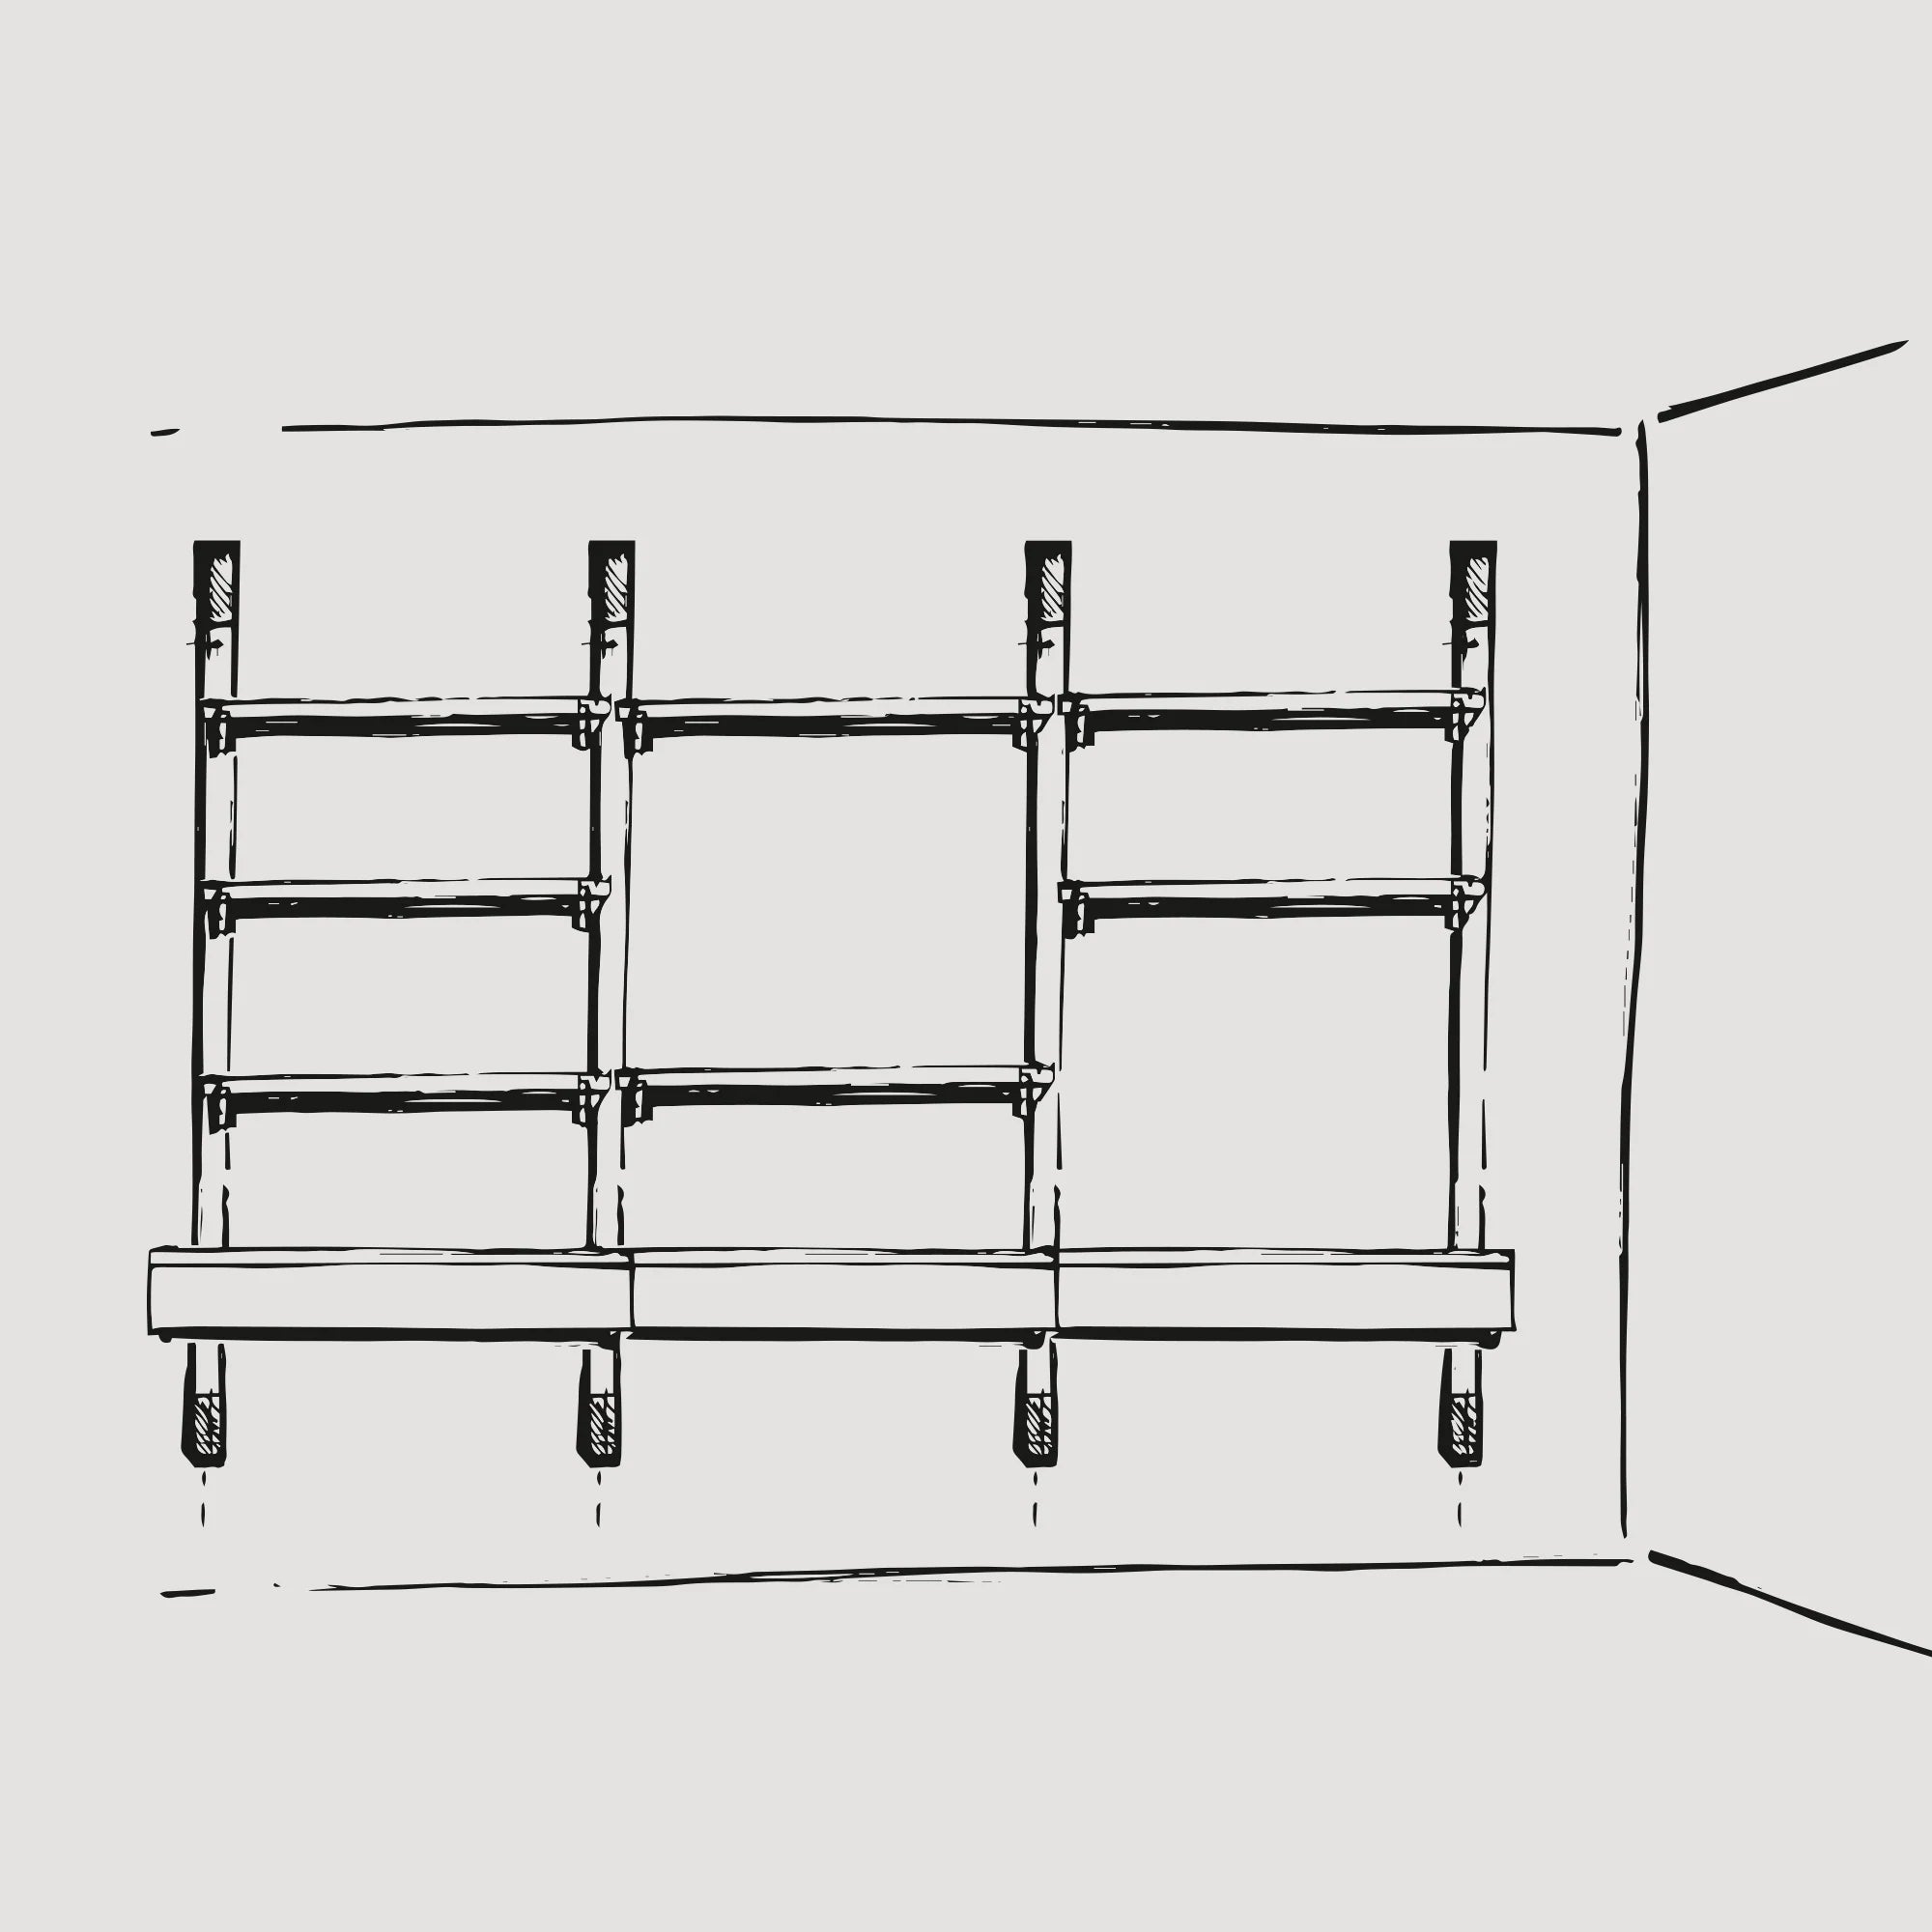
STEP 23
To assemble shelves, drawers or worktops, ask someone for help and use the supplied screws to screw the elements of the set to the vertical strips.
Remember that the drawer and worktop can only be mounted on the lowest level of the rack. You can also decide on the number of shelves in the rack. You don't have to install all of them.

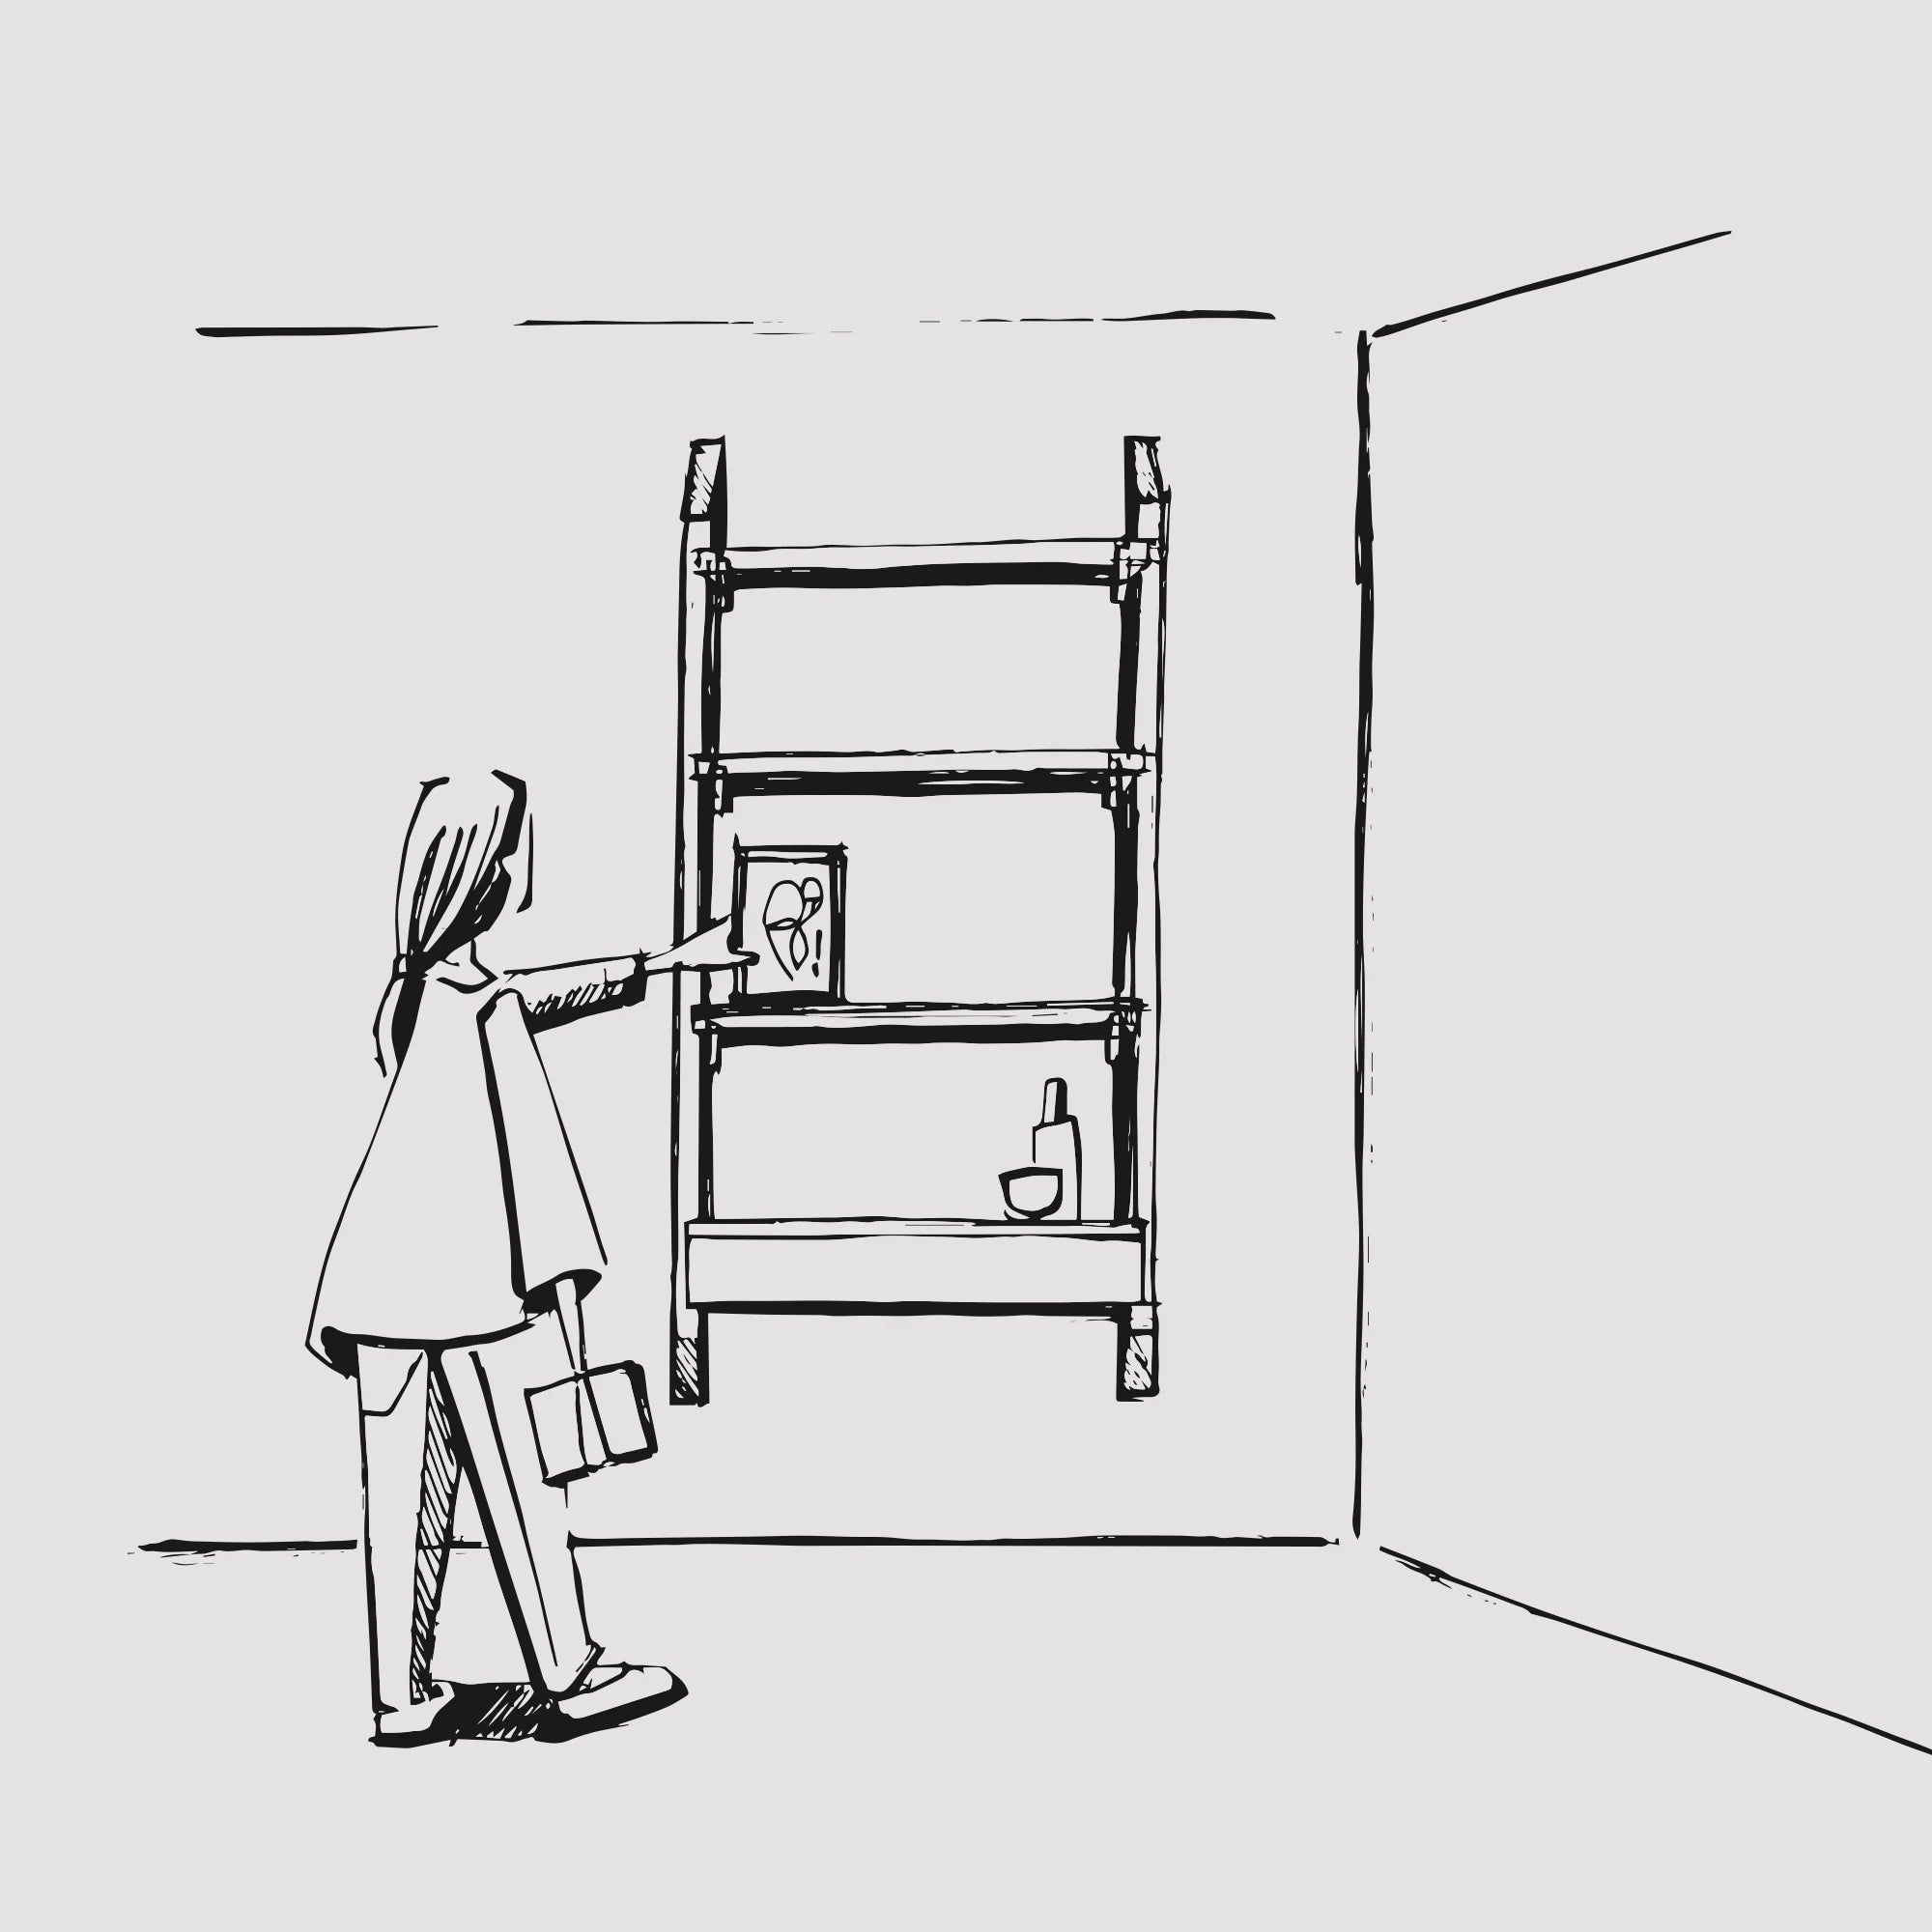
NOKI
The NOKI shelving unit is a wall mounted shelving system which provides a functional space in a small room. This product is inspired by the construction of NOKI, which is a Japanese term for eaves and rafters of a traditional Japanese building. The pleasing feel of the solid oak material invites people to decorate with their favorite objects.
VIEW